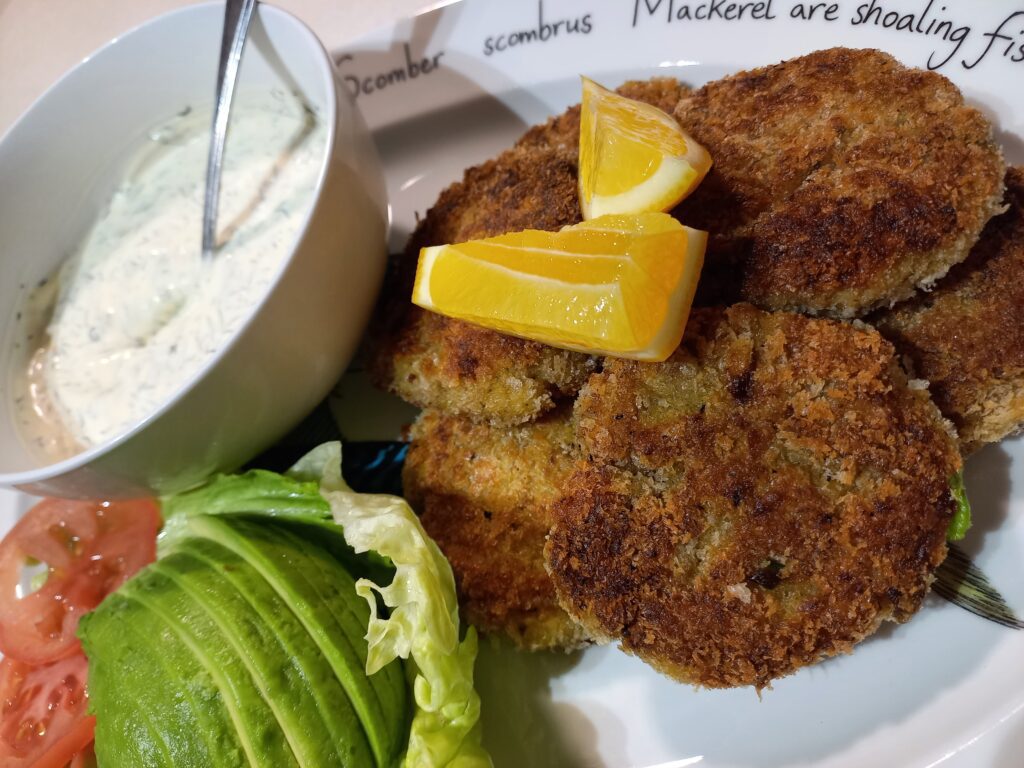
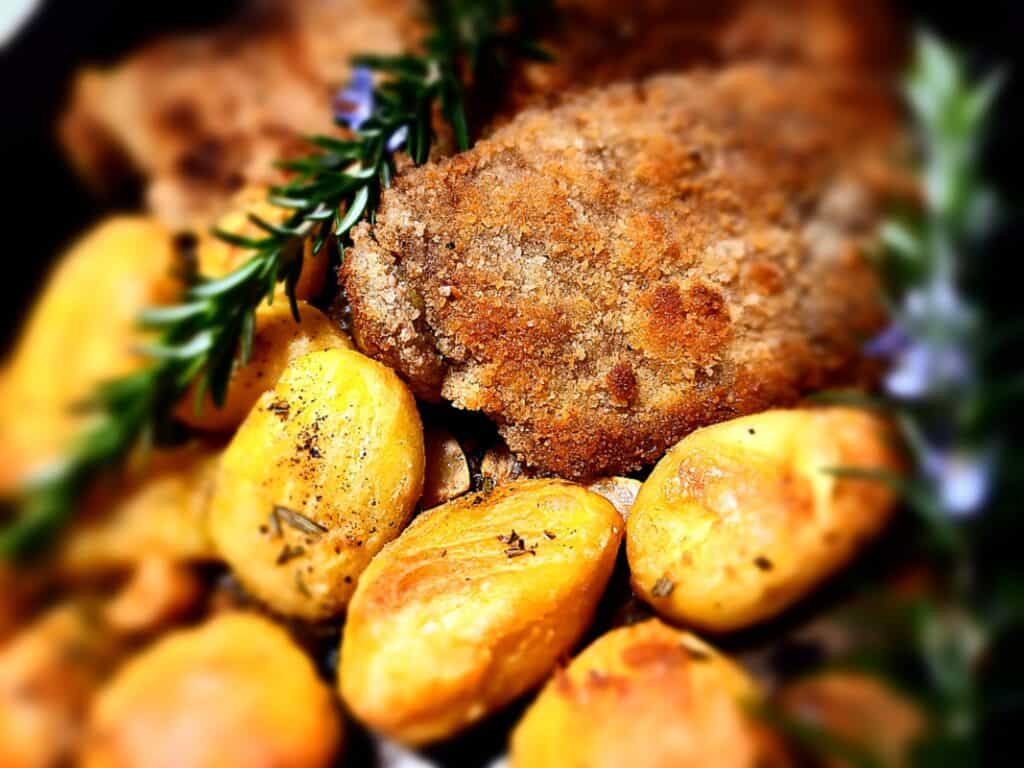
Baked crusted cod with fresh herbs is quick and easy to prepare.
A simple but elegant dish fit for any occasion
This baked breaded cod recipe is one of the easiest and best fish recipes I’ve tried. You can have this healthy and delicious herb crusted baked cod ready to serve in no time.

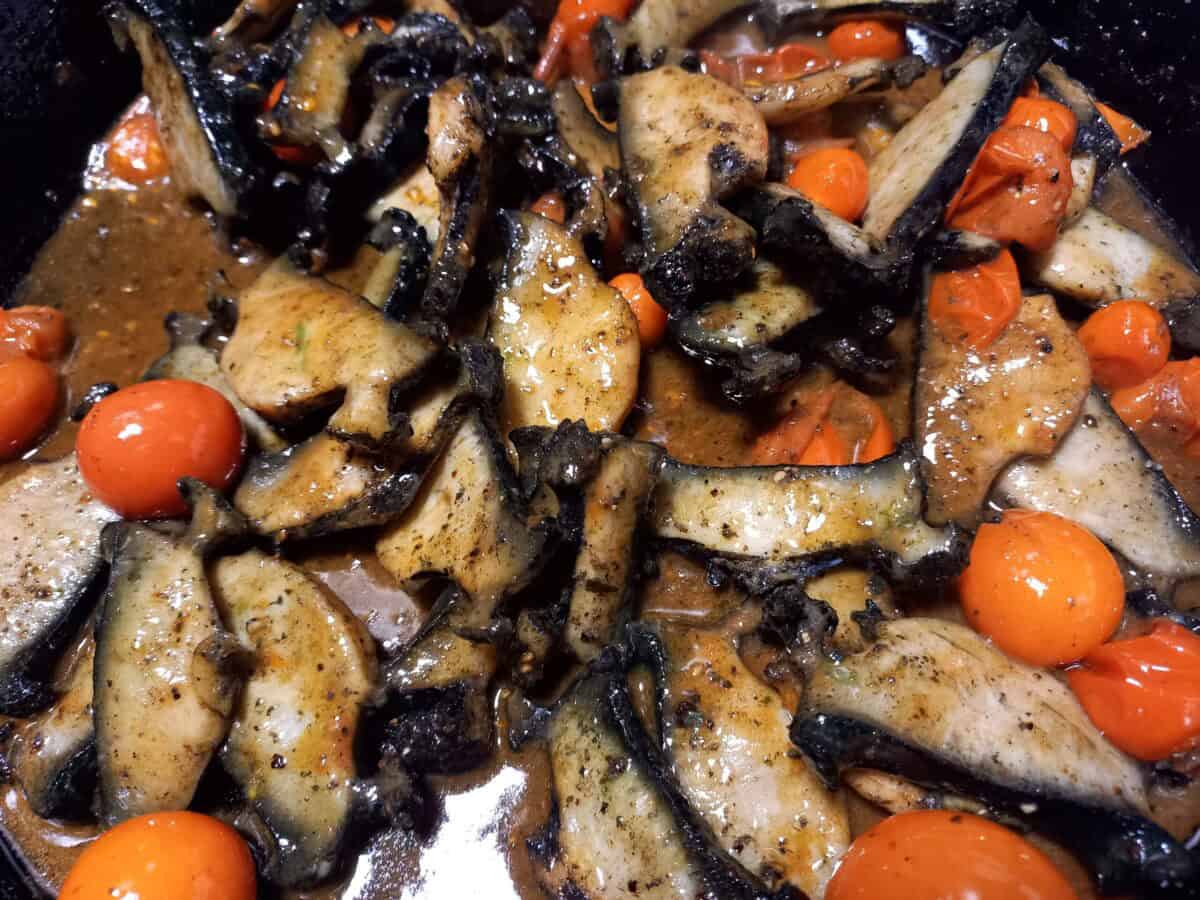
You might also like my One-pan roasted fish with cherry tomatoes for another easy baked fish recipe
Ingredients
Crusted cod fillets
Cod Fillets (pinnboned)
breadcrumbs
fresh coriander
garlic
olive oil
salt and pepper
Curried Coconut Sauce
coconut cream
green curry paste
Lime juice (to taste)
Fish Sauce (to taste)
See recipe card for quantities.
Instructions
Crusted cod in oven
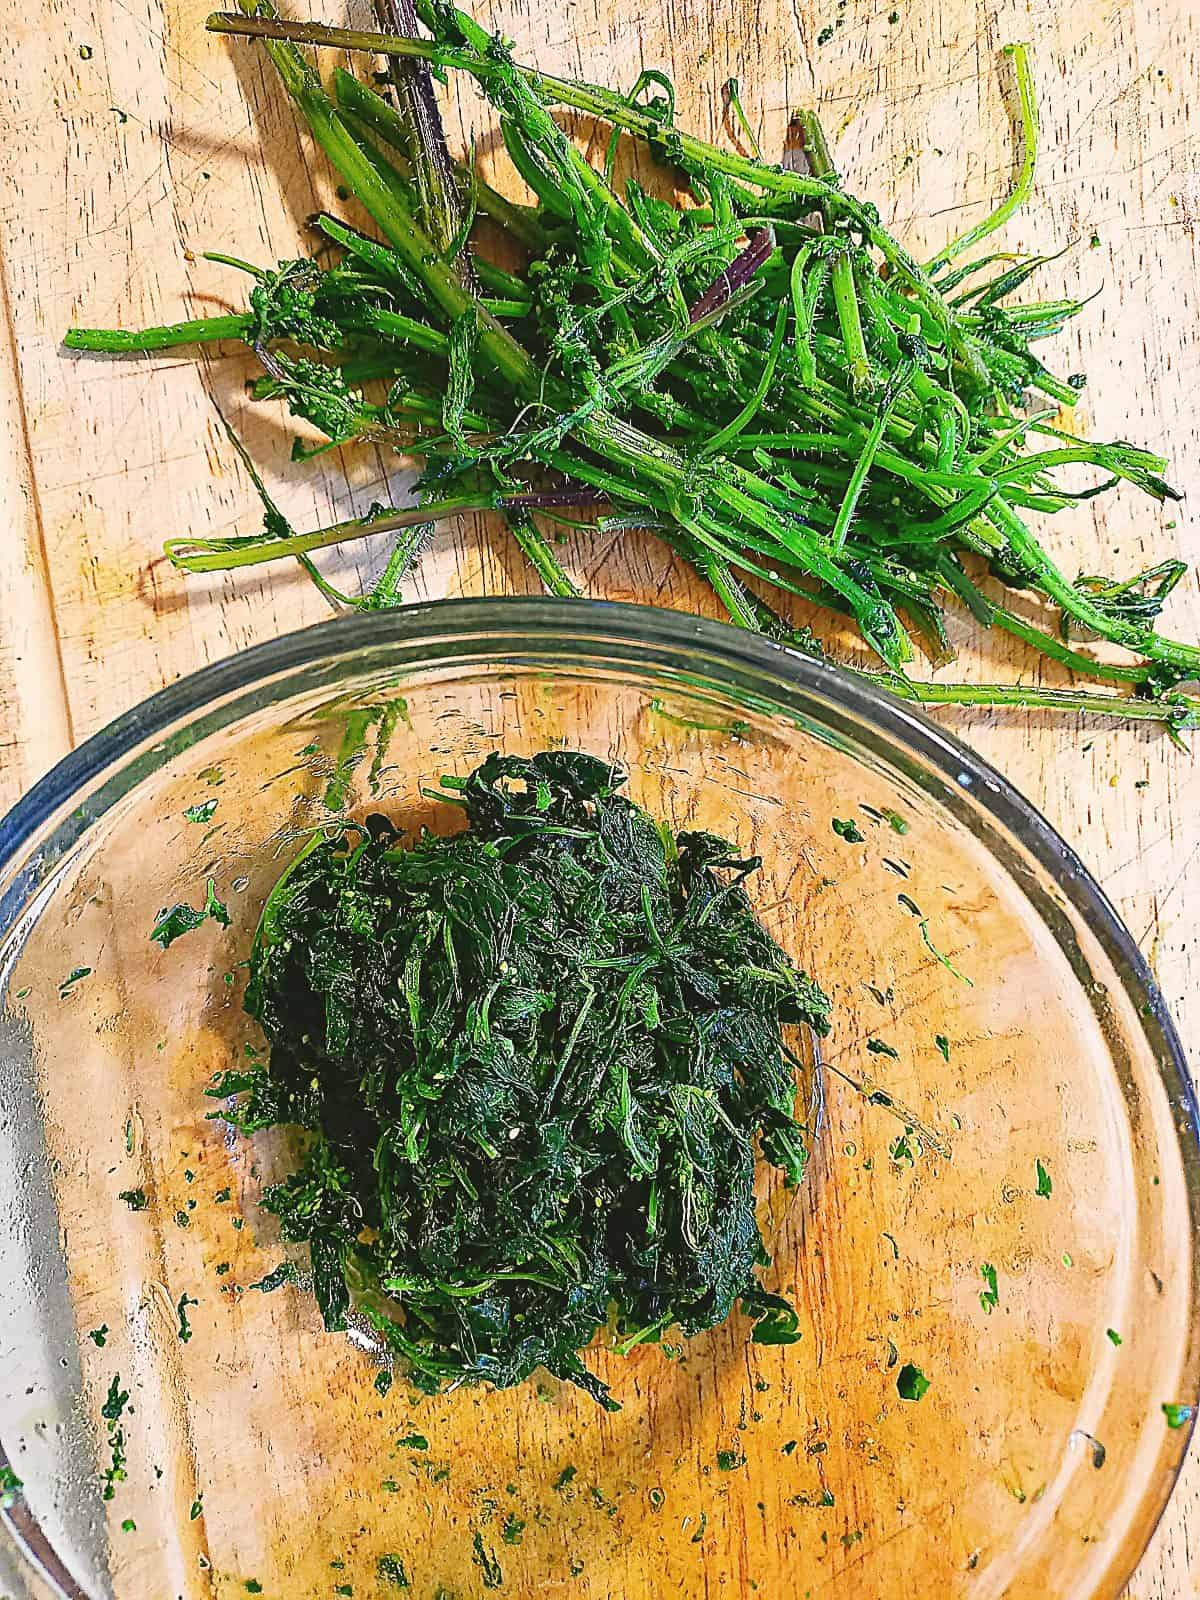
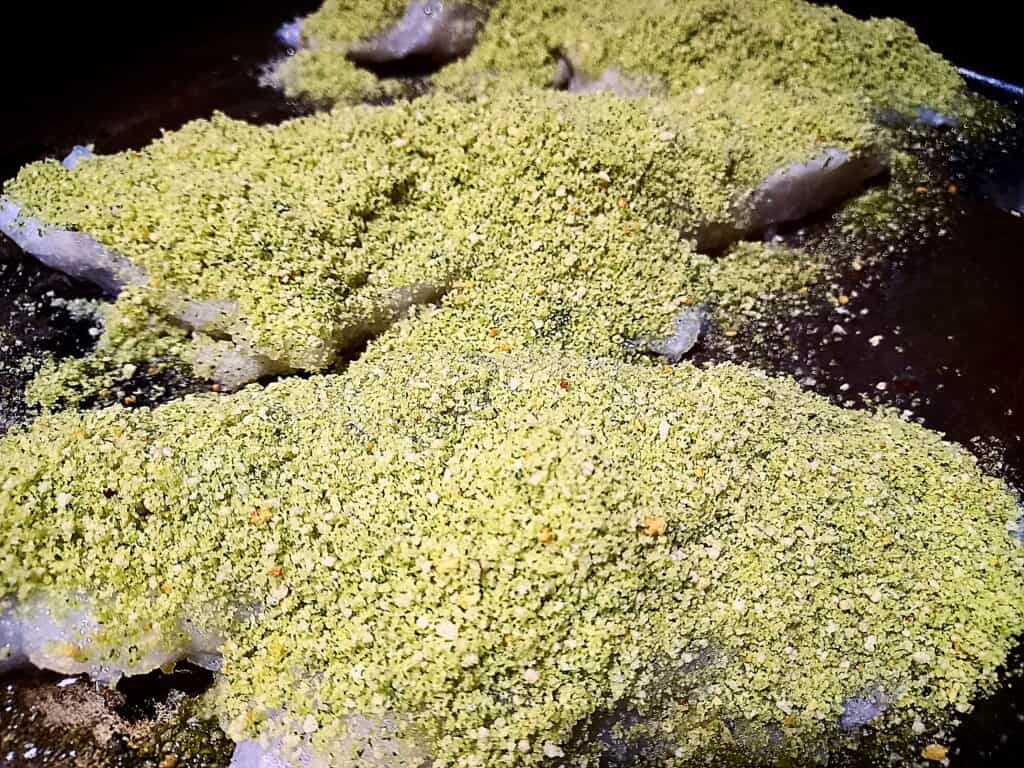
- Make the herb crust by putting the herbs, breadcrumbs, garlic, olive oil, salt and pepper in a kitchen blender. Mix well.
- Grease a baking tray and lay the fish fillets out on it.
- Season the fish fillets and cover the top with the herb crust.
- Bake 180C for 5-10 minutes until the fish is cooked through.
Curried coconut sauce
- Empty one can of coconut cream into a bowl.
- Add curry paste, lime and fish sauce.
- Mix well with a whisk.
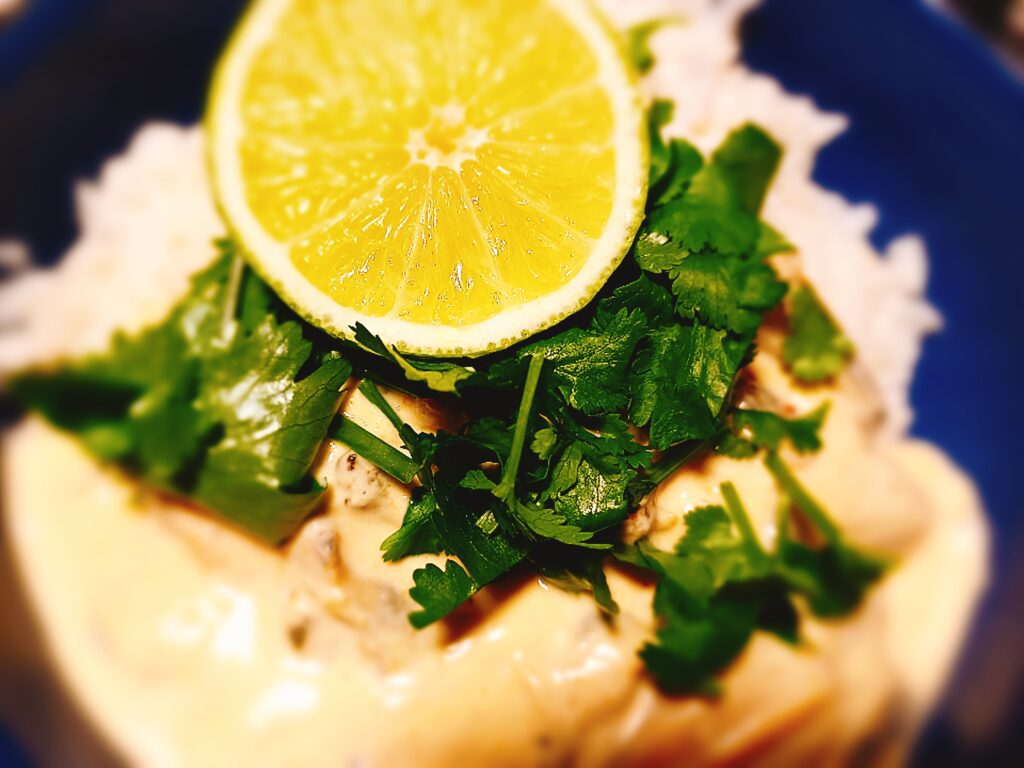
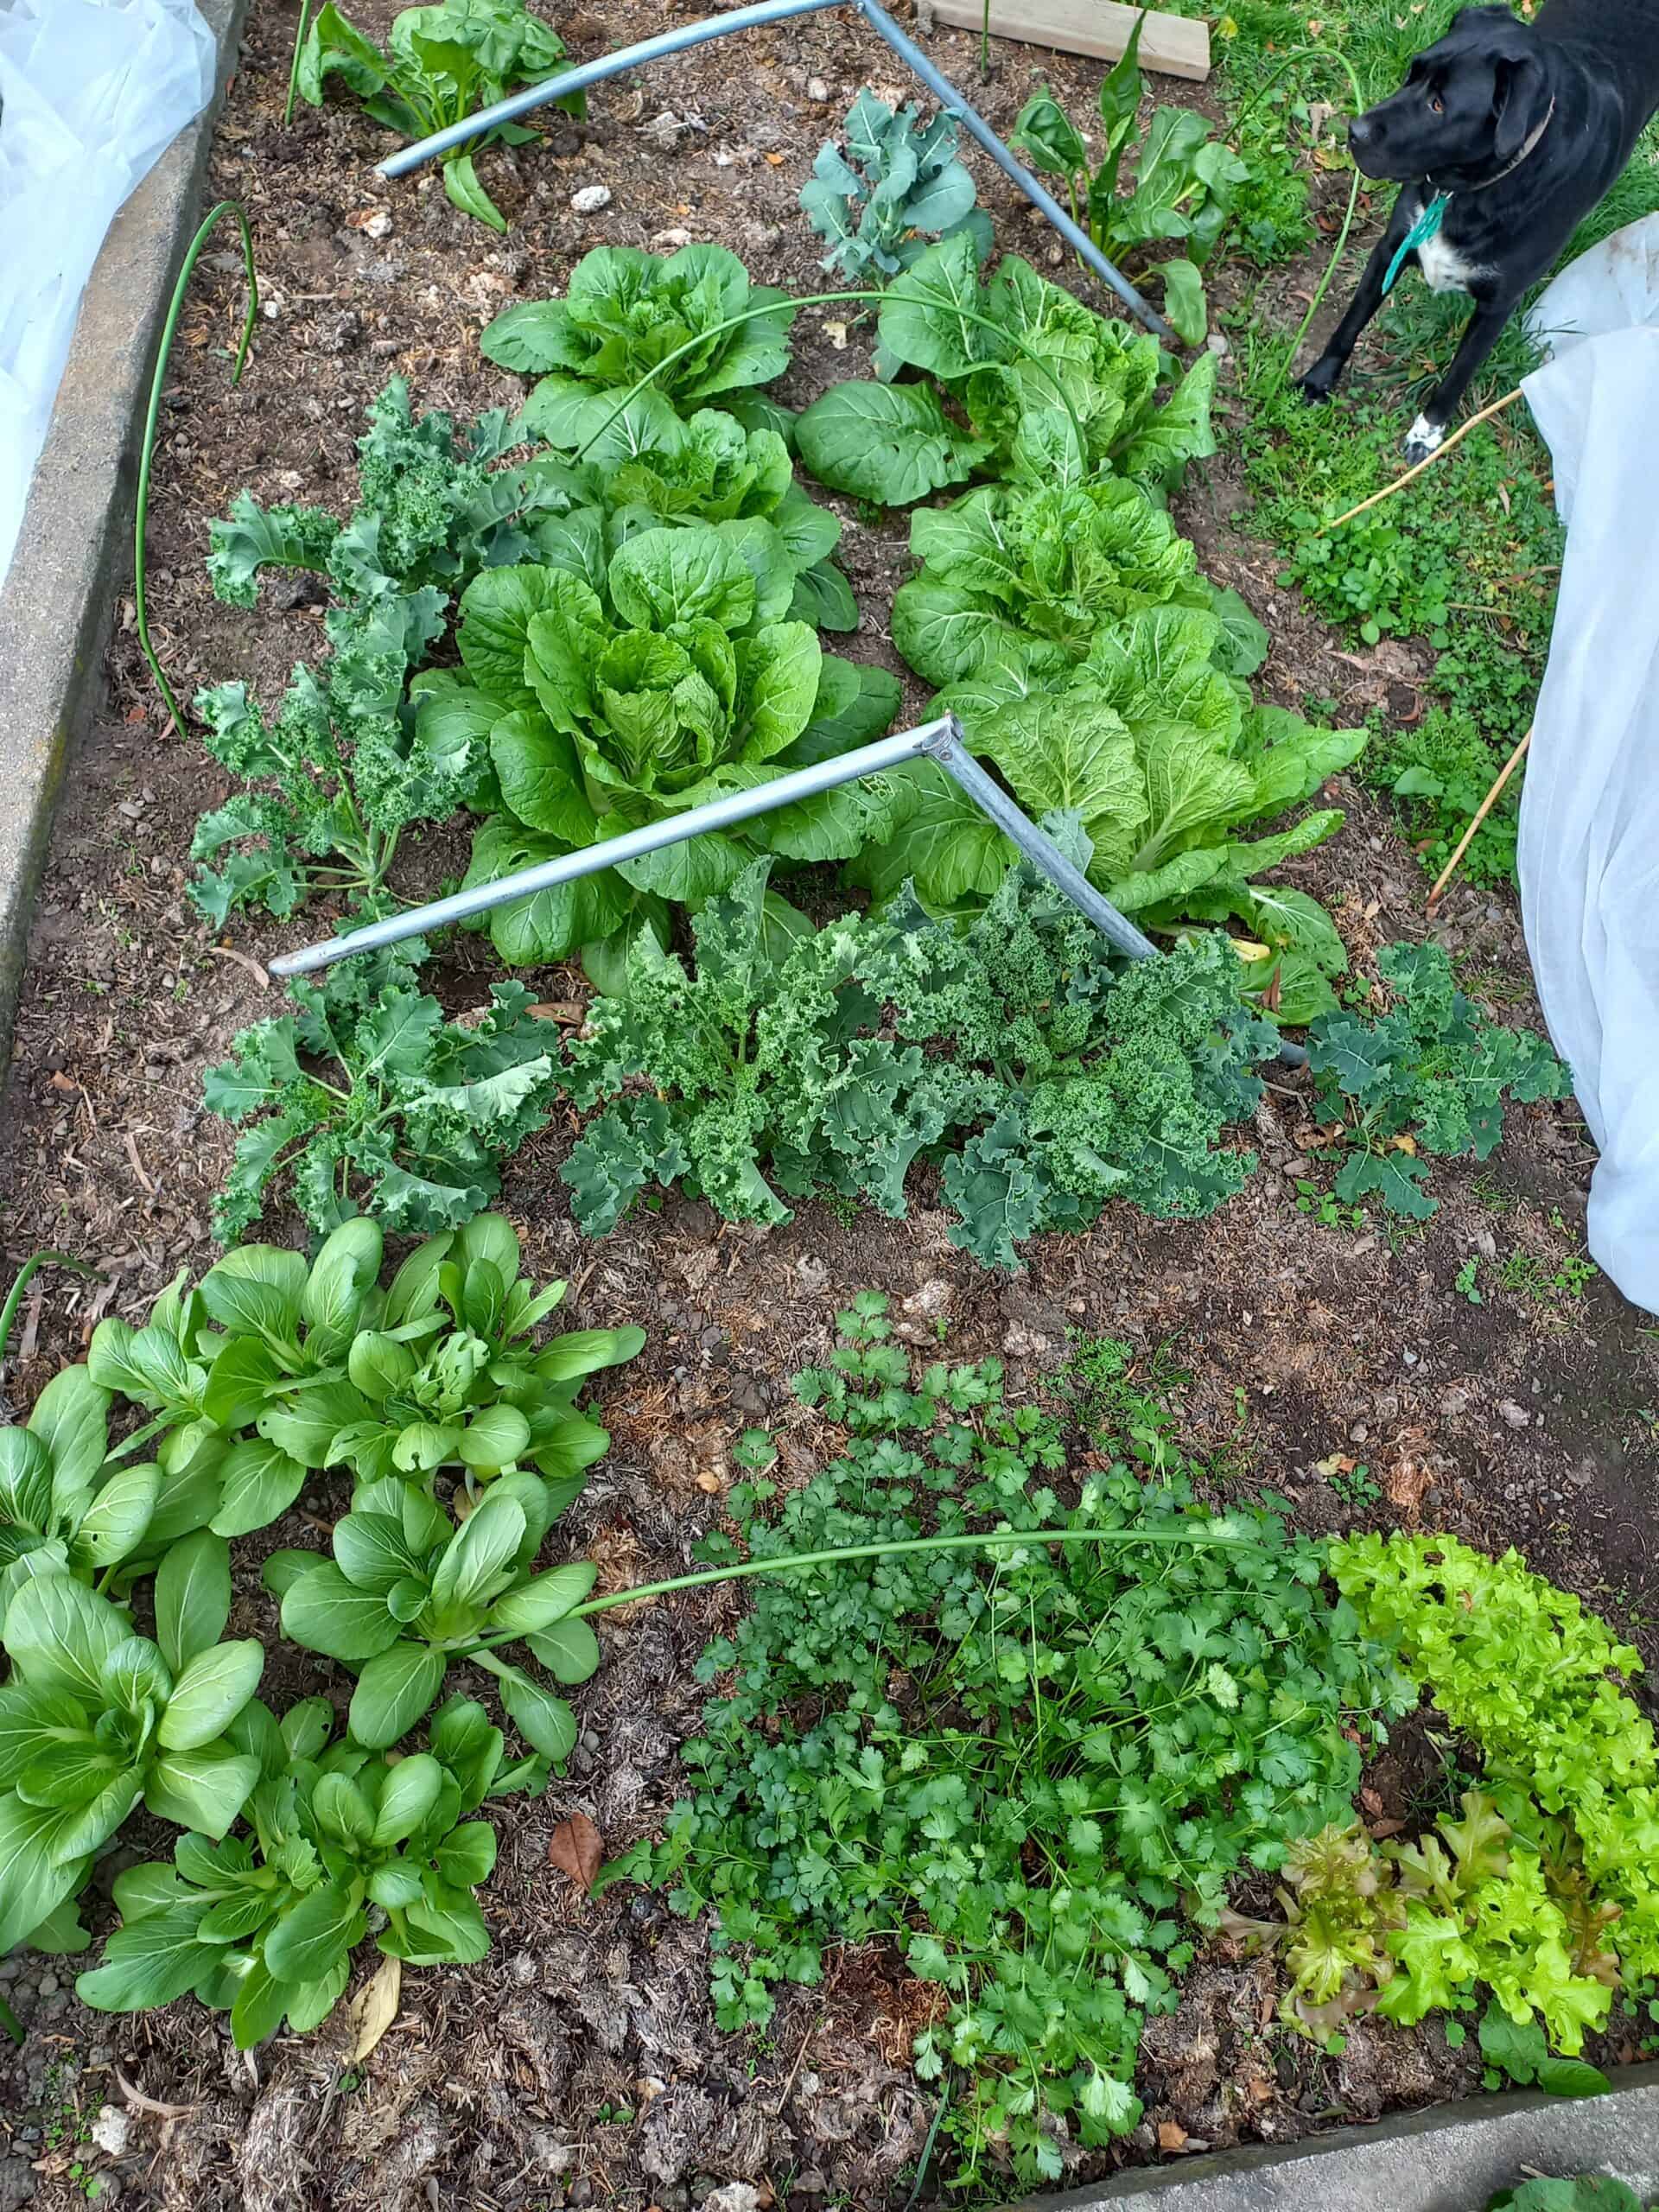
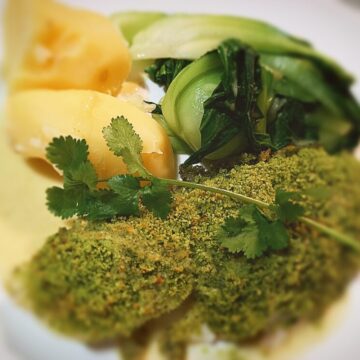
- Serve the coconut sauce at room temperature with the baked breaded cod fillets with boiled potatoes or rice and fresh vegetables from the garden on the side. (I used bok choi)
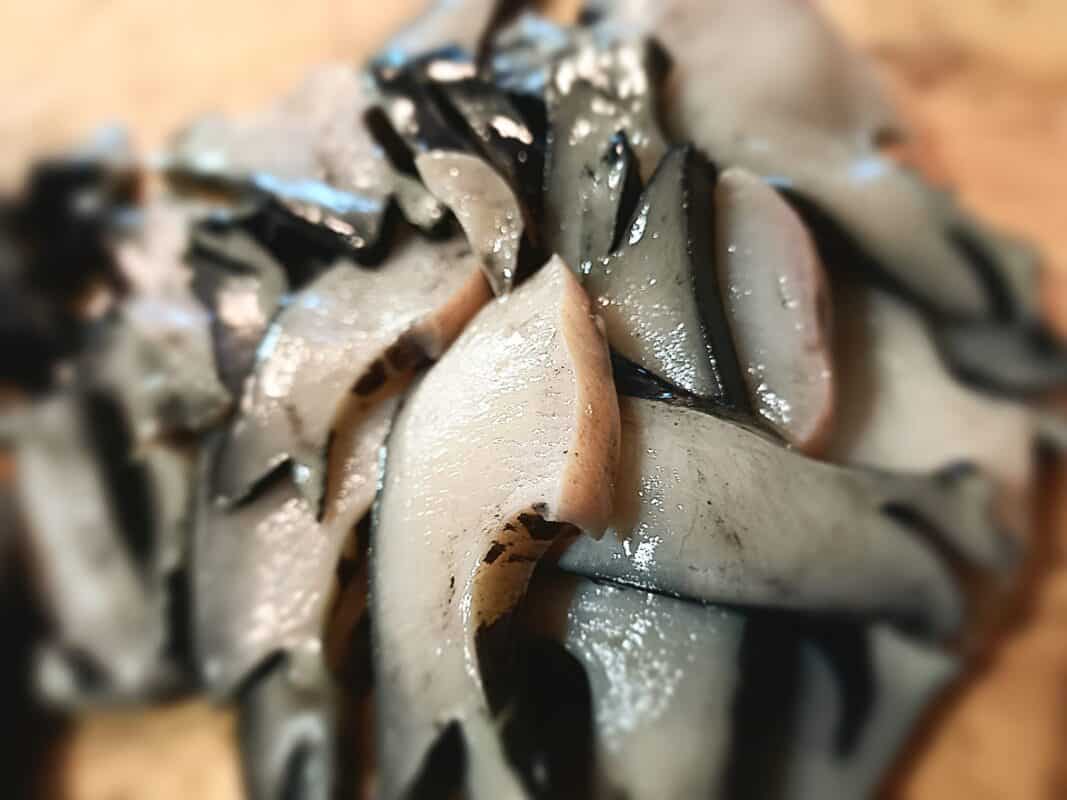
The fish
I used New Zealand Blue cod for this recipe.
Blue cod is the main target sea fish in the South Island of New Zealand where I live so it is a fish we often have on hand. It's both nutritious and flavorful loaded with lean protein, vitamins, and minerals. This versatile fish is easy to prepare in multiple ways. Blue Cod fish has a mild flavor, and thick flaky fillets that falls apart easily when cooked which makes it suitable for most cooking methods and a true delicacy!

The New Zealand blue cod is exclusive to New Zealand waters around the rocky coasts. It is more common in the south Island of New Zealand.
However any cod or other thick flaky fish is suitable to use as a substitute in this blue cod recipe.
The Curried coconut sauce
Curried coconut sauce is an aromatic sauce with coconut cream, curry and lime.
It’s served in room temperature and can easily be made in advance.
The creamy coconut sauce pairs well with the herb crusted blue cod.
The herb crust
Fresh coriander and garlic is blended with bread crumbs for a flavorsome crust. However if you don't like fresh coriander then other soft herbs can be substituted.
For example: parsley or chives would work well for this crusted baked cod instead.

Baking the fish rather than frying it gives it a silky smooth texture.
This herb crusted cod baked in the oven served with a coconut curry sauce makes a simple and delicious dinner.
Try this baked crusted cod recipe with fresh herbs and coconut, curry sauce at home.
It’s light, healthy, easy-to-make and delicious!
This recipe is made from fish that I caught and home grown herbs and veggies from the garden. You can read more about fishing for food here.
You might also like my quick and easy fish recipes pan fried trout with crispy skin and my Scarlet Wrasse in xo sauce on this site
Herb baked crusted cod with curried coconut sauce
Ingredients
Crusted cod fillets
- 4 175-190g Cod Fillets pinn boned
- 1 cup breadcrumbs
- ½ cup coriander (cilantro) fresh
- 1 clove garlic fresh
- olive oil extra virgin
- salt and pepper to taste
Curried Coconut Sauce
- 1 tin coconut cream
- 3 teaspoon green curry paste
- Lime juice to taste
- Fish Sauce to taste
Instructions
Crusted cod in oven
- Make the herb crust by putting the herbs, breadcrumbs, garlic, olive oil, salt and pepper in a kitchen blender. Mix well.
- Grease a baking tray and lay the fillets out on it. Season the fish fillets and cover the top with the herb crust.
- Bake 180C for 5-10 minutes until the fish is cooked through.
Curried Coconut Sauce
- Empty one can of coconut cream into a bowl.
- Add curry paste, lime and fish sauce.
- Mix well with a whisk.
- Serve the coconut sauce at room temperature on top of the baked breaded cod fillets with boiled potatoes or rice and fresh vegetables from the garden on the side. I use bok choi