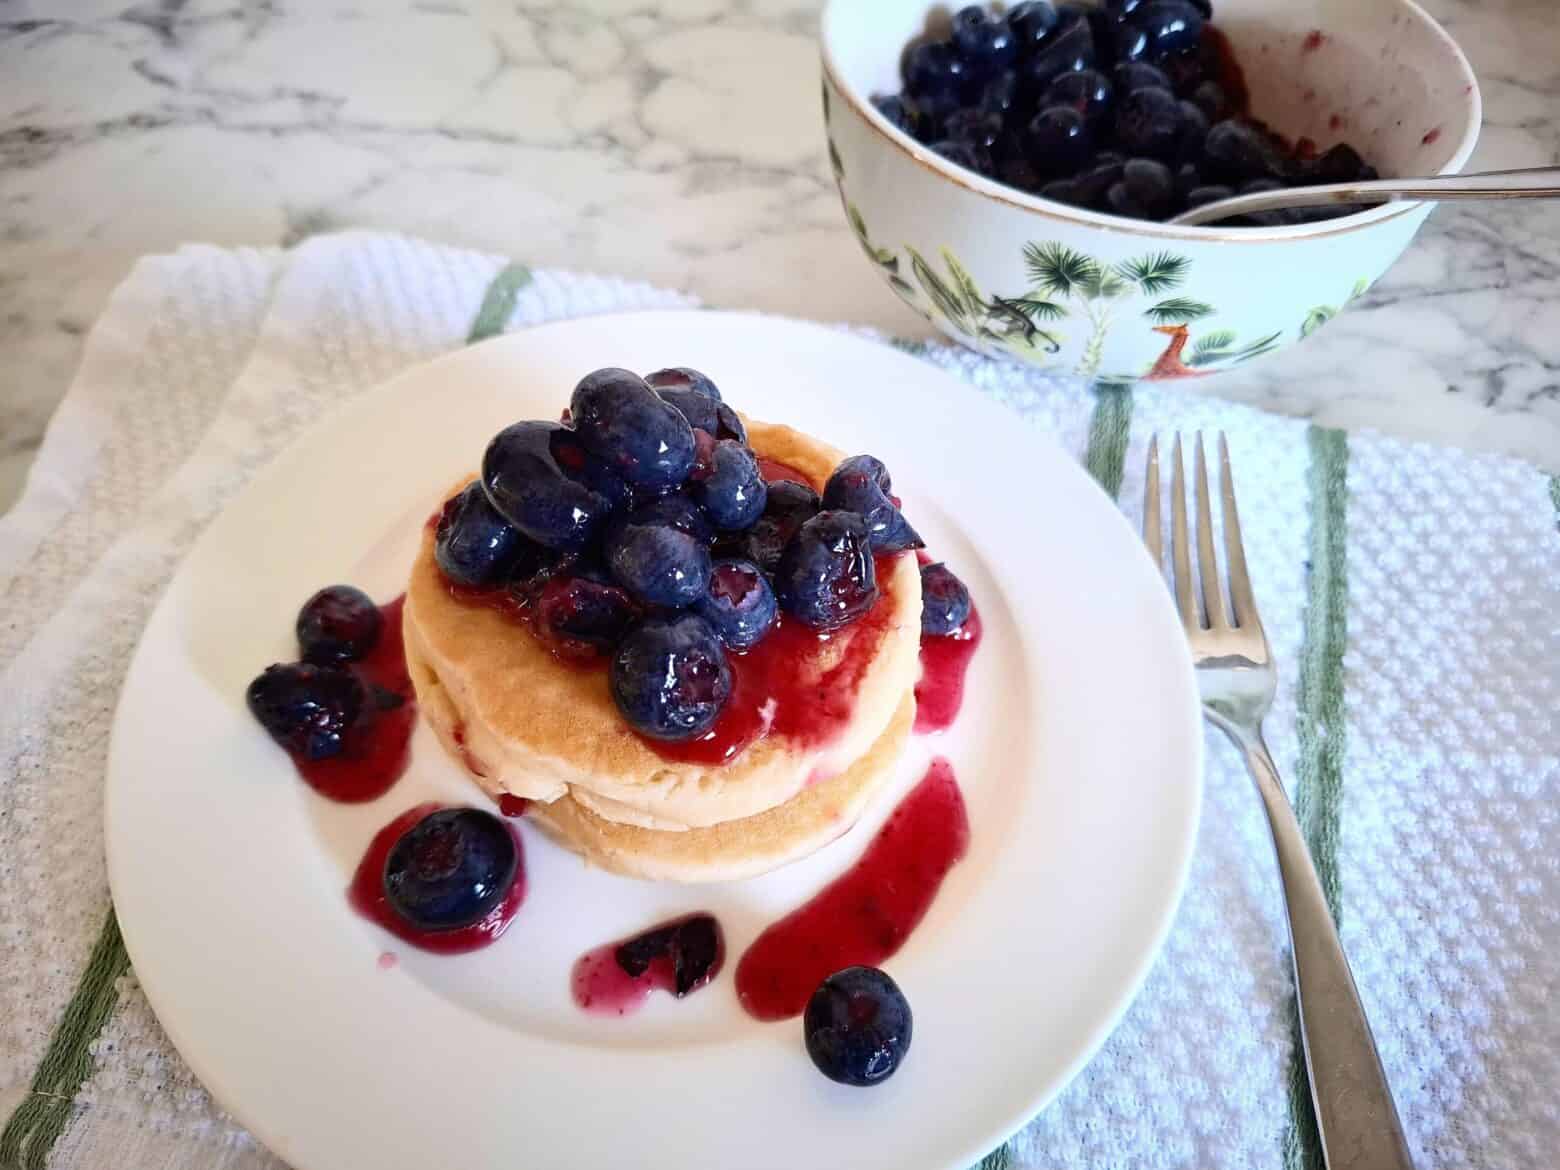
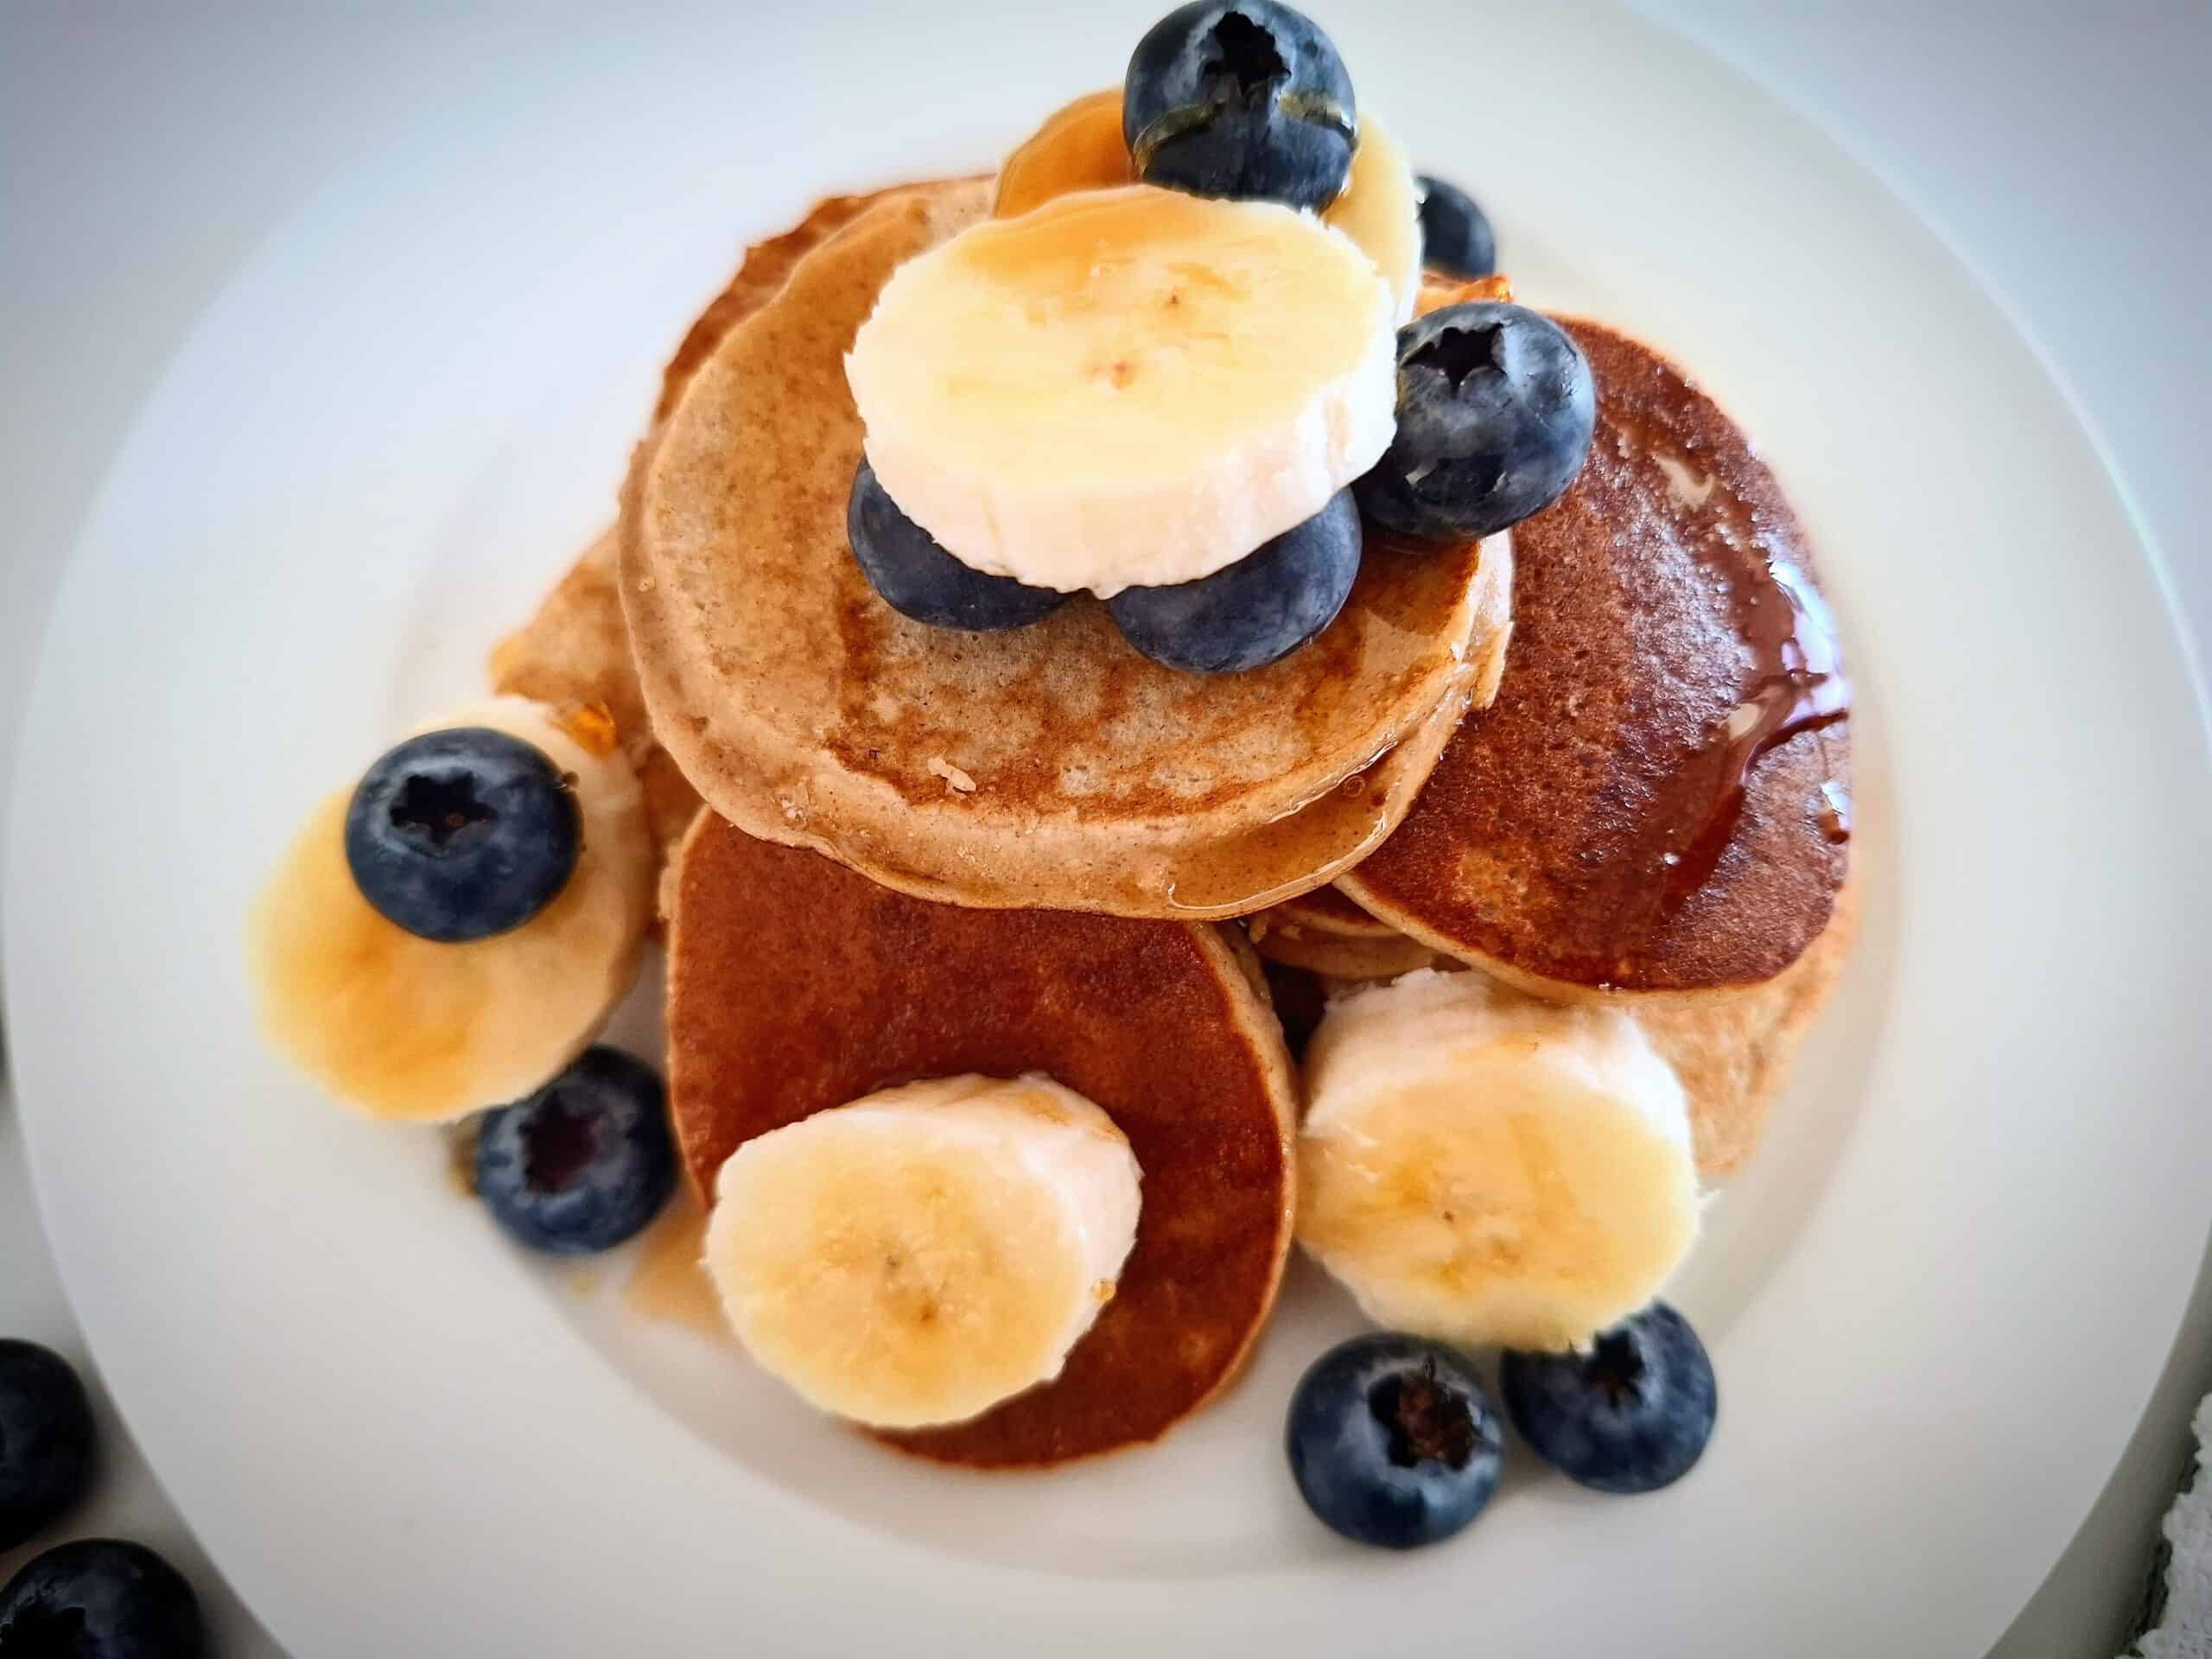
These banana pikelets are excellent. A healthy, hearty and delicious breakfast, brunch or treat that the kids love, a terrific recipe to make when having over ripe bananas that's no longer good for eating. It's best using very ripe brown skin bananas for this recipe as they have a richer flavor and they help keep the pikelets moist.
These pikelets are naturally gluten-, dairy and sugar free.
Part of being self sufficient is to minimize waste. When your bananas are turning brown and not great for eating, turn them into delicious treats instead of wasting them. You can freeze your brown bananas and use them in recipes later when it's convenient for you.
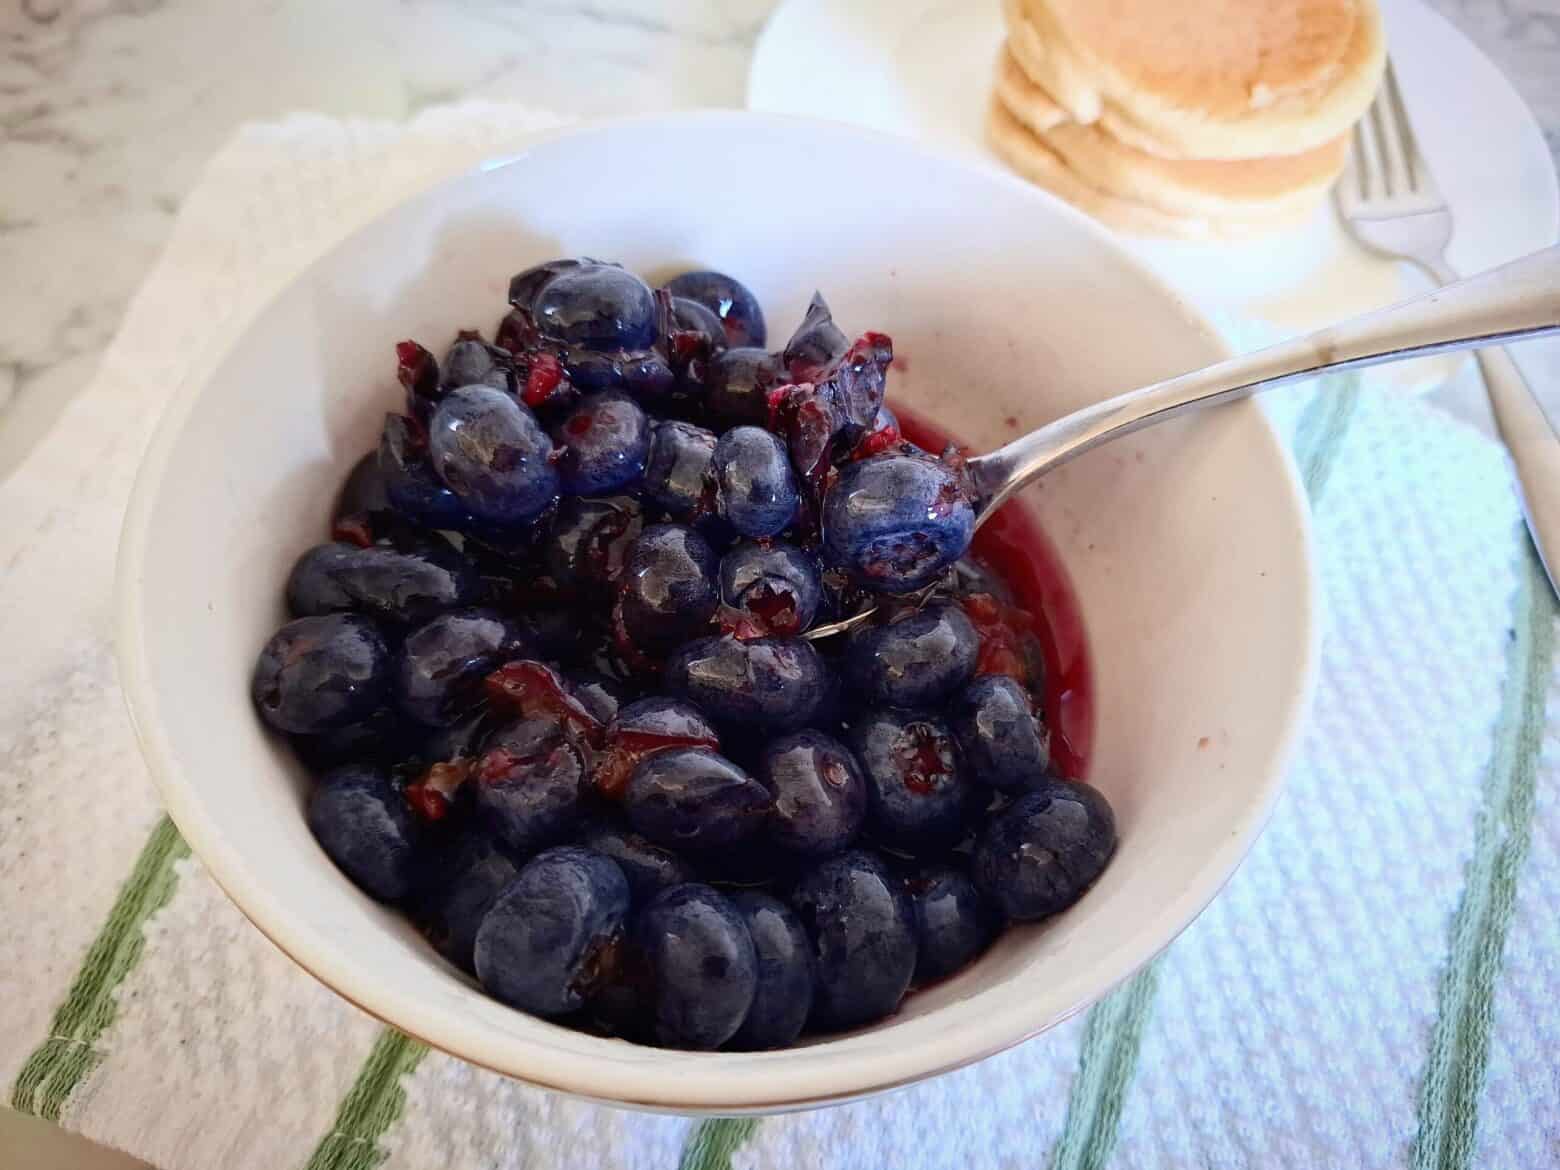
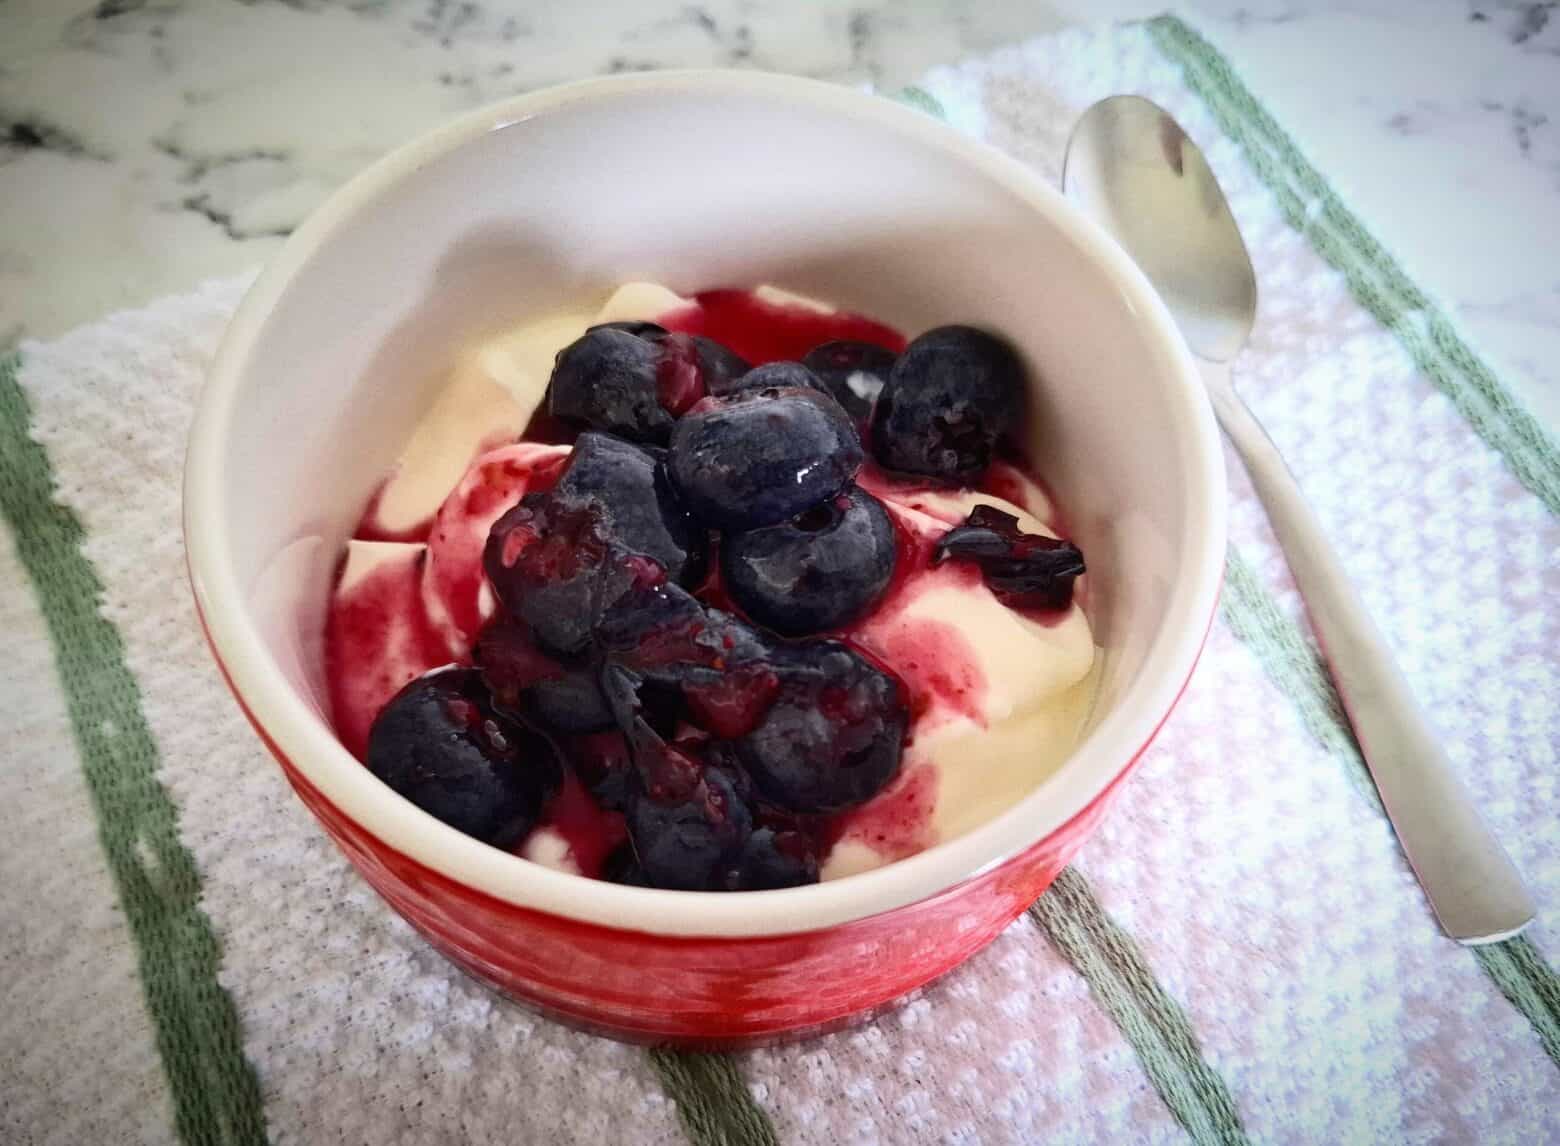
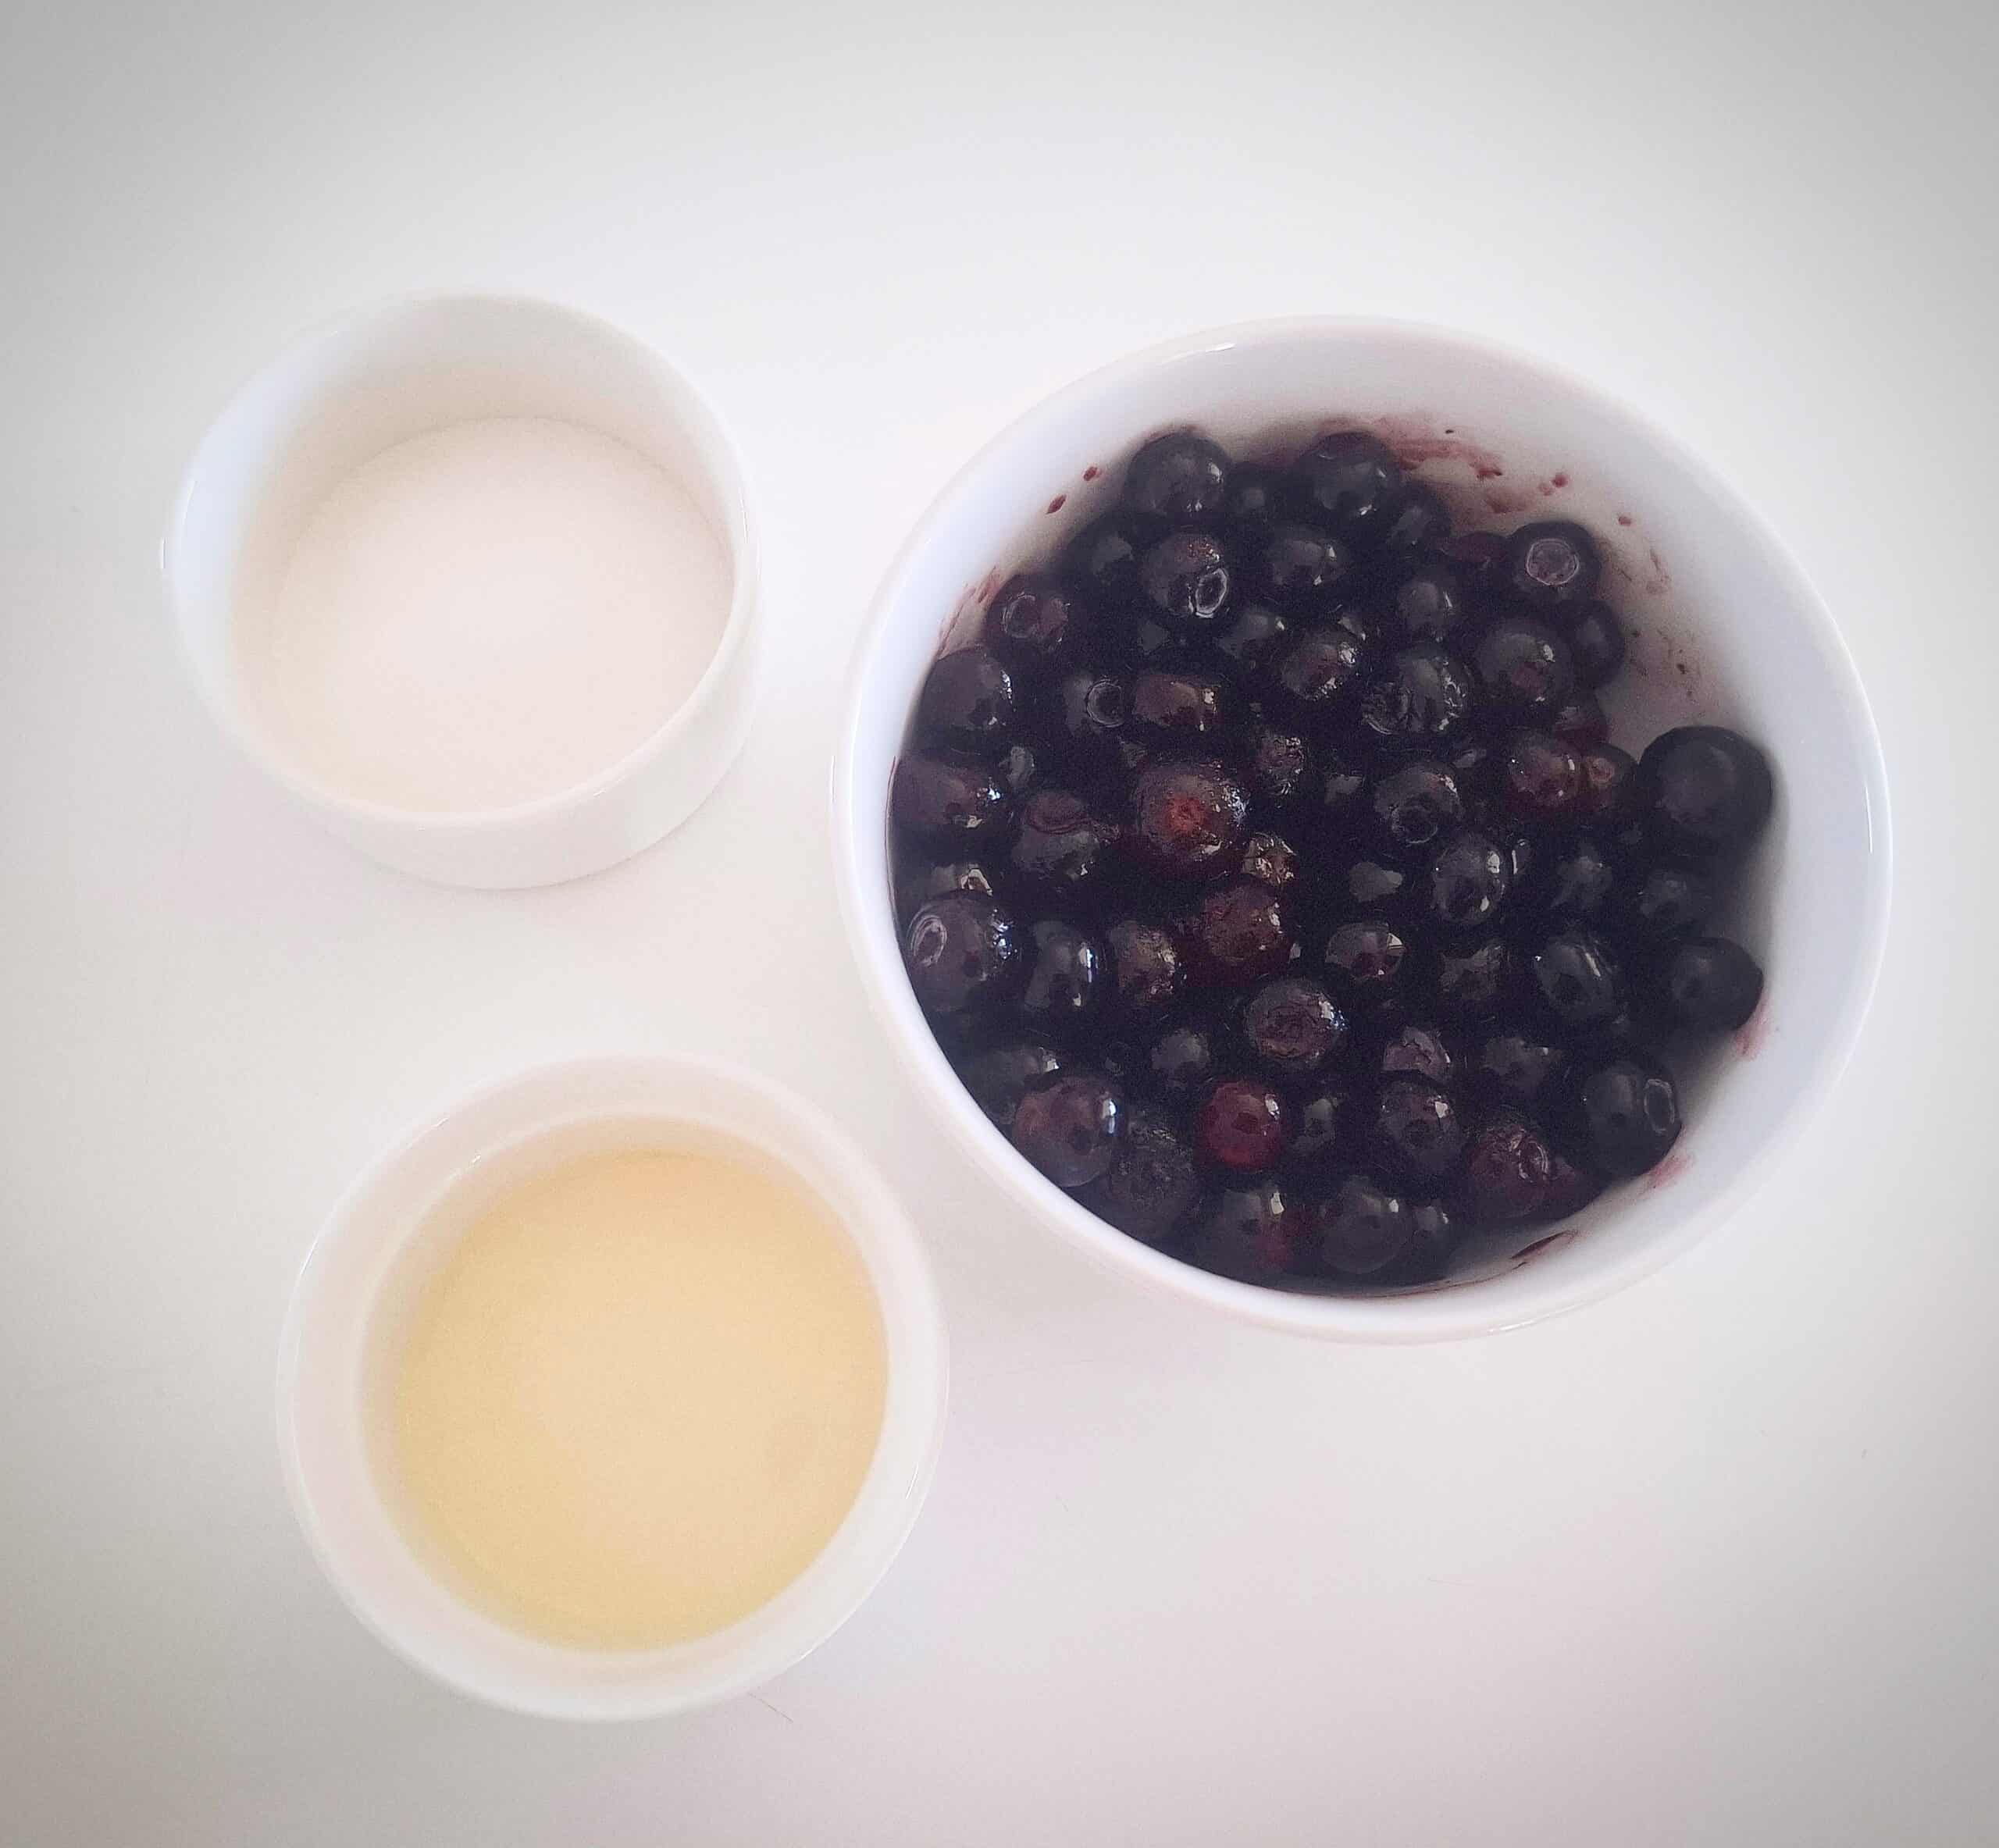
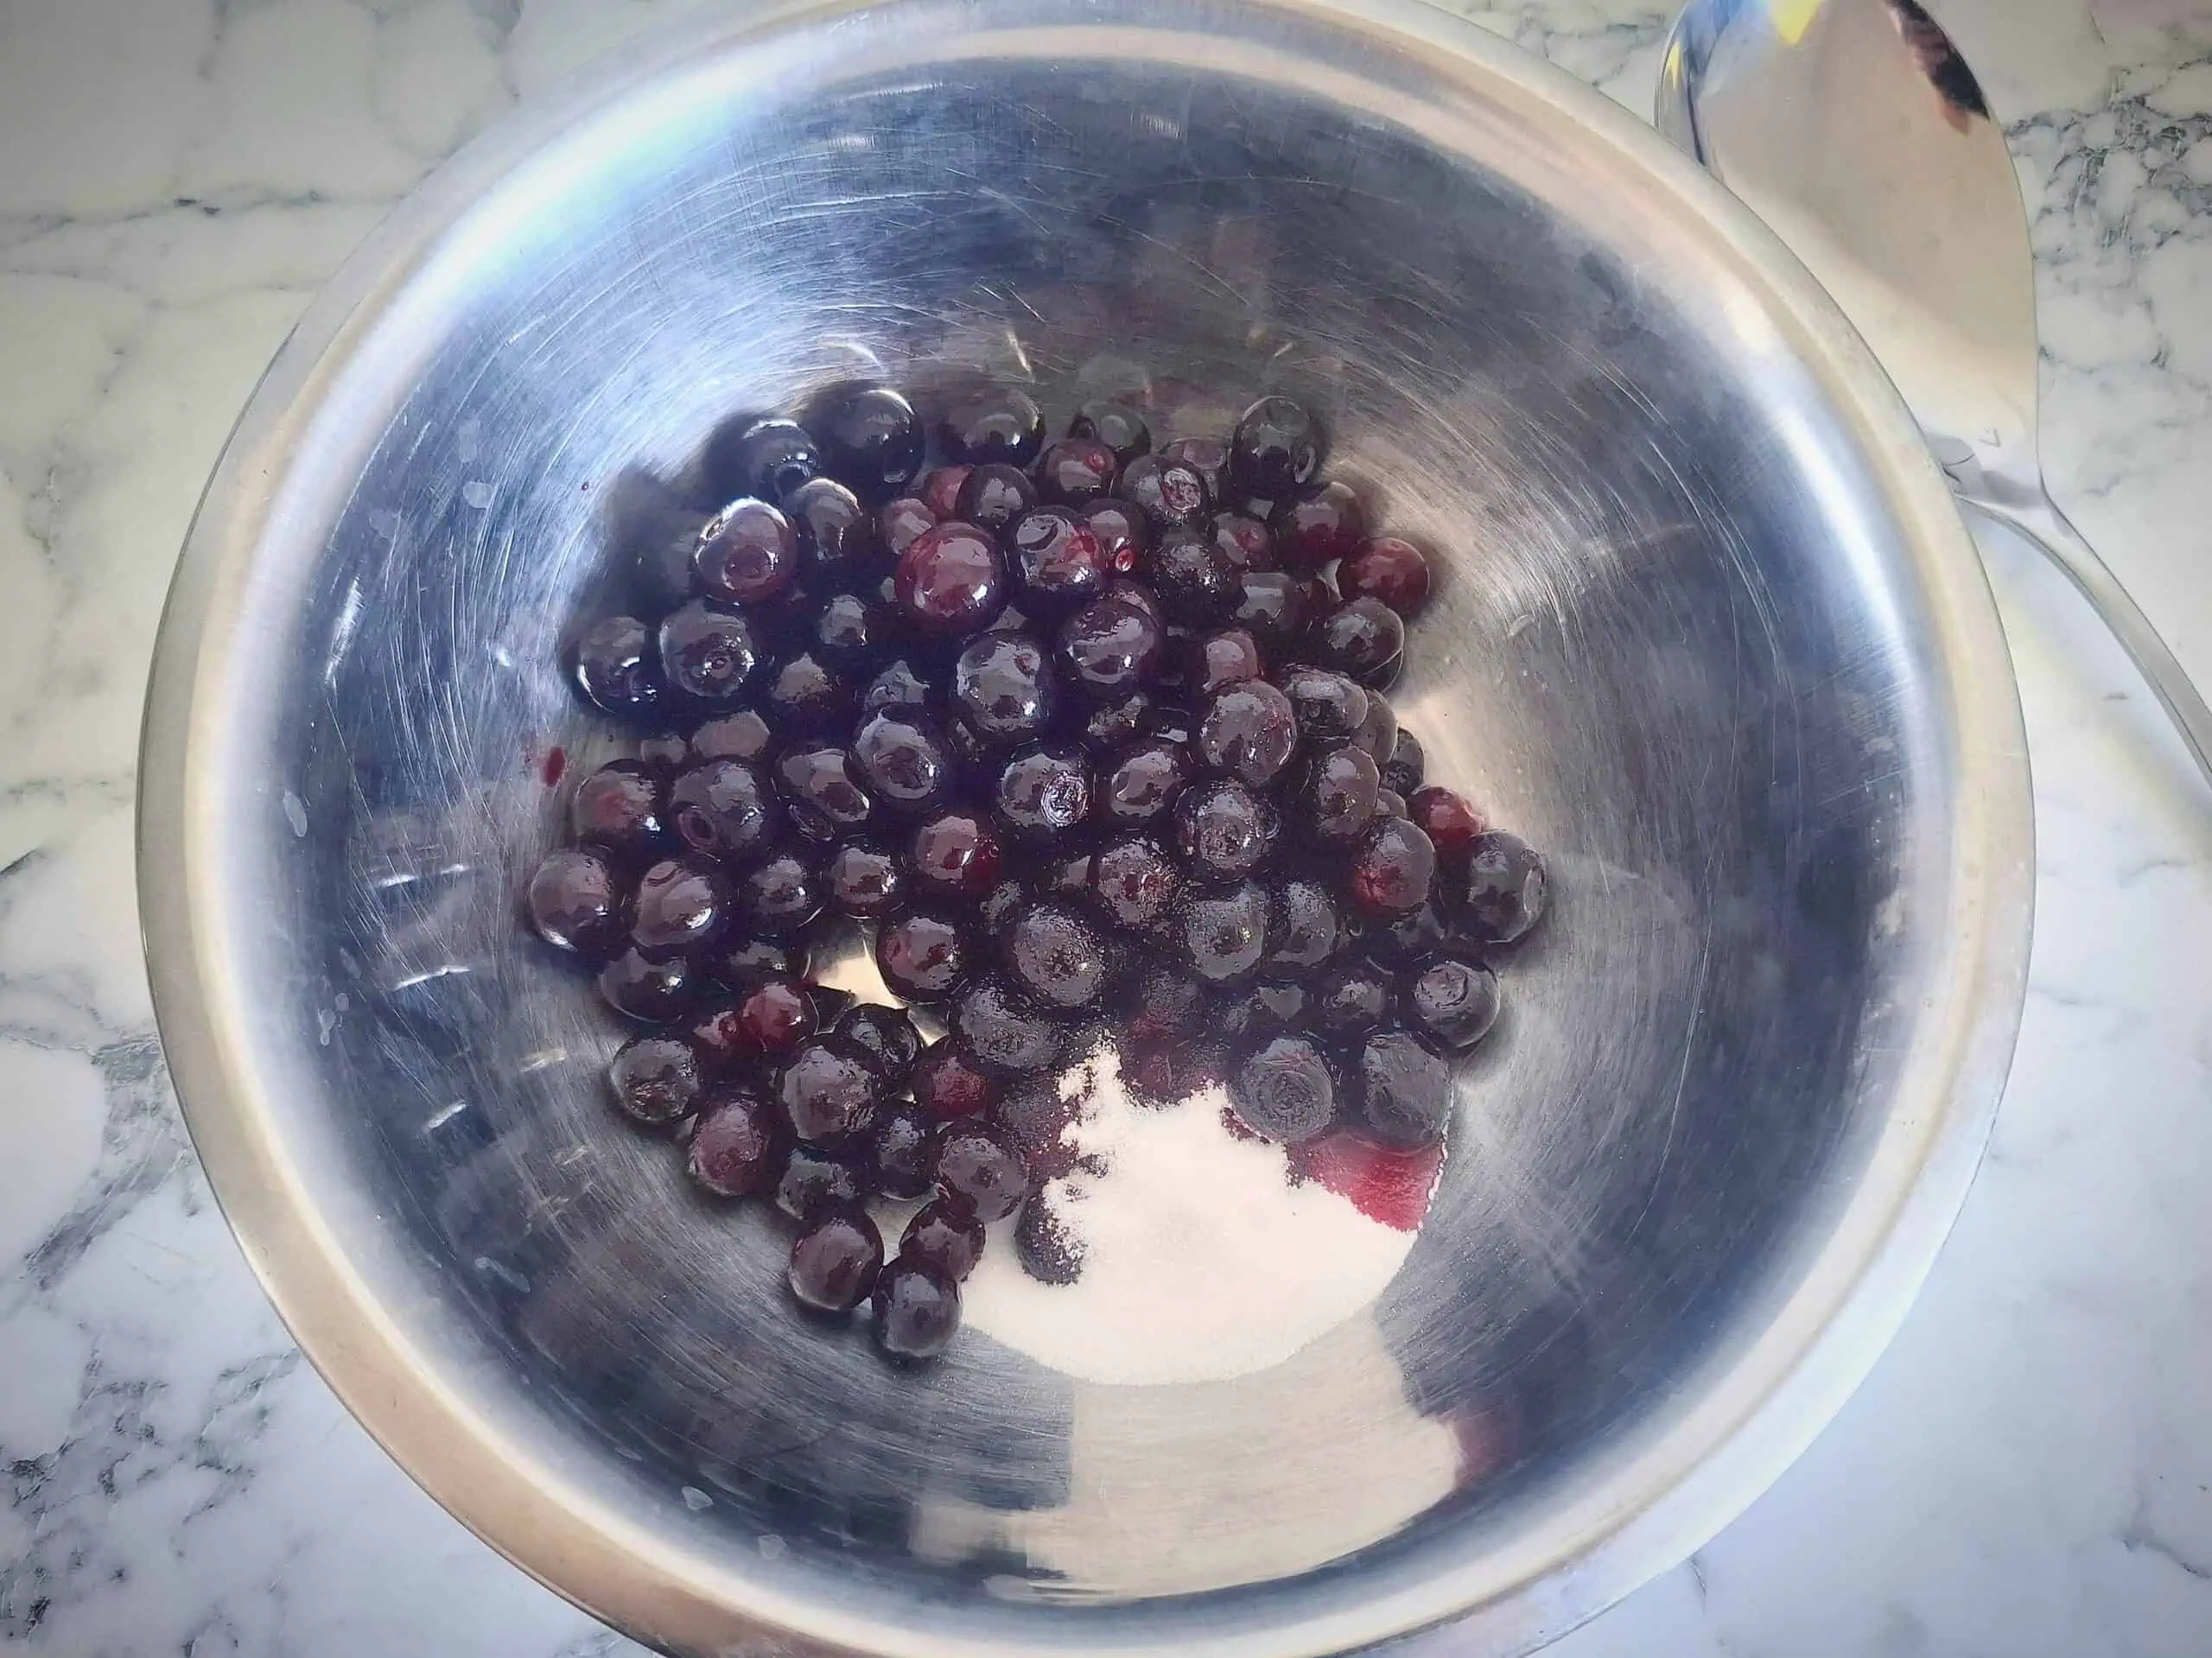
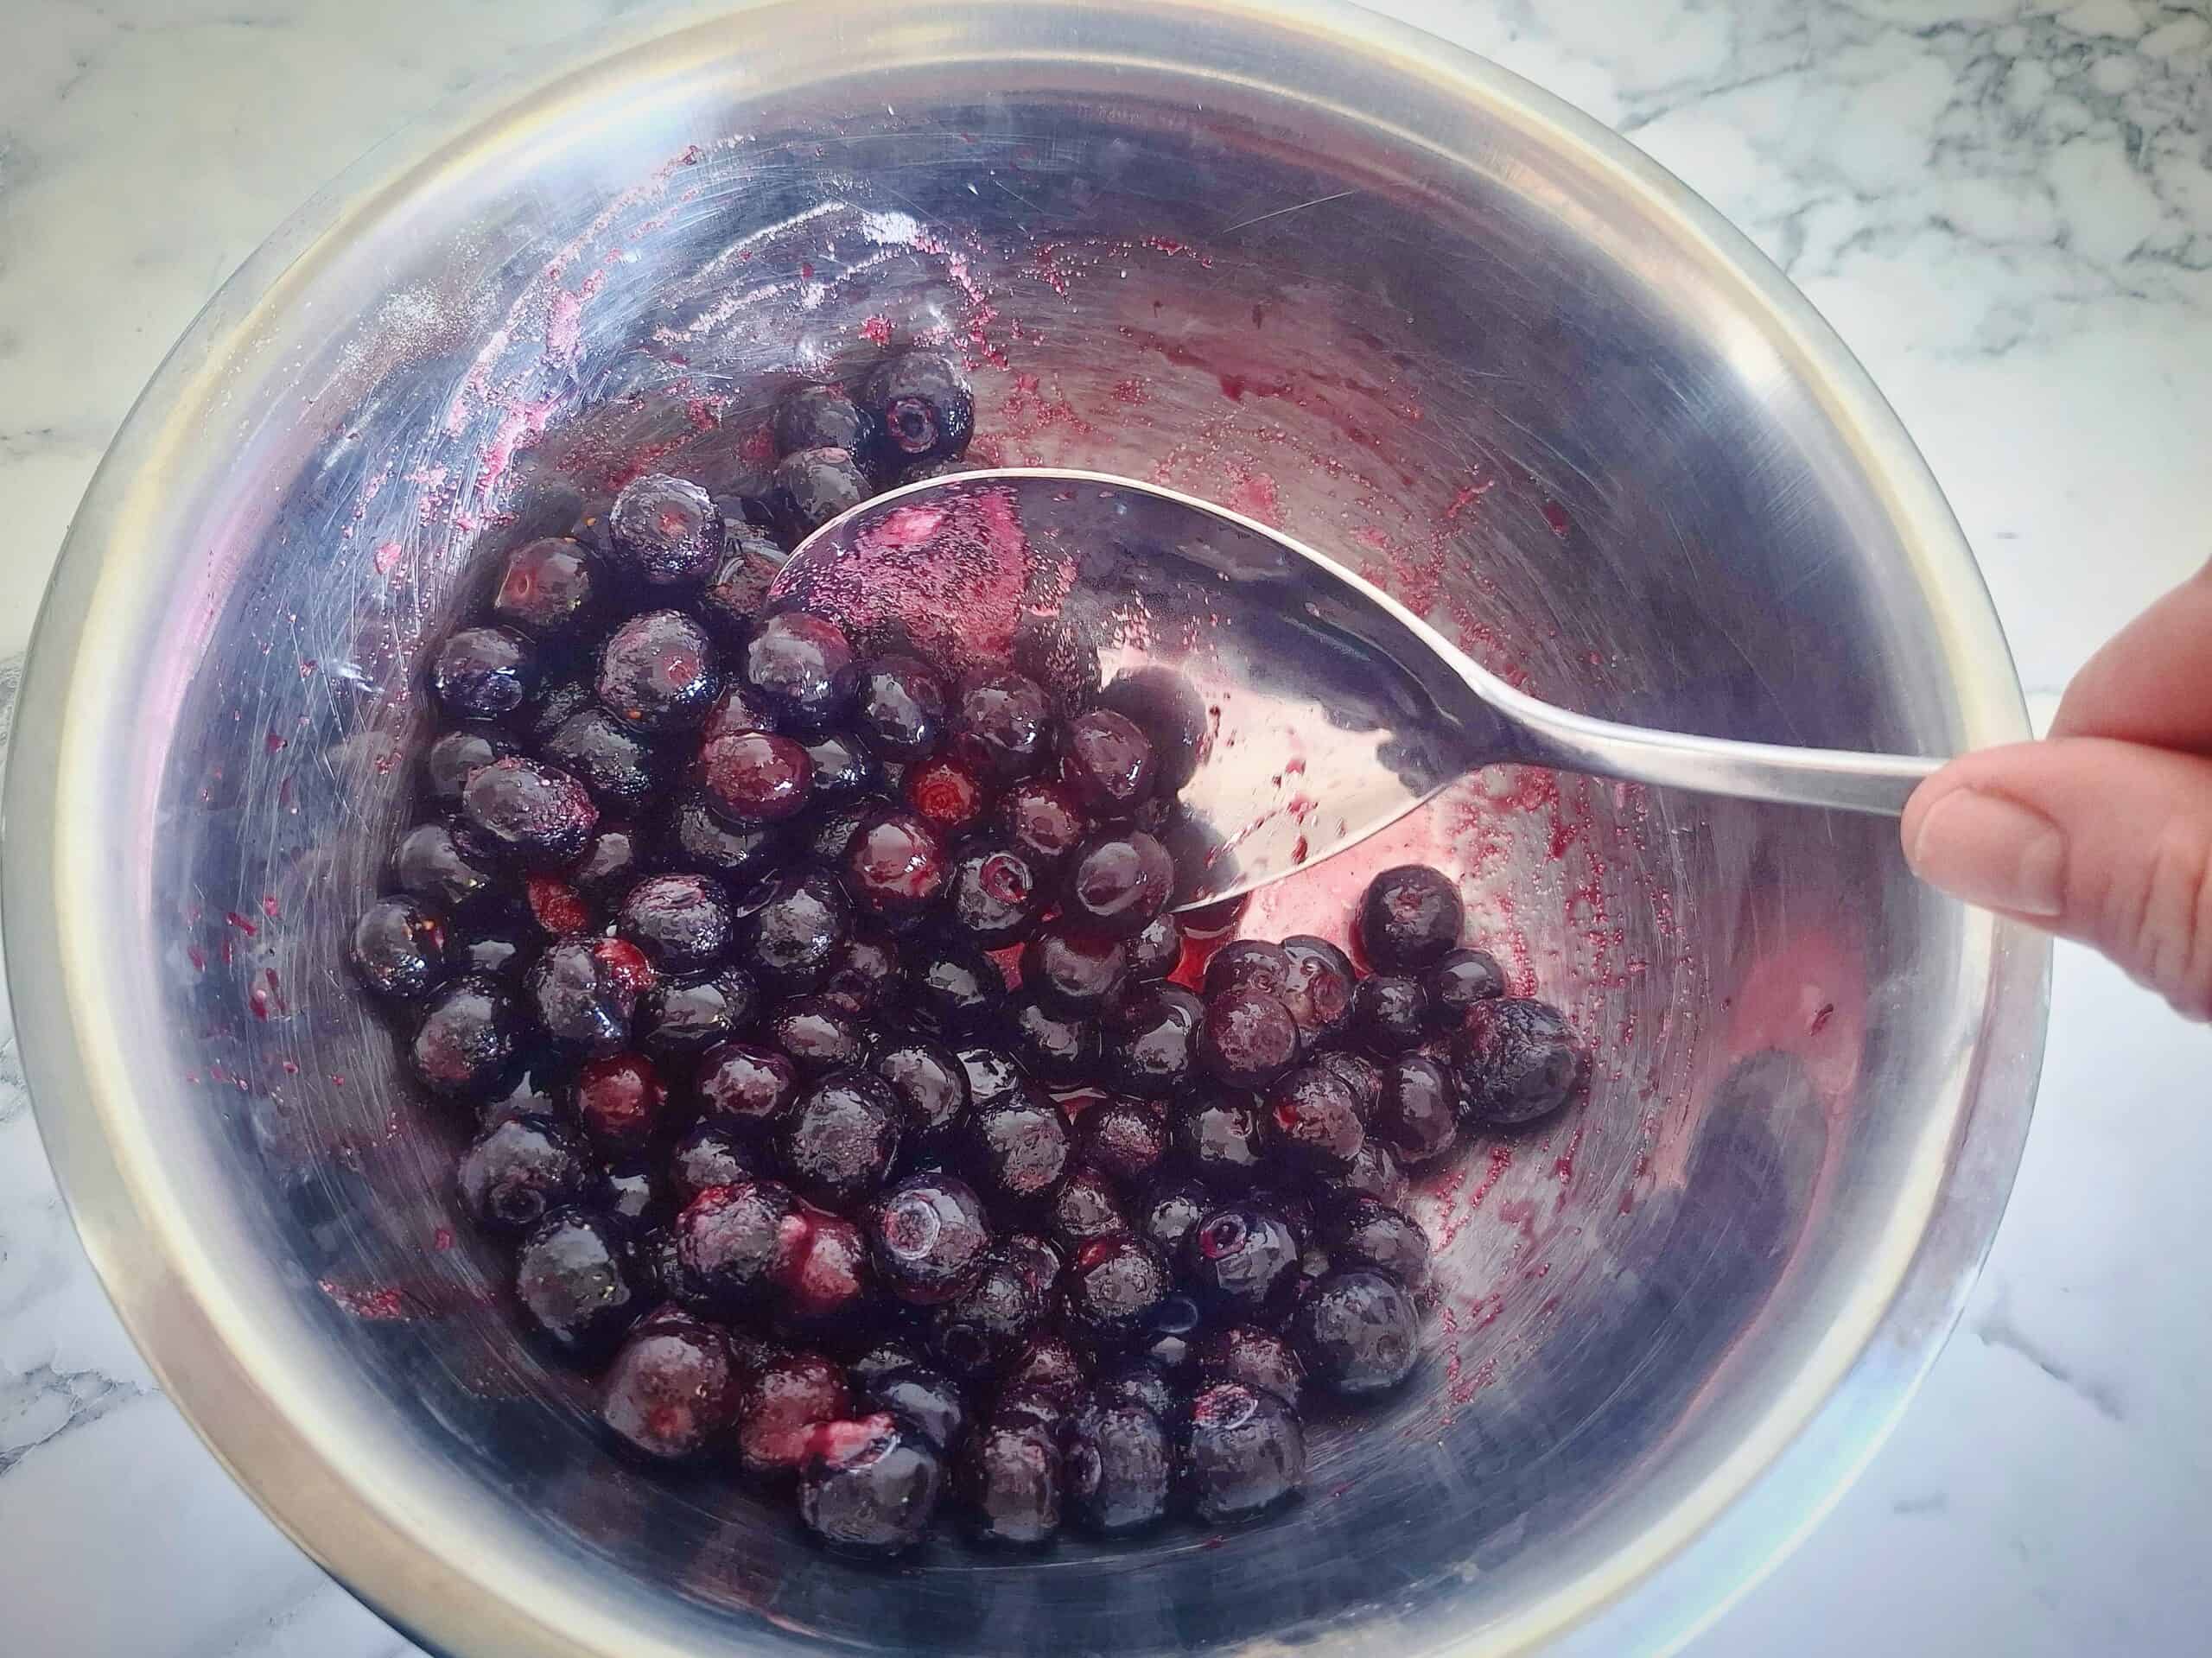
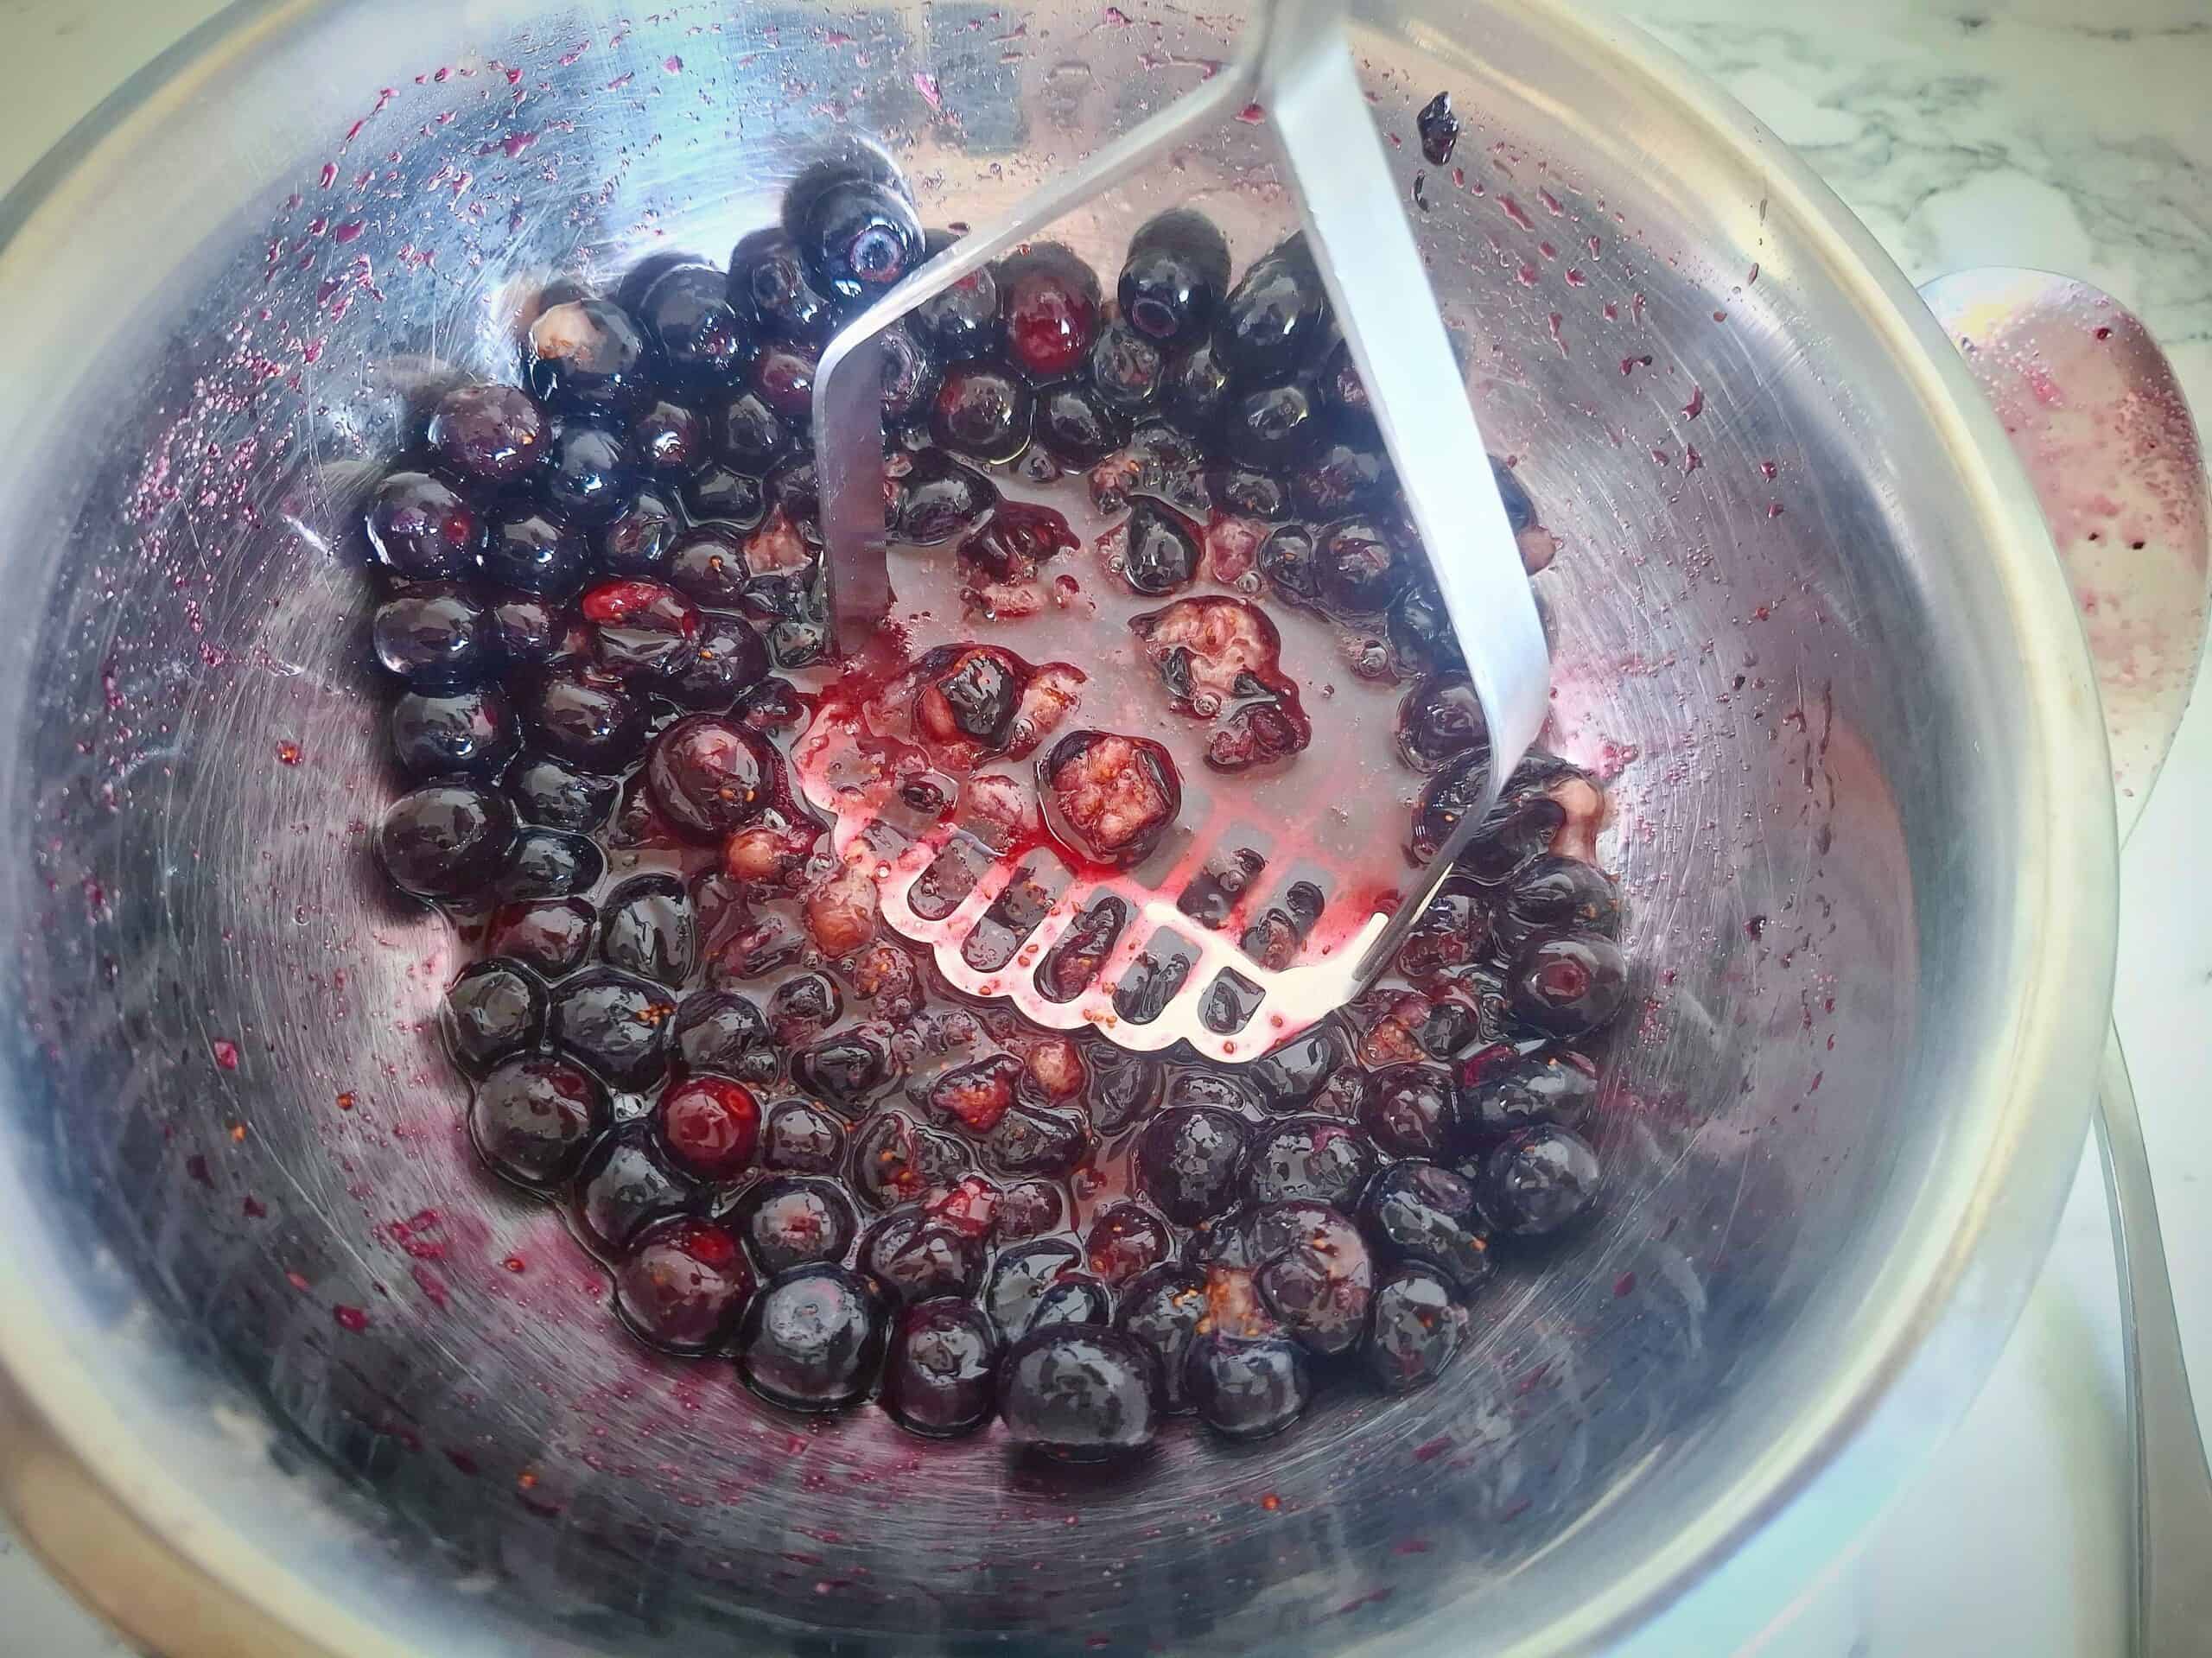
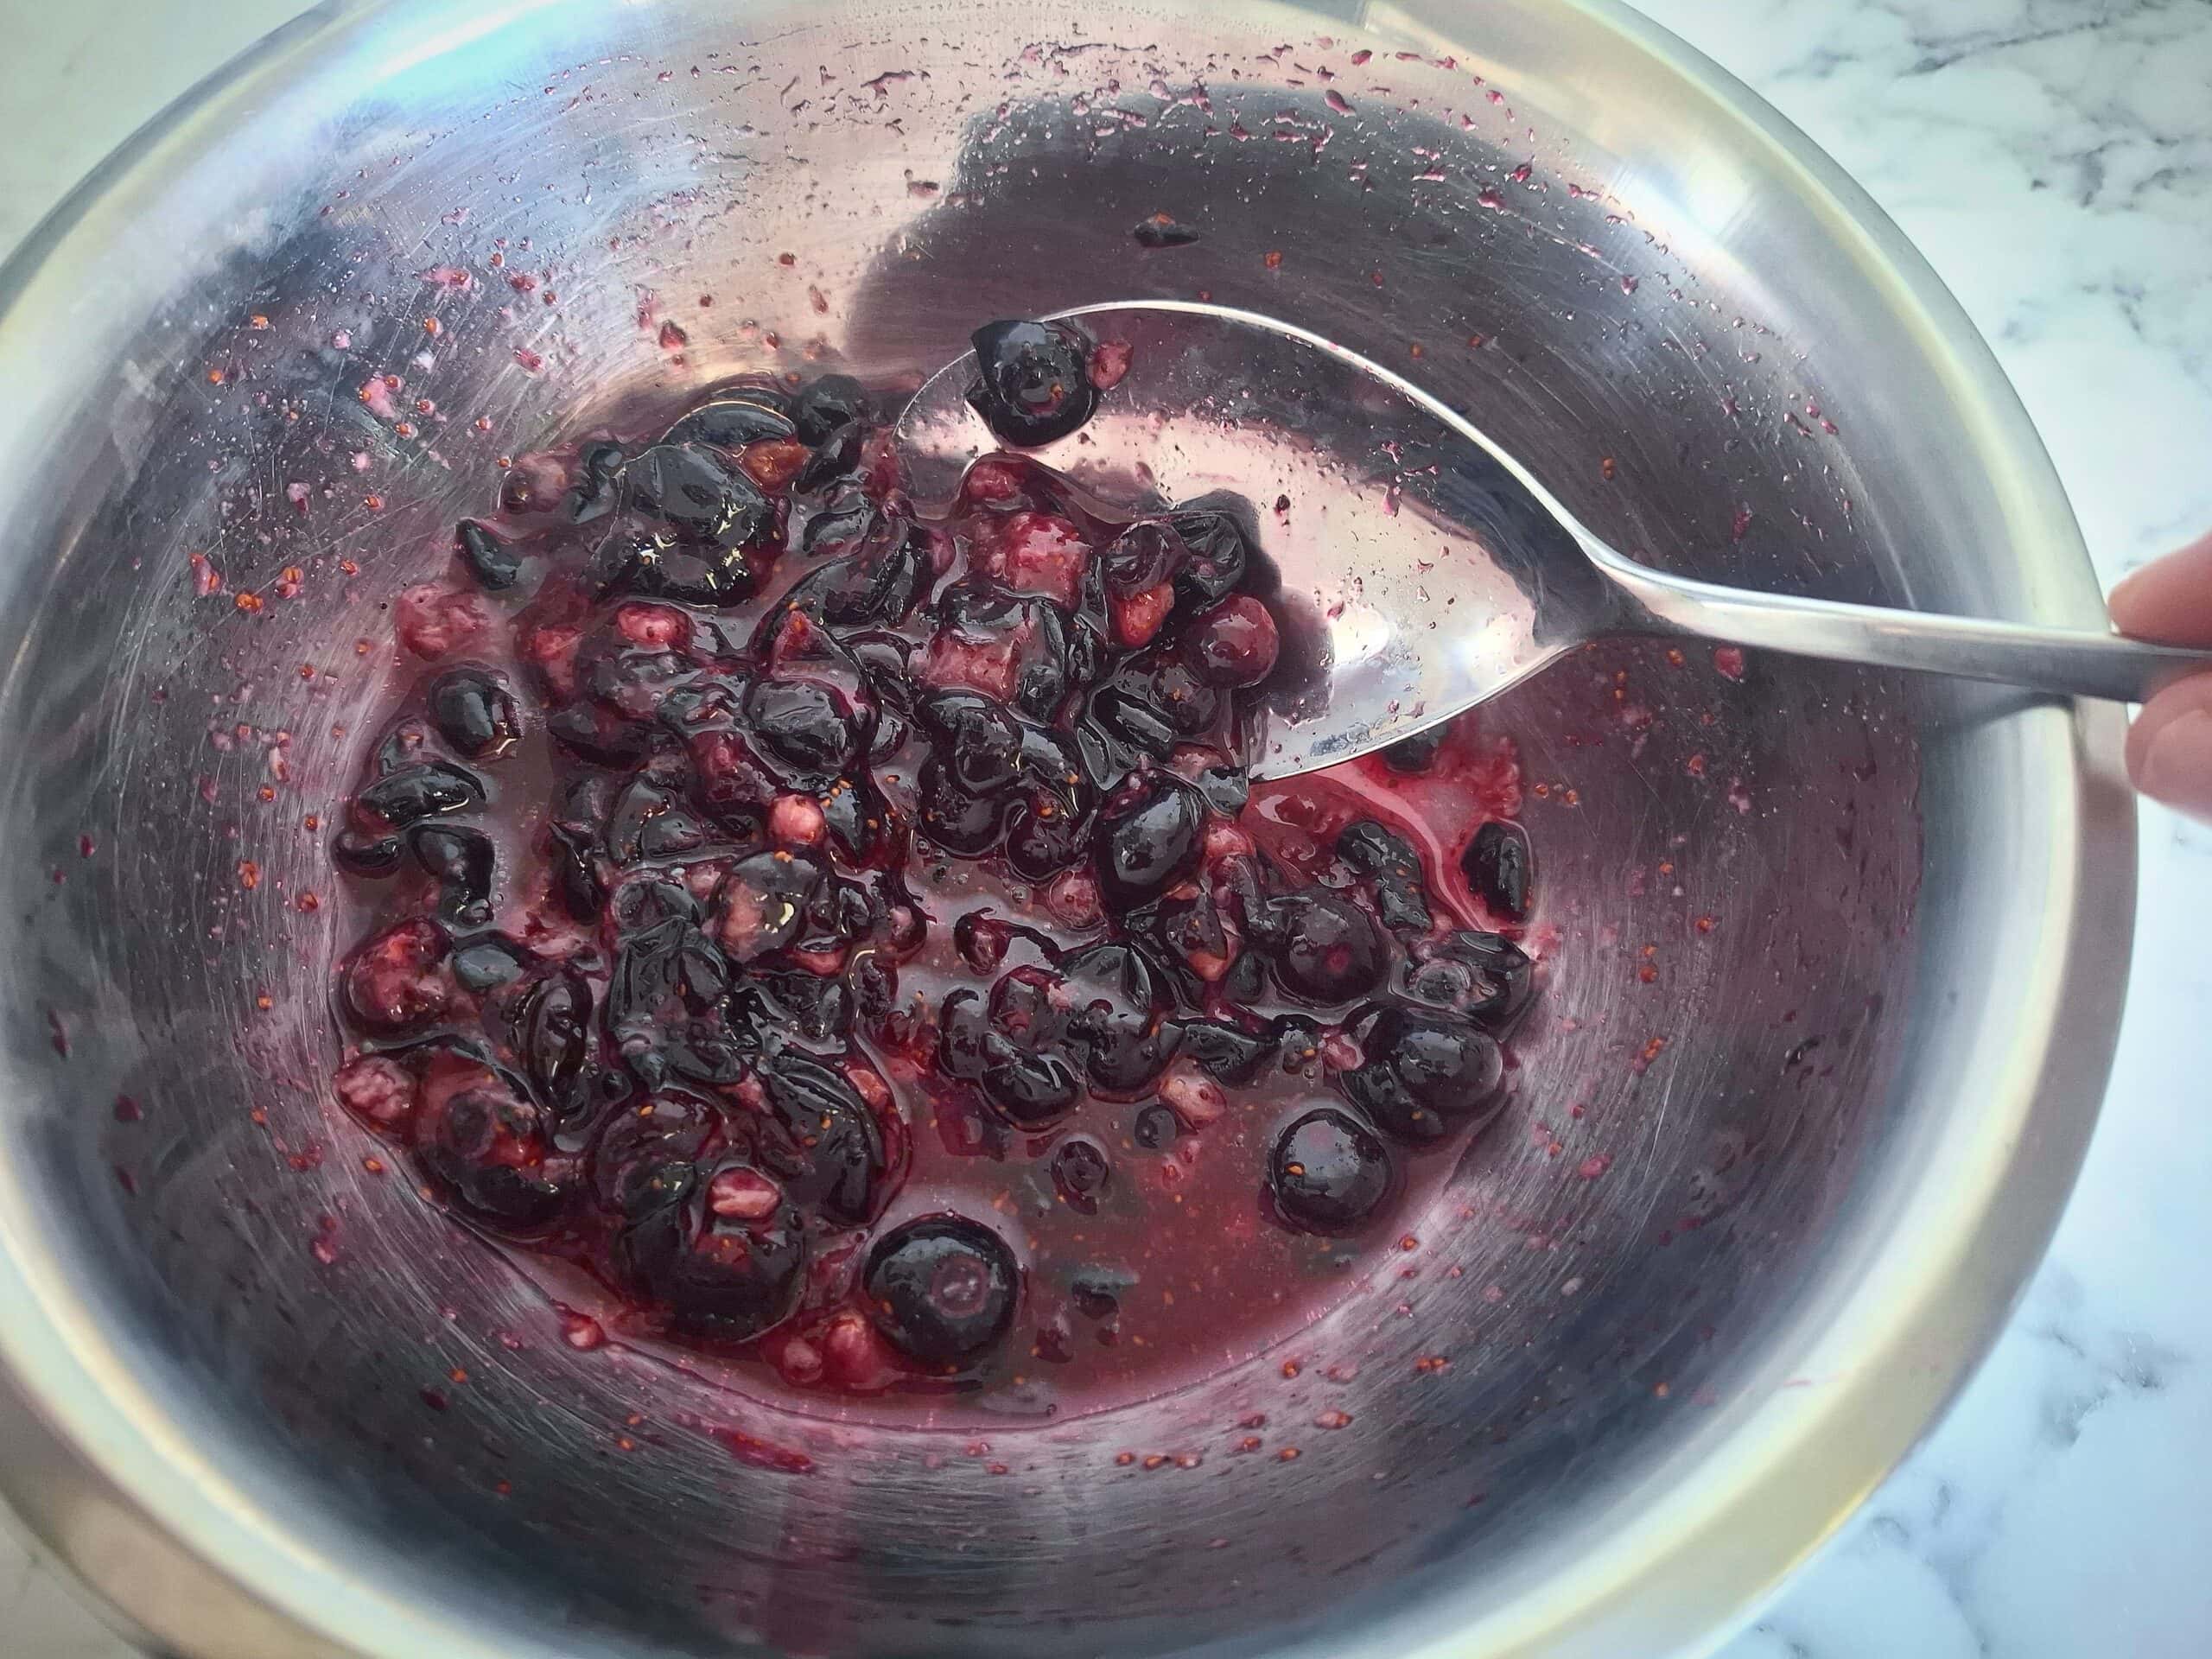
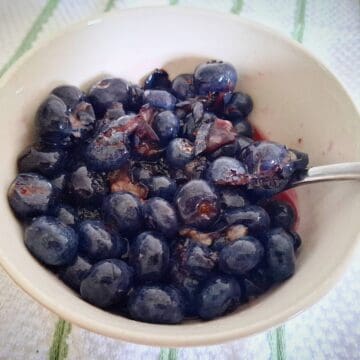
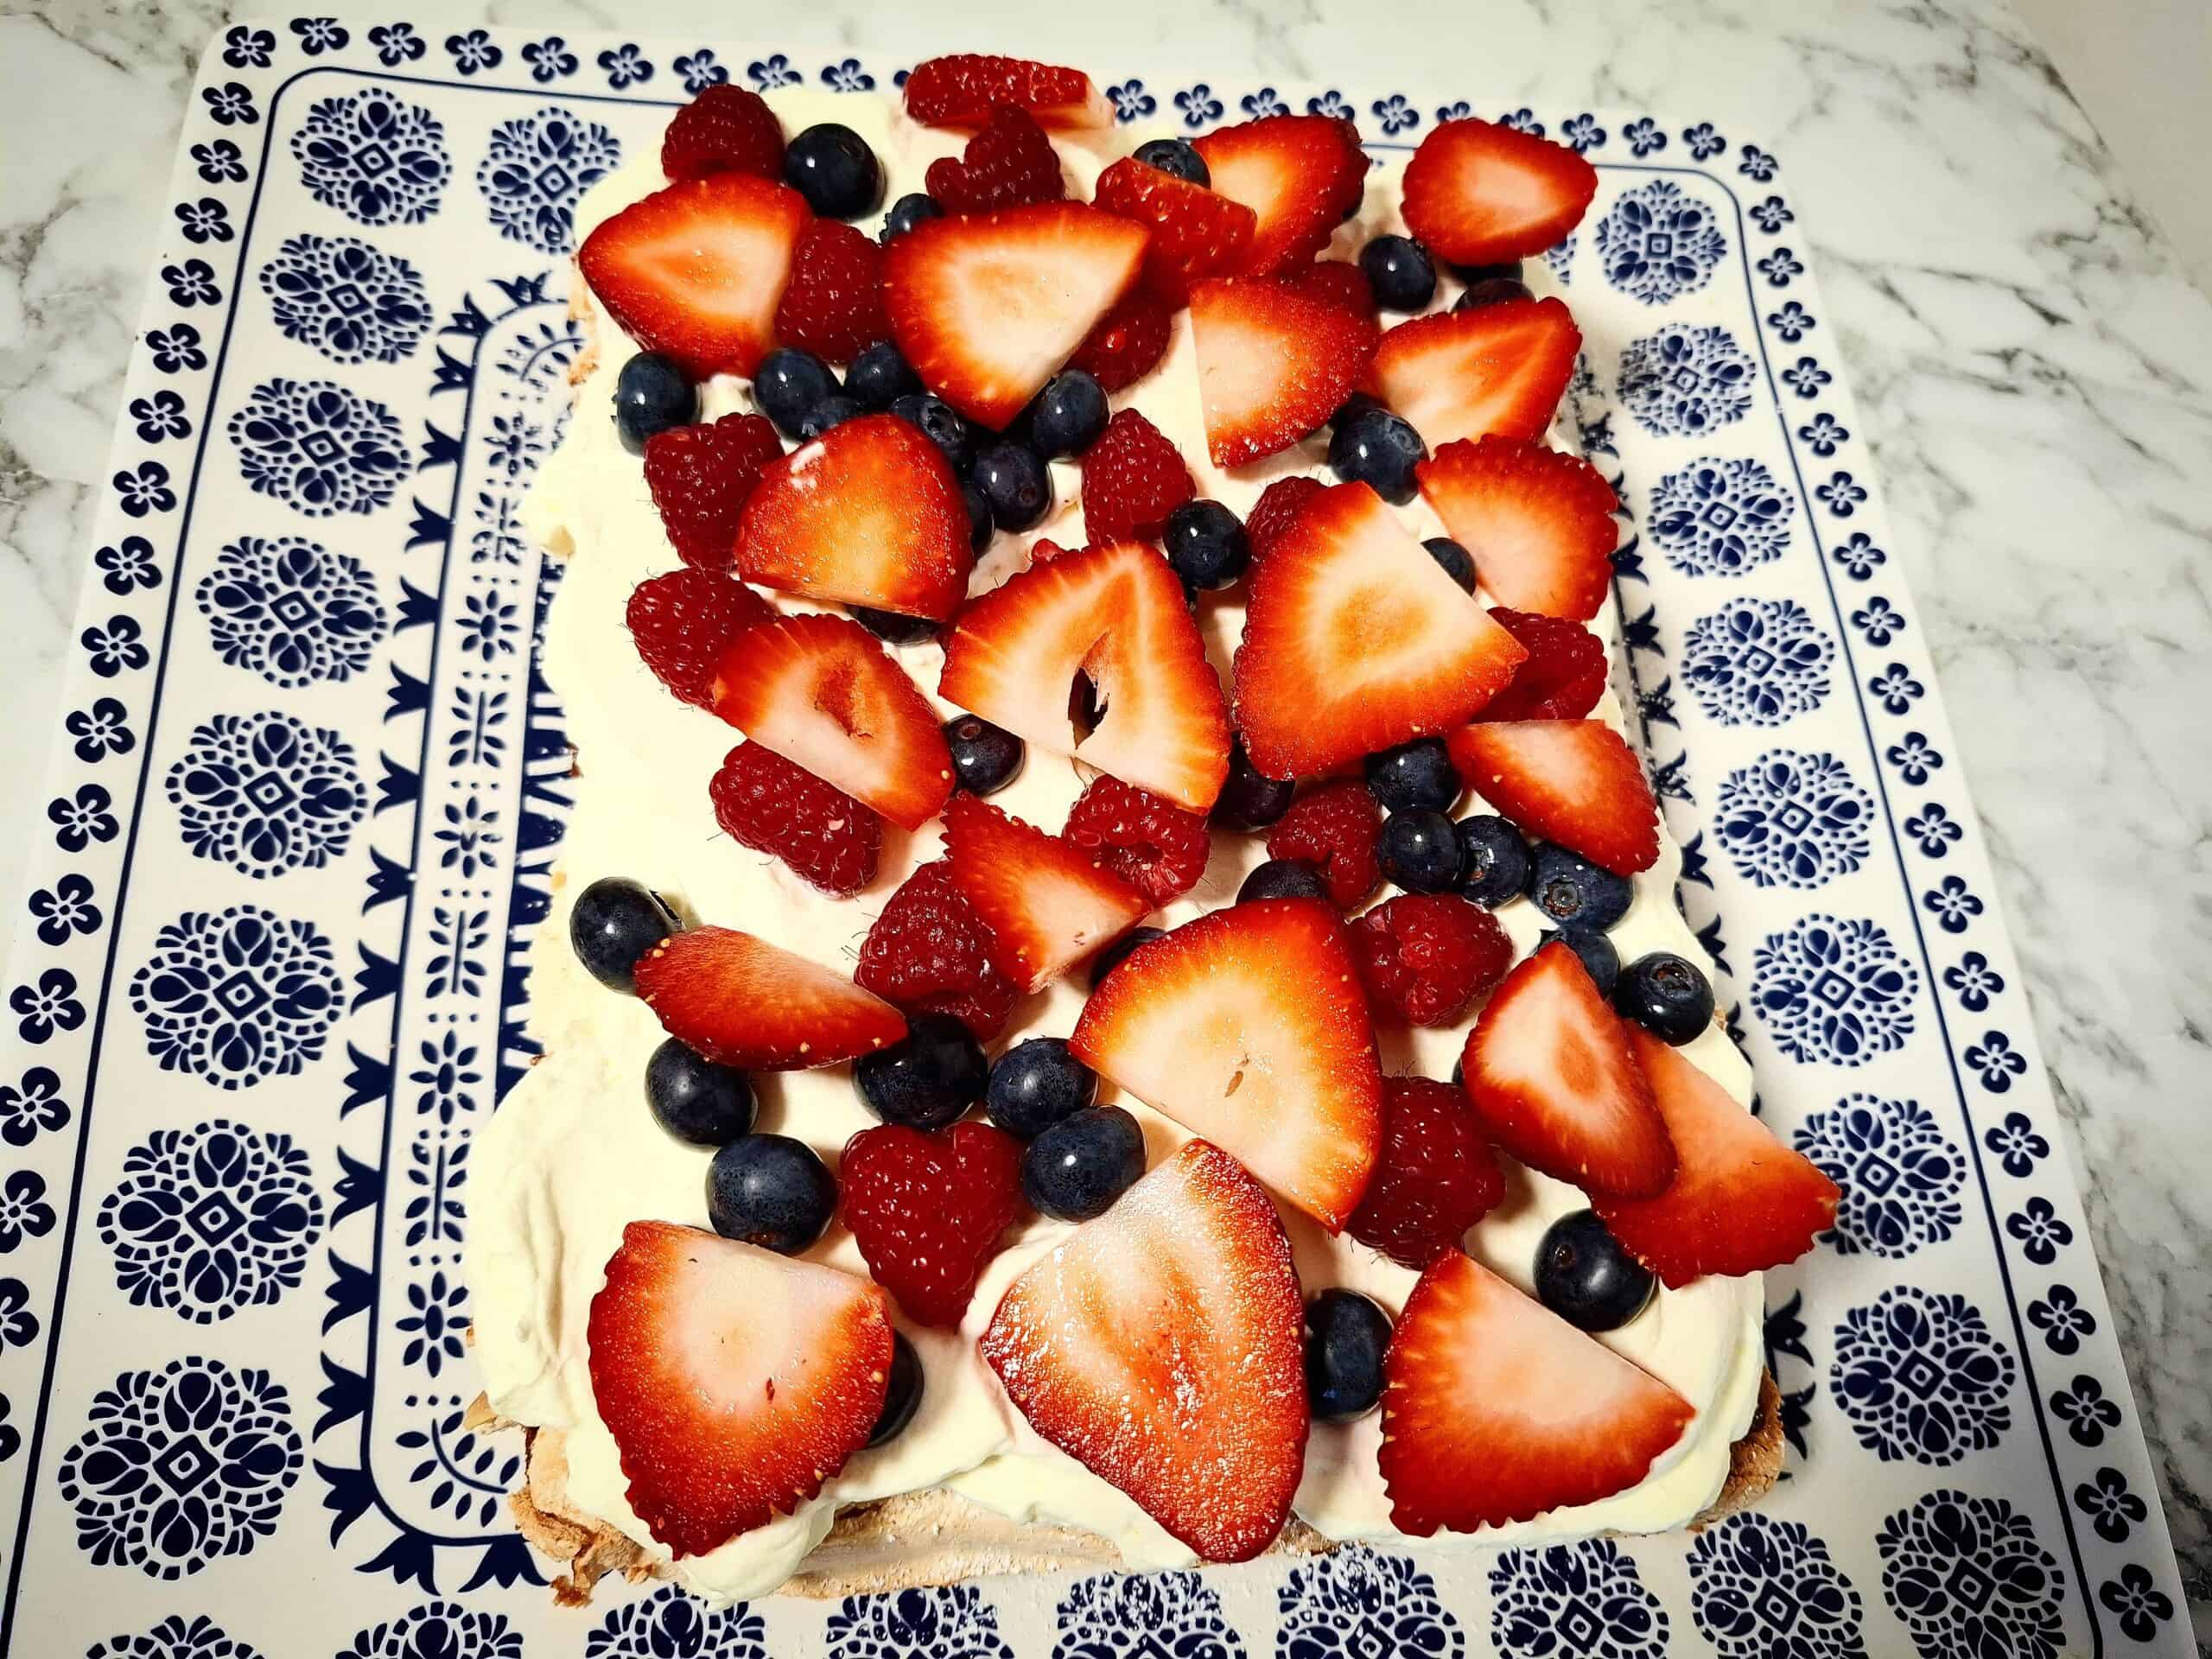
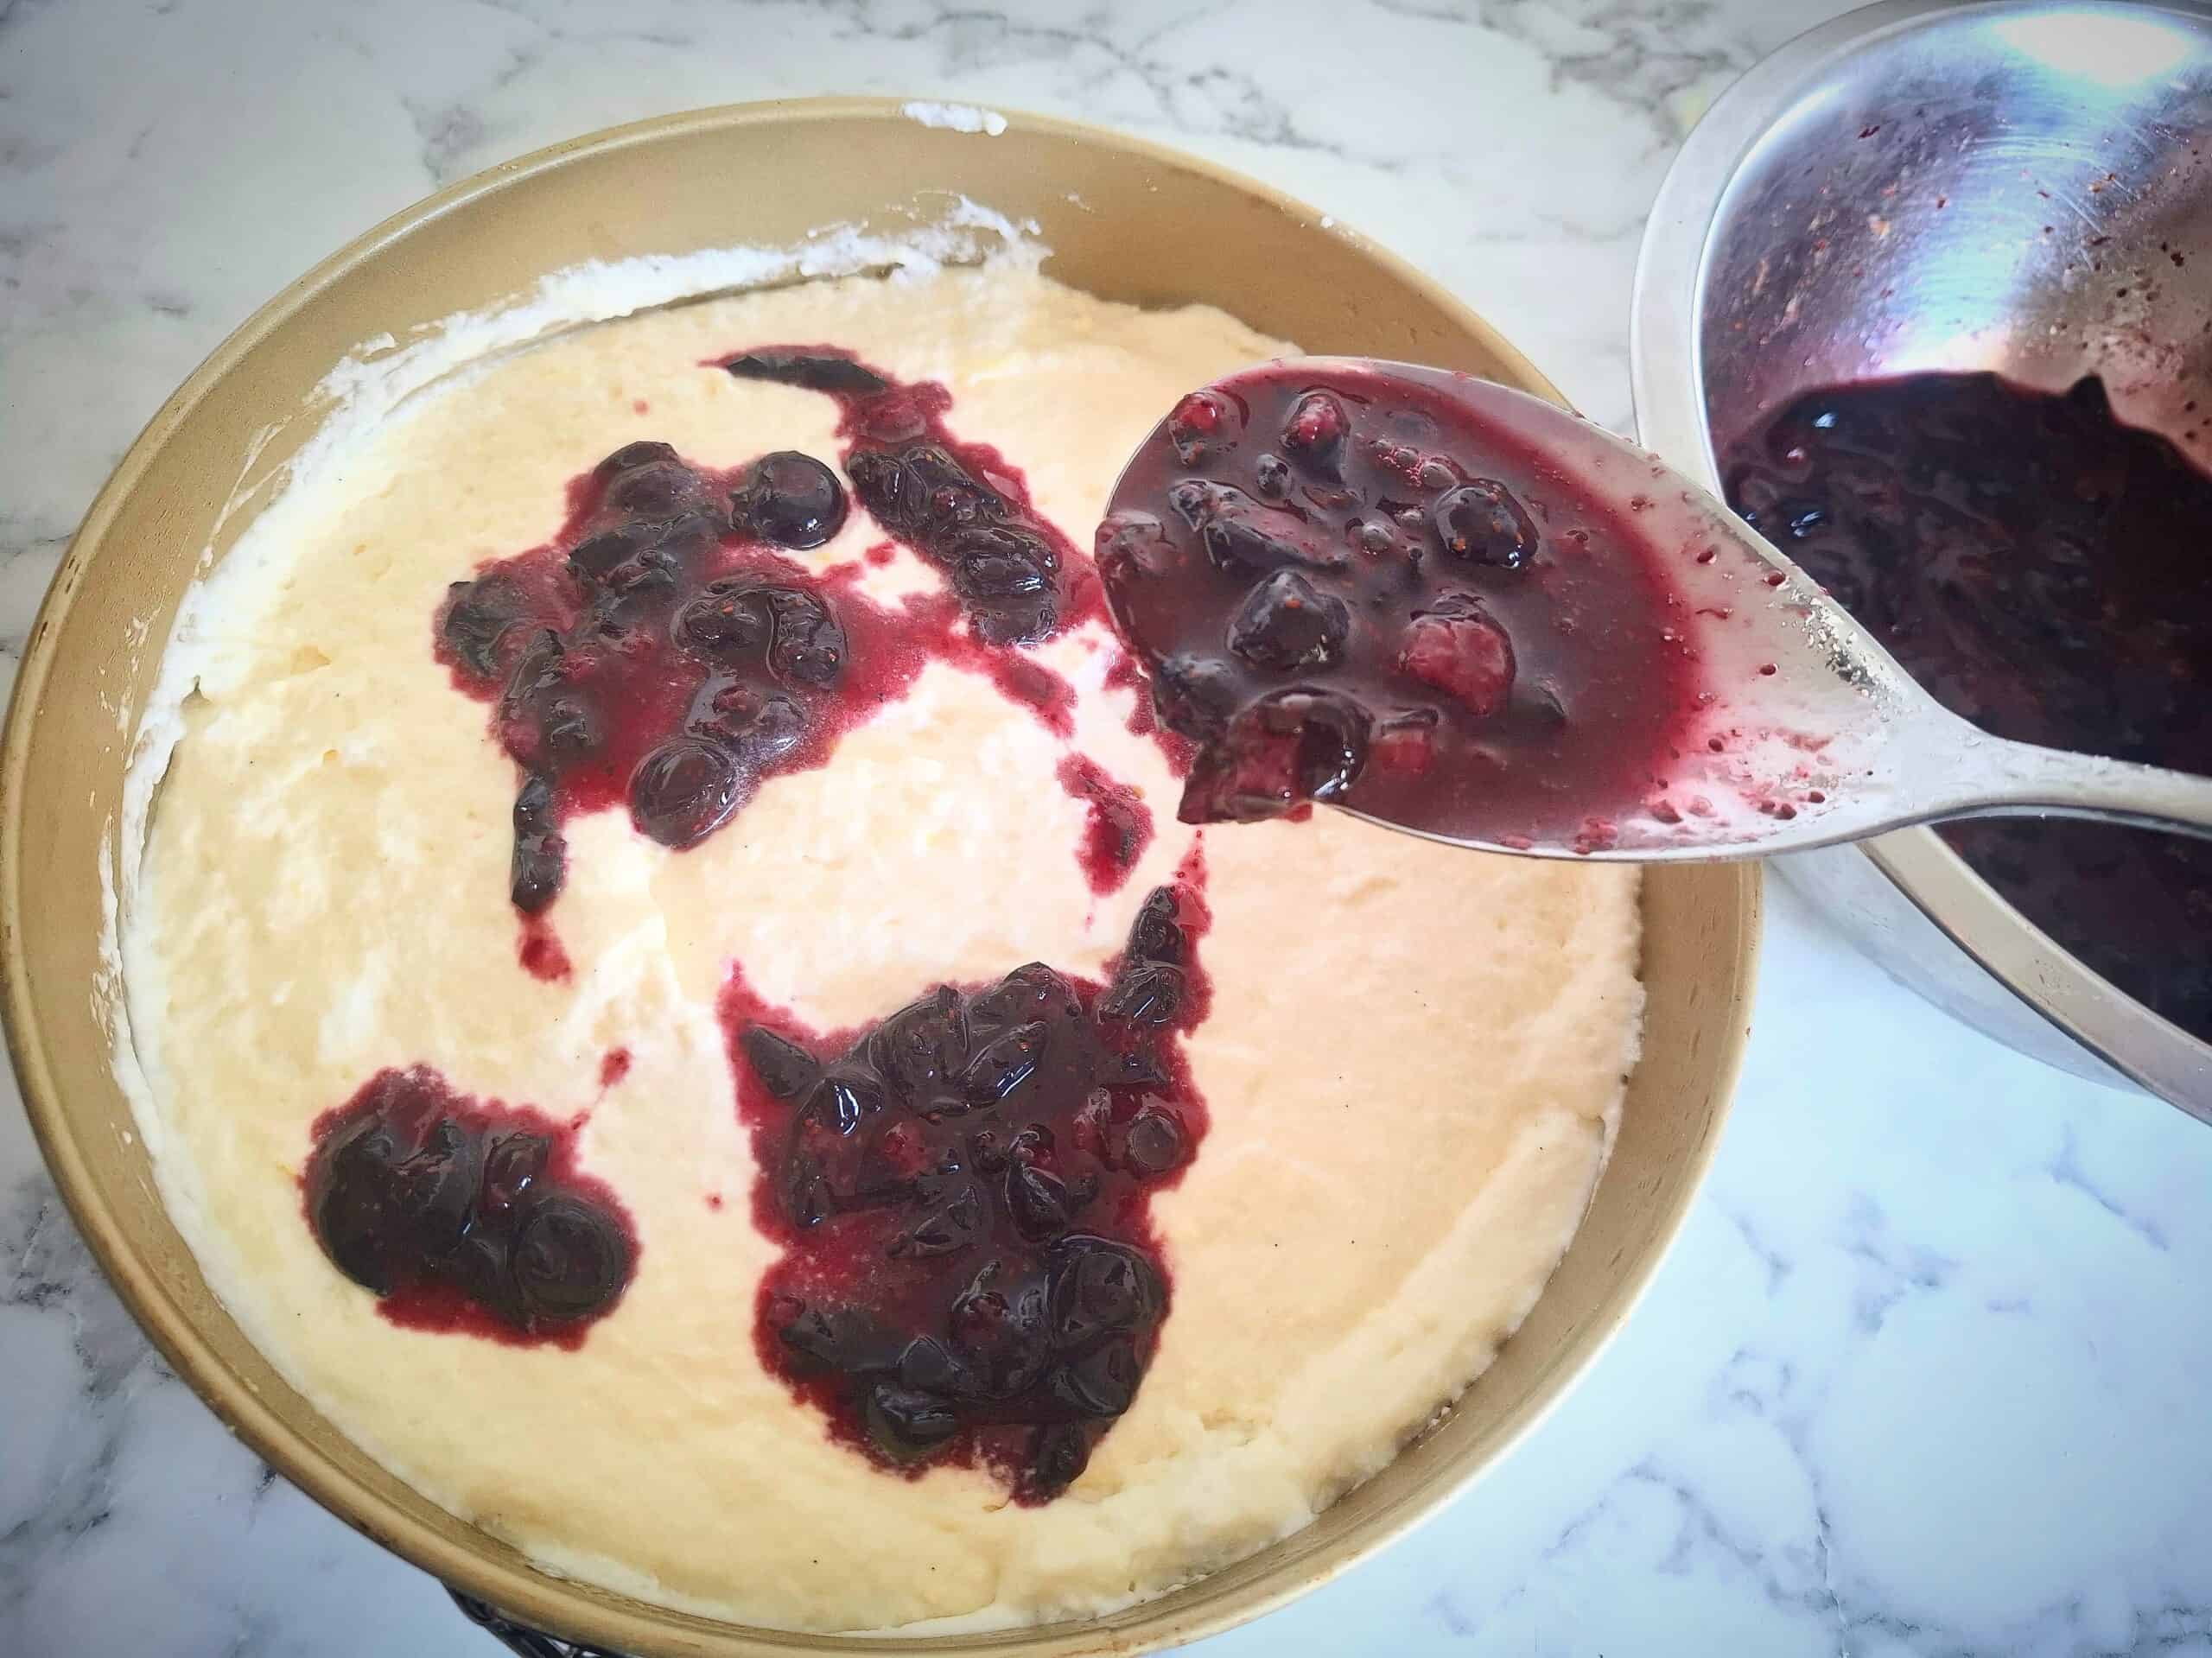
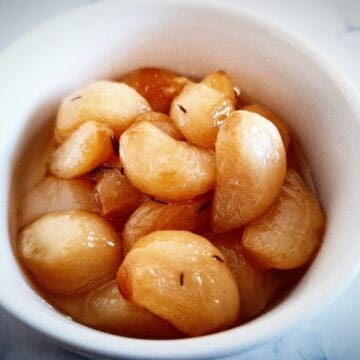
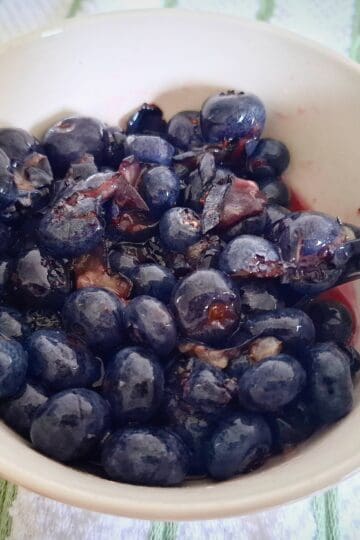
These banana almond pancakes pairs well with my Macerated blueberries on this site.
[feast_advanced_jump_to]What are banana pikelets?
Banana pikelets are small, thick gluten dairy free pancakes. Made from a simple batter of mashed bananas almond meal, rolled oats and free ranged eggs flavored with vanilla, they are cooked on a hot plate or frying pan until golden on the oustide while soft and tender on the inside. They are healthier than standard pancakes/pikelets but equally satisfying.
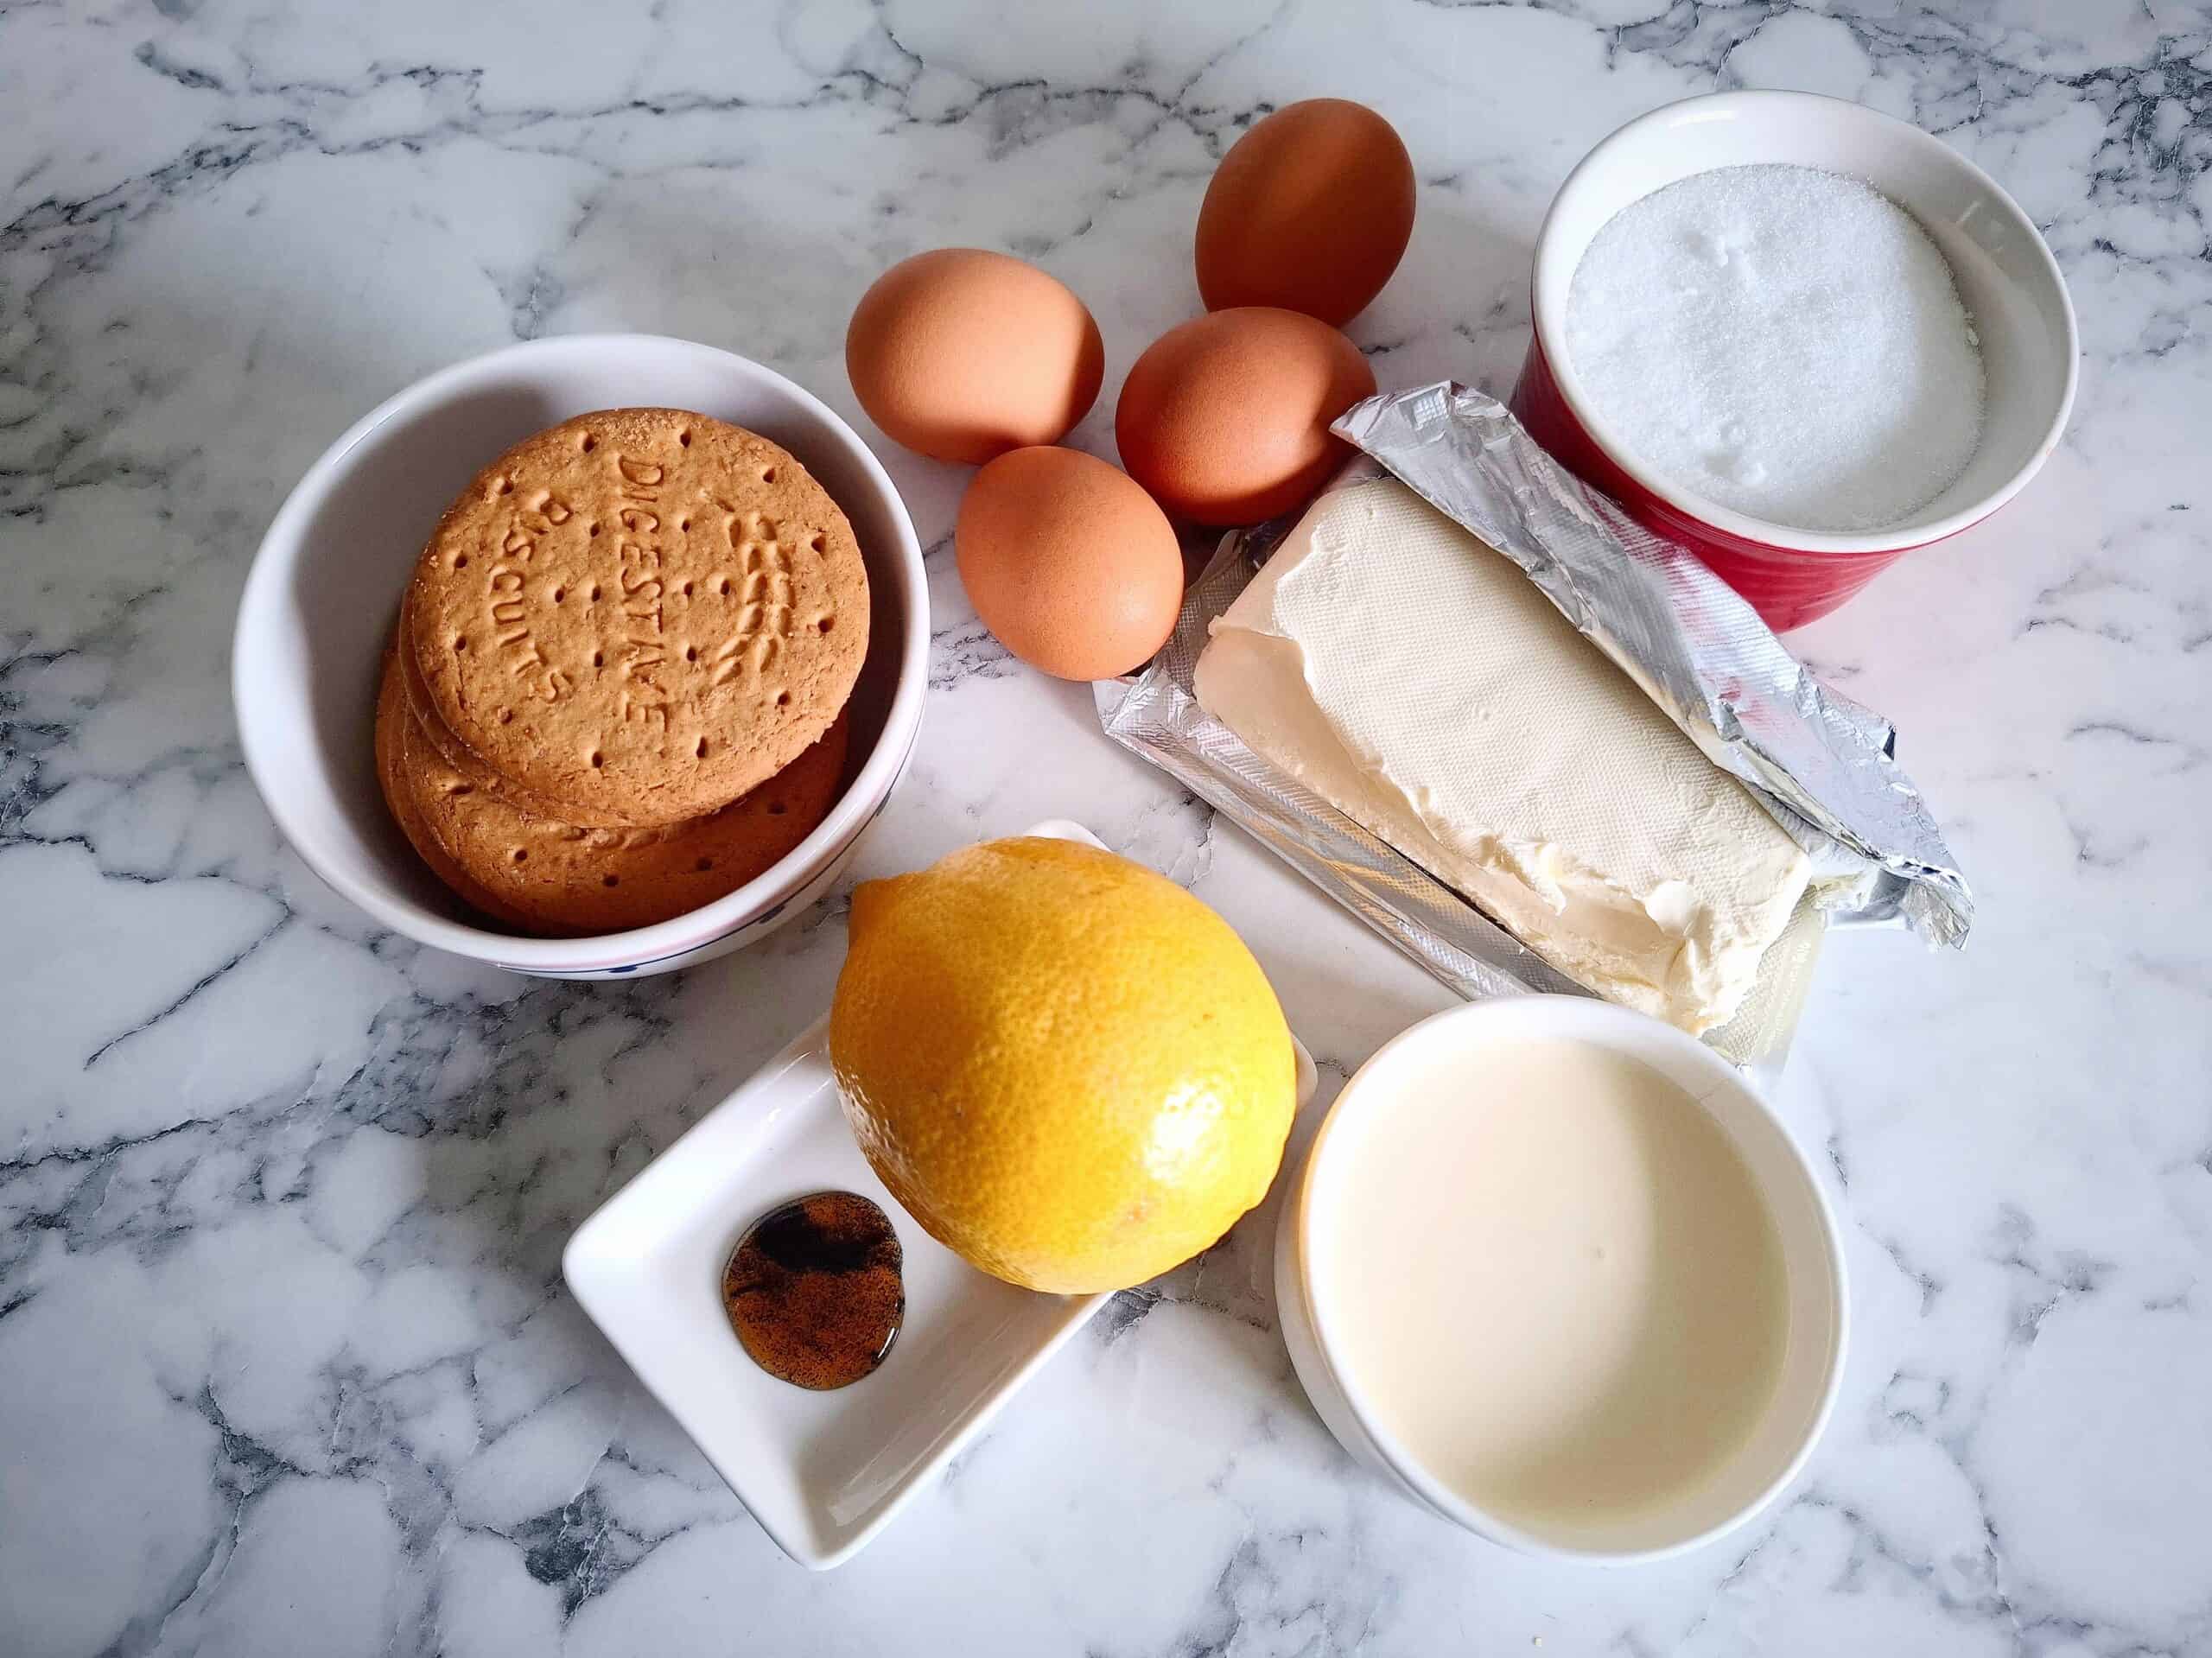
Ingredients for banana pikelets
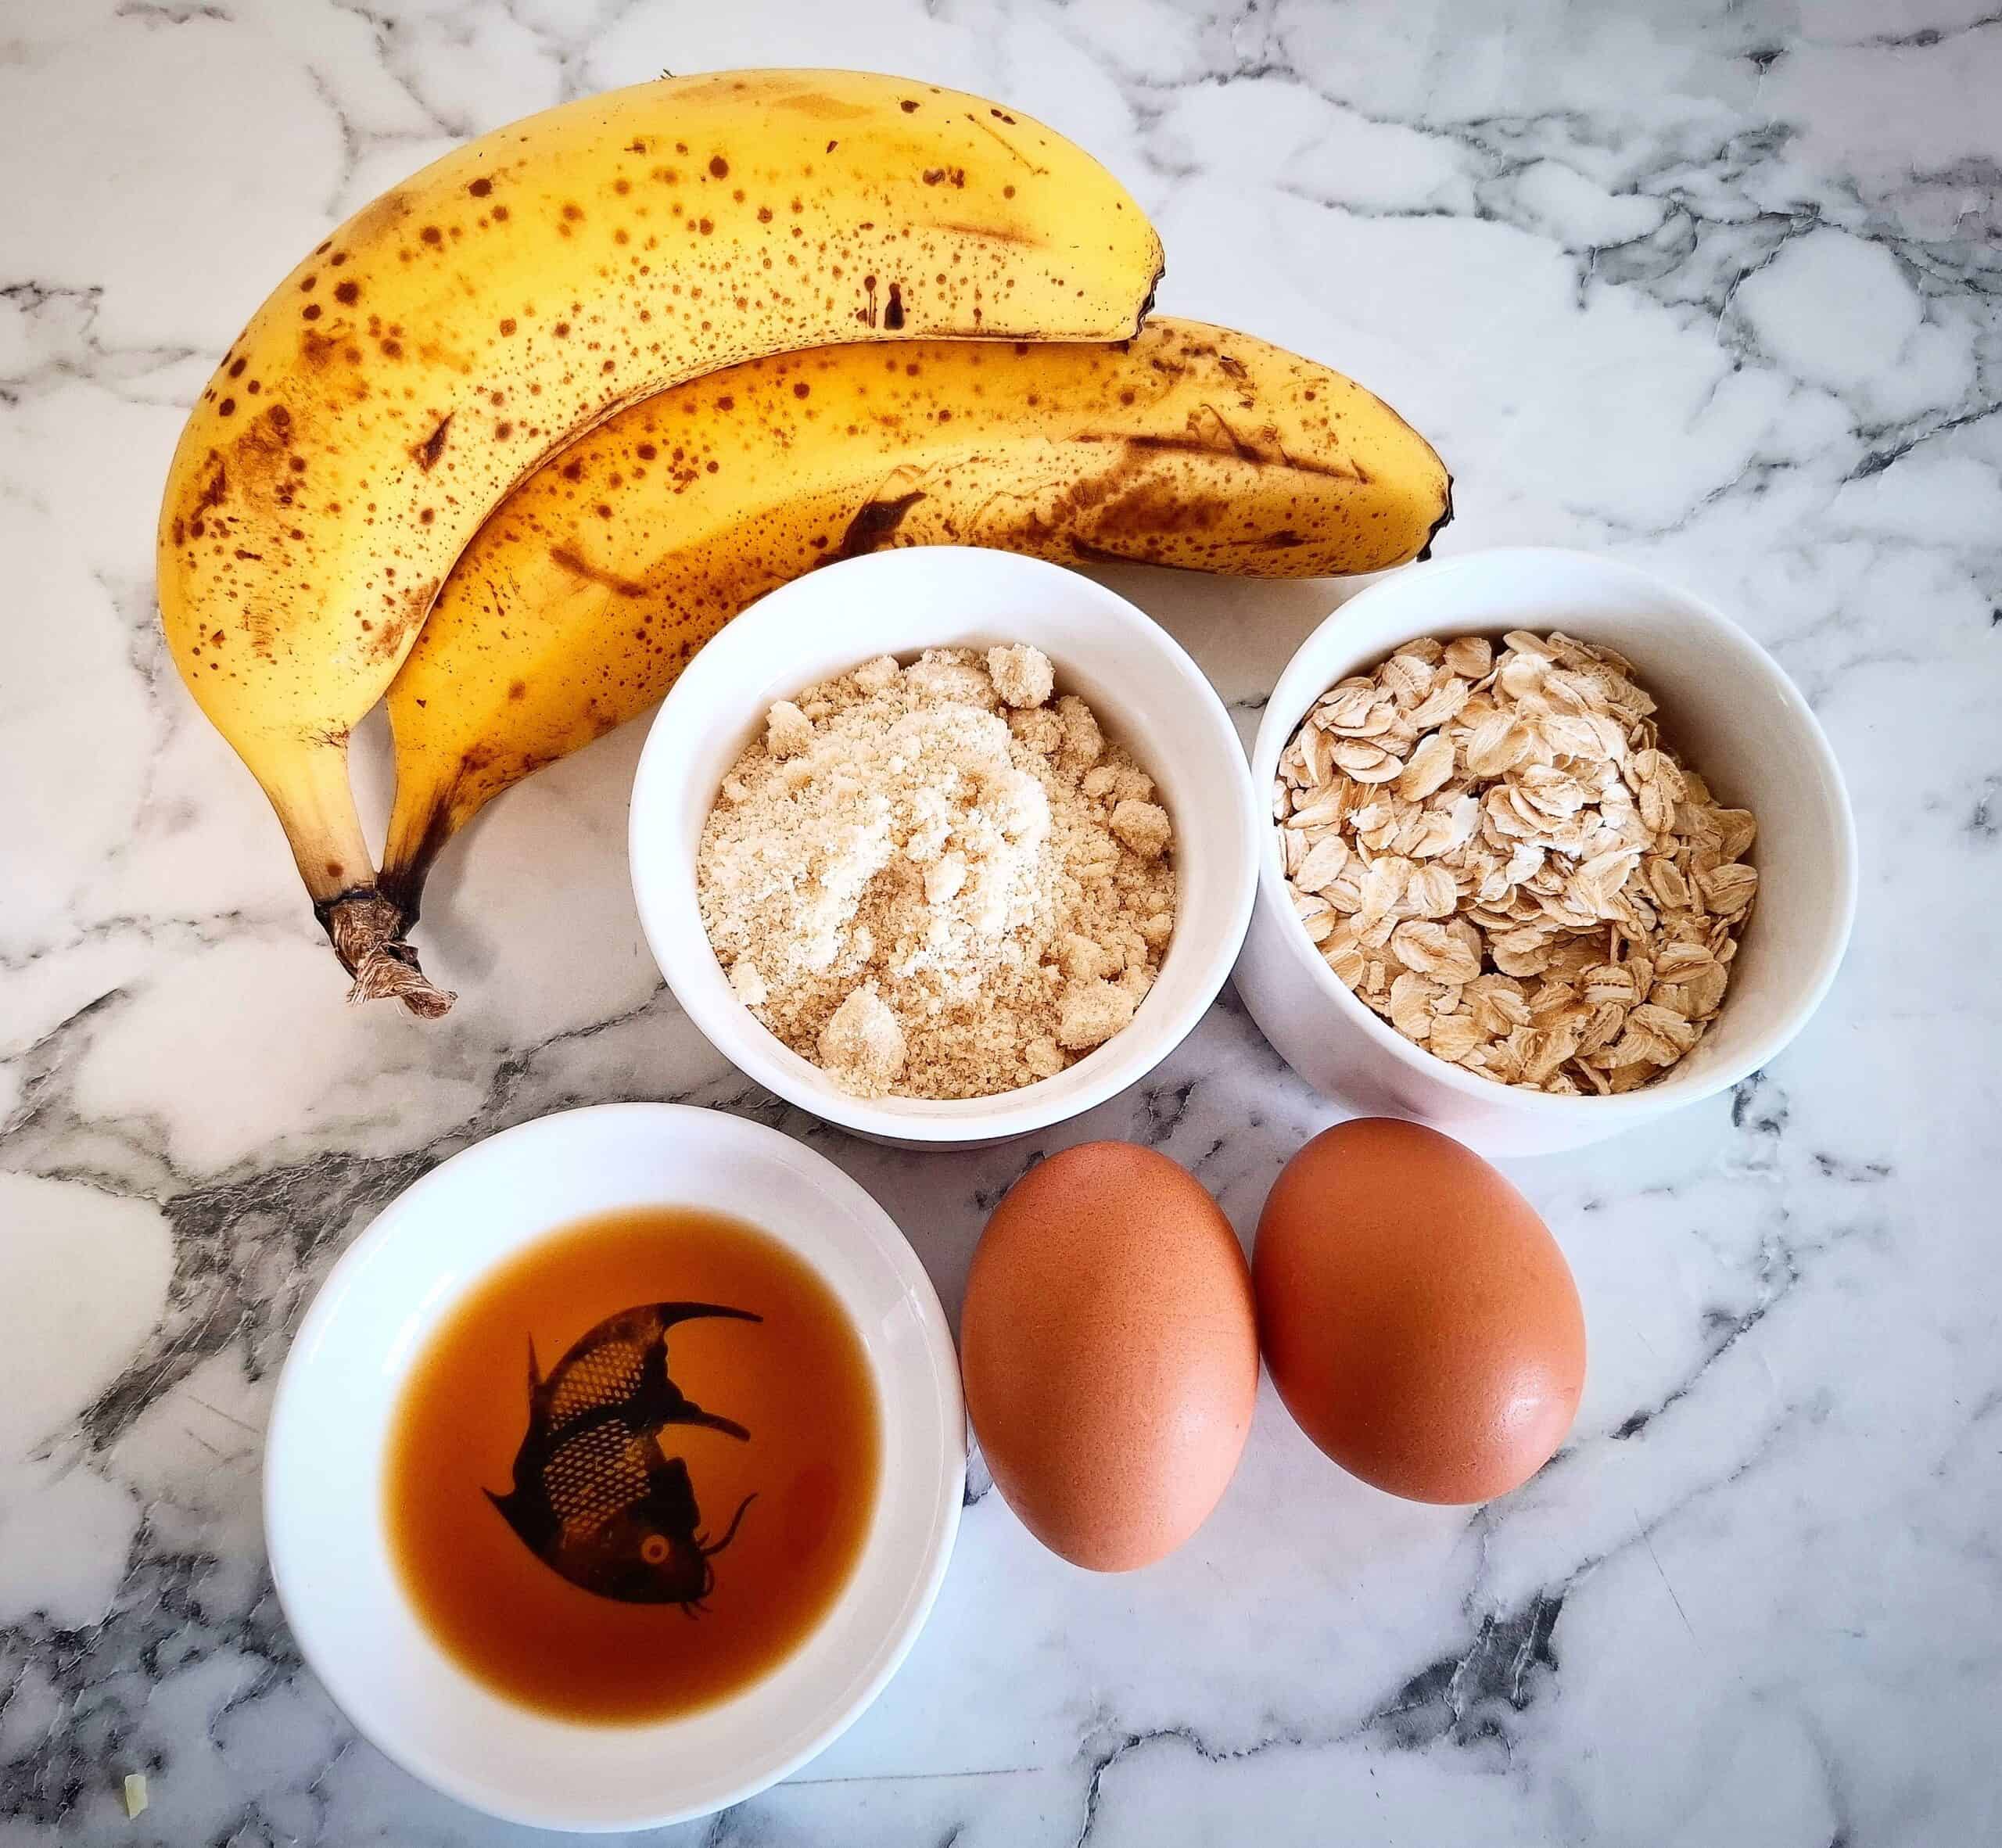
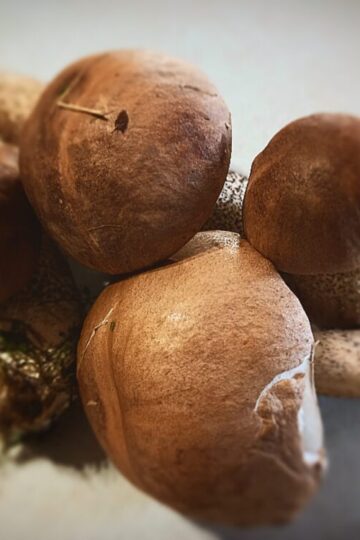
- Bananas - very ripe
- Almond meal
- rolled oats
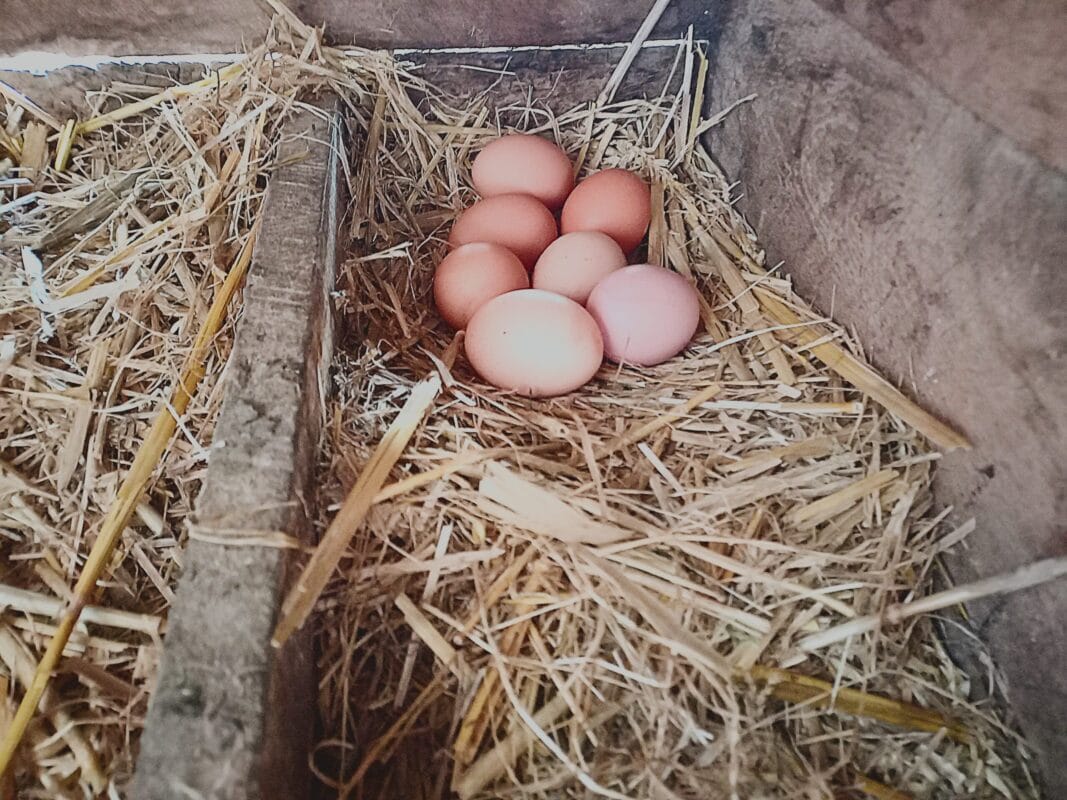
- eggs - free ranged
- vanilla - extract or paste
See recipe card for quantities.
How to make banana pikelets
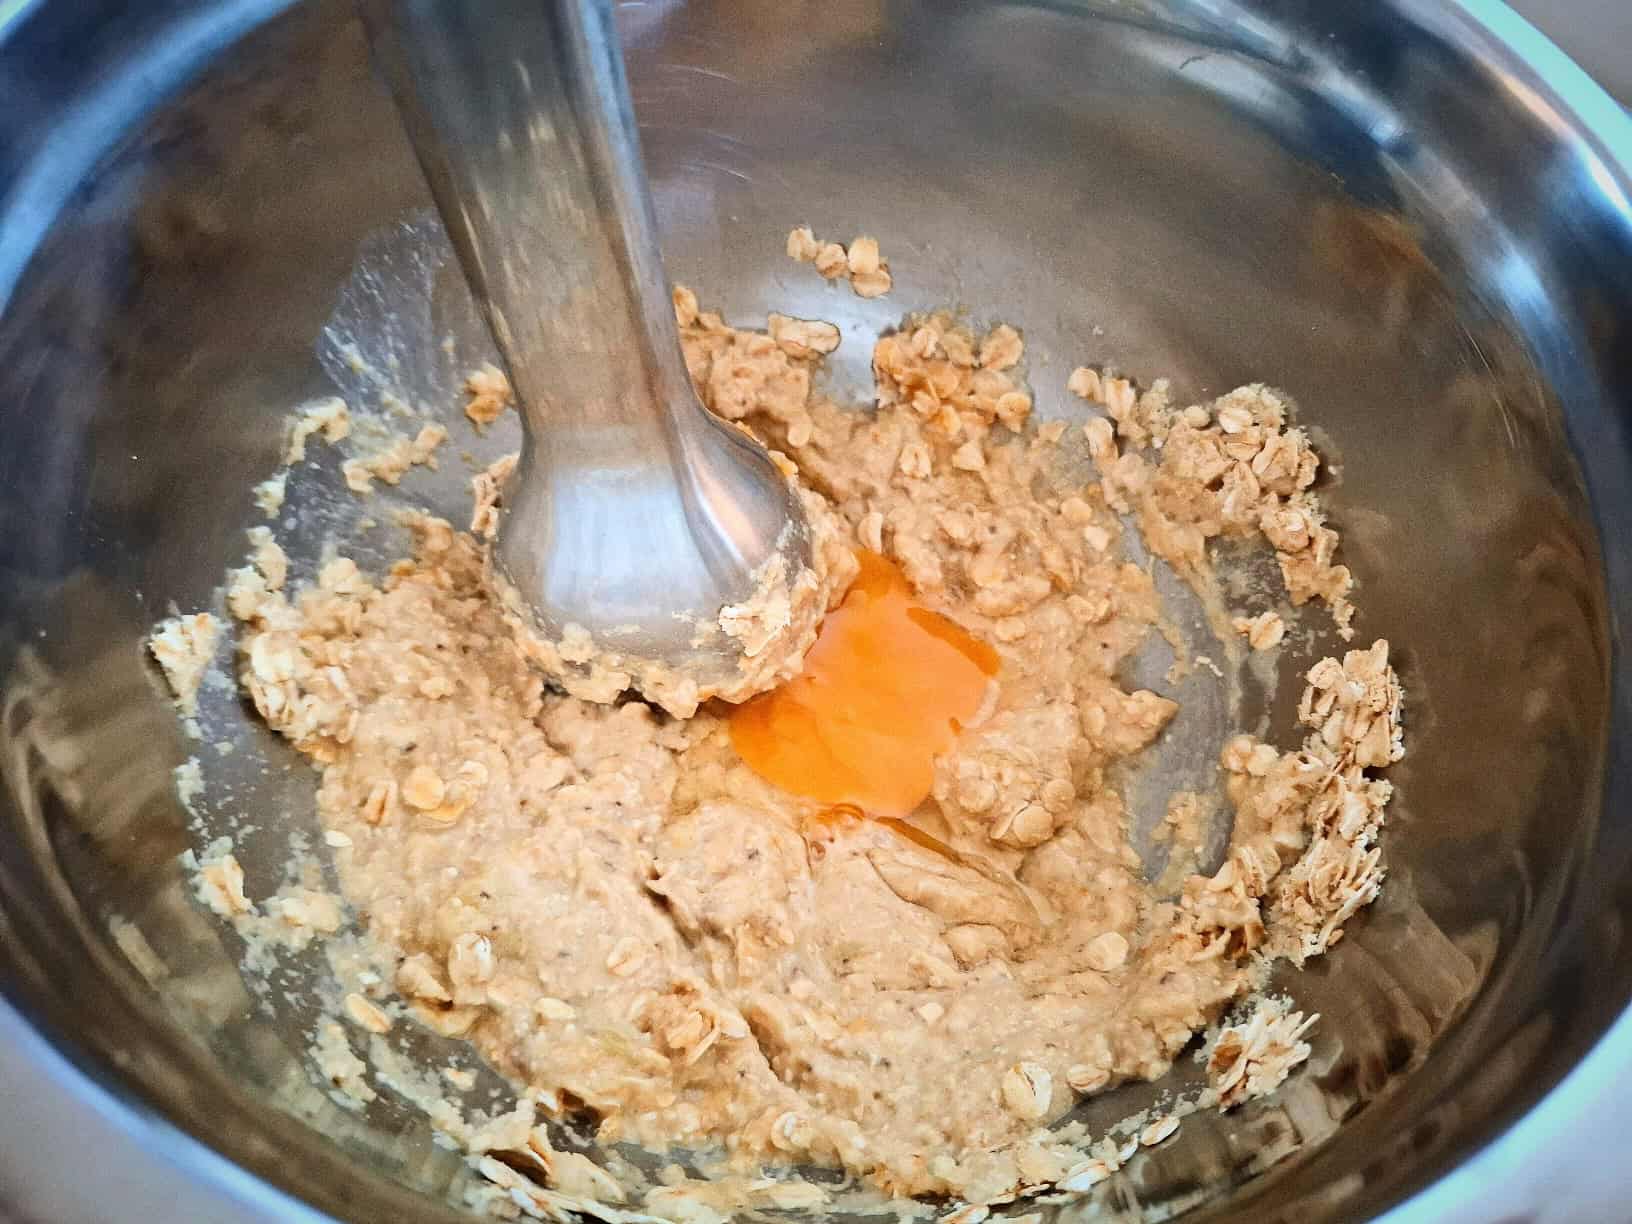
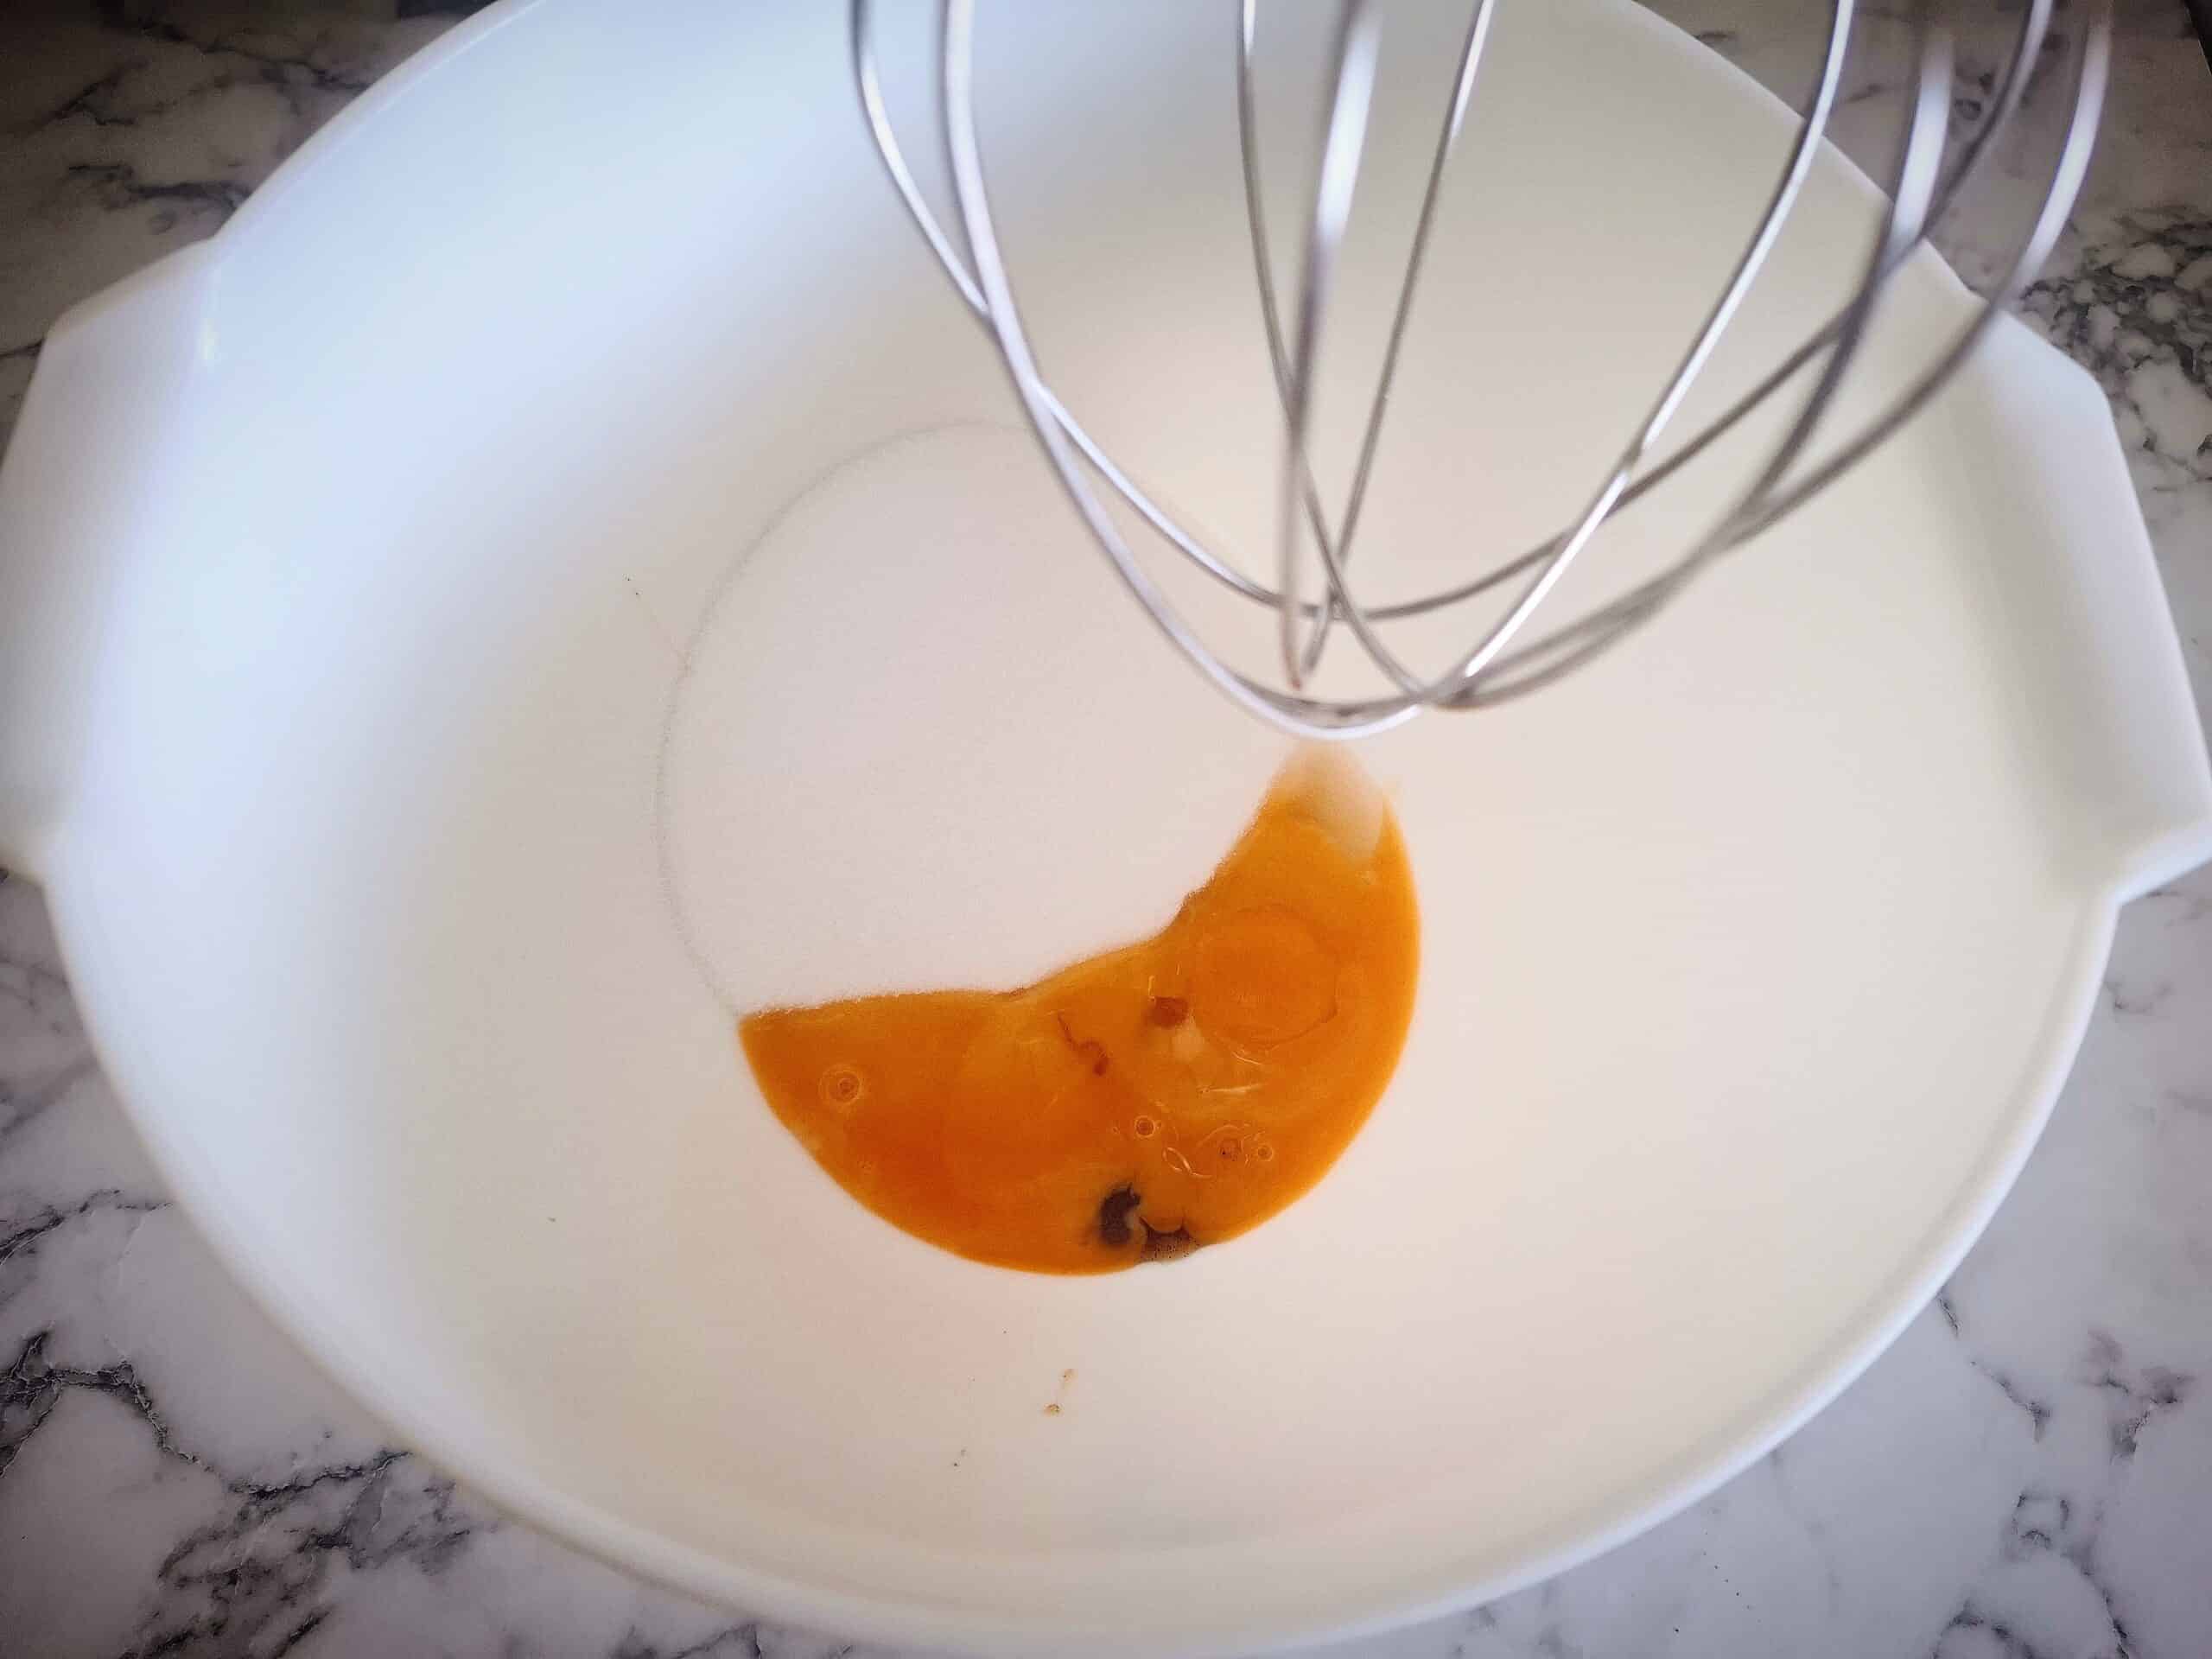
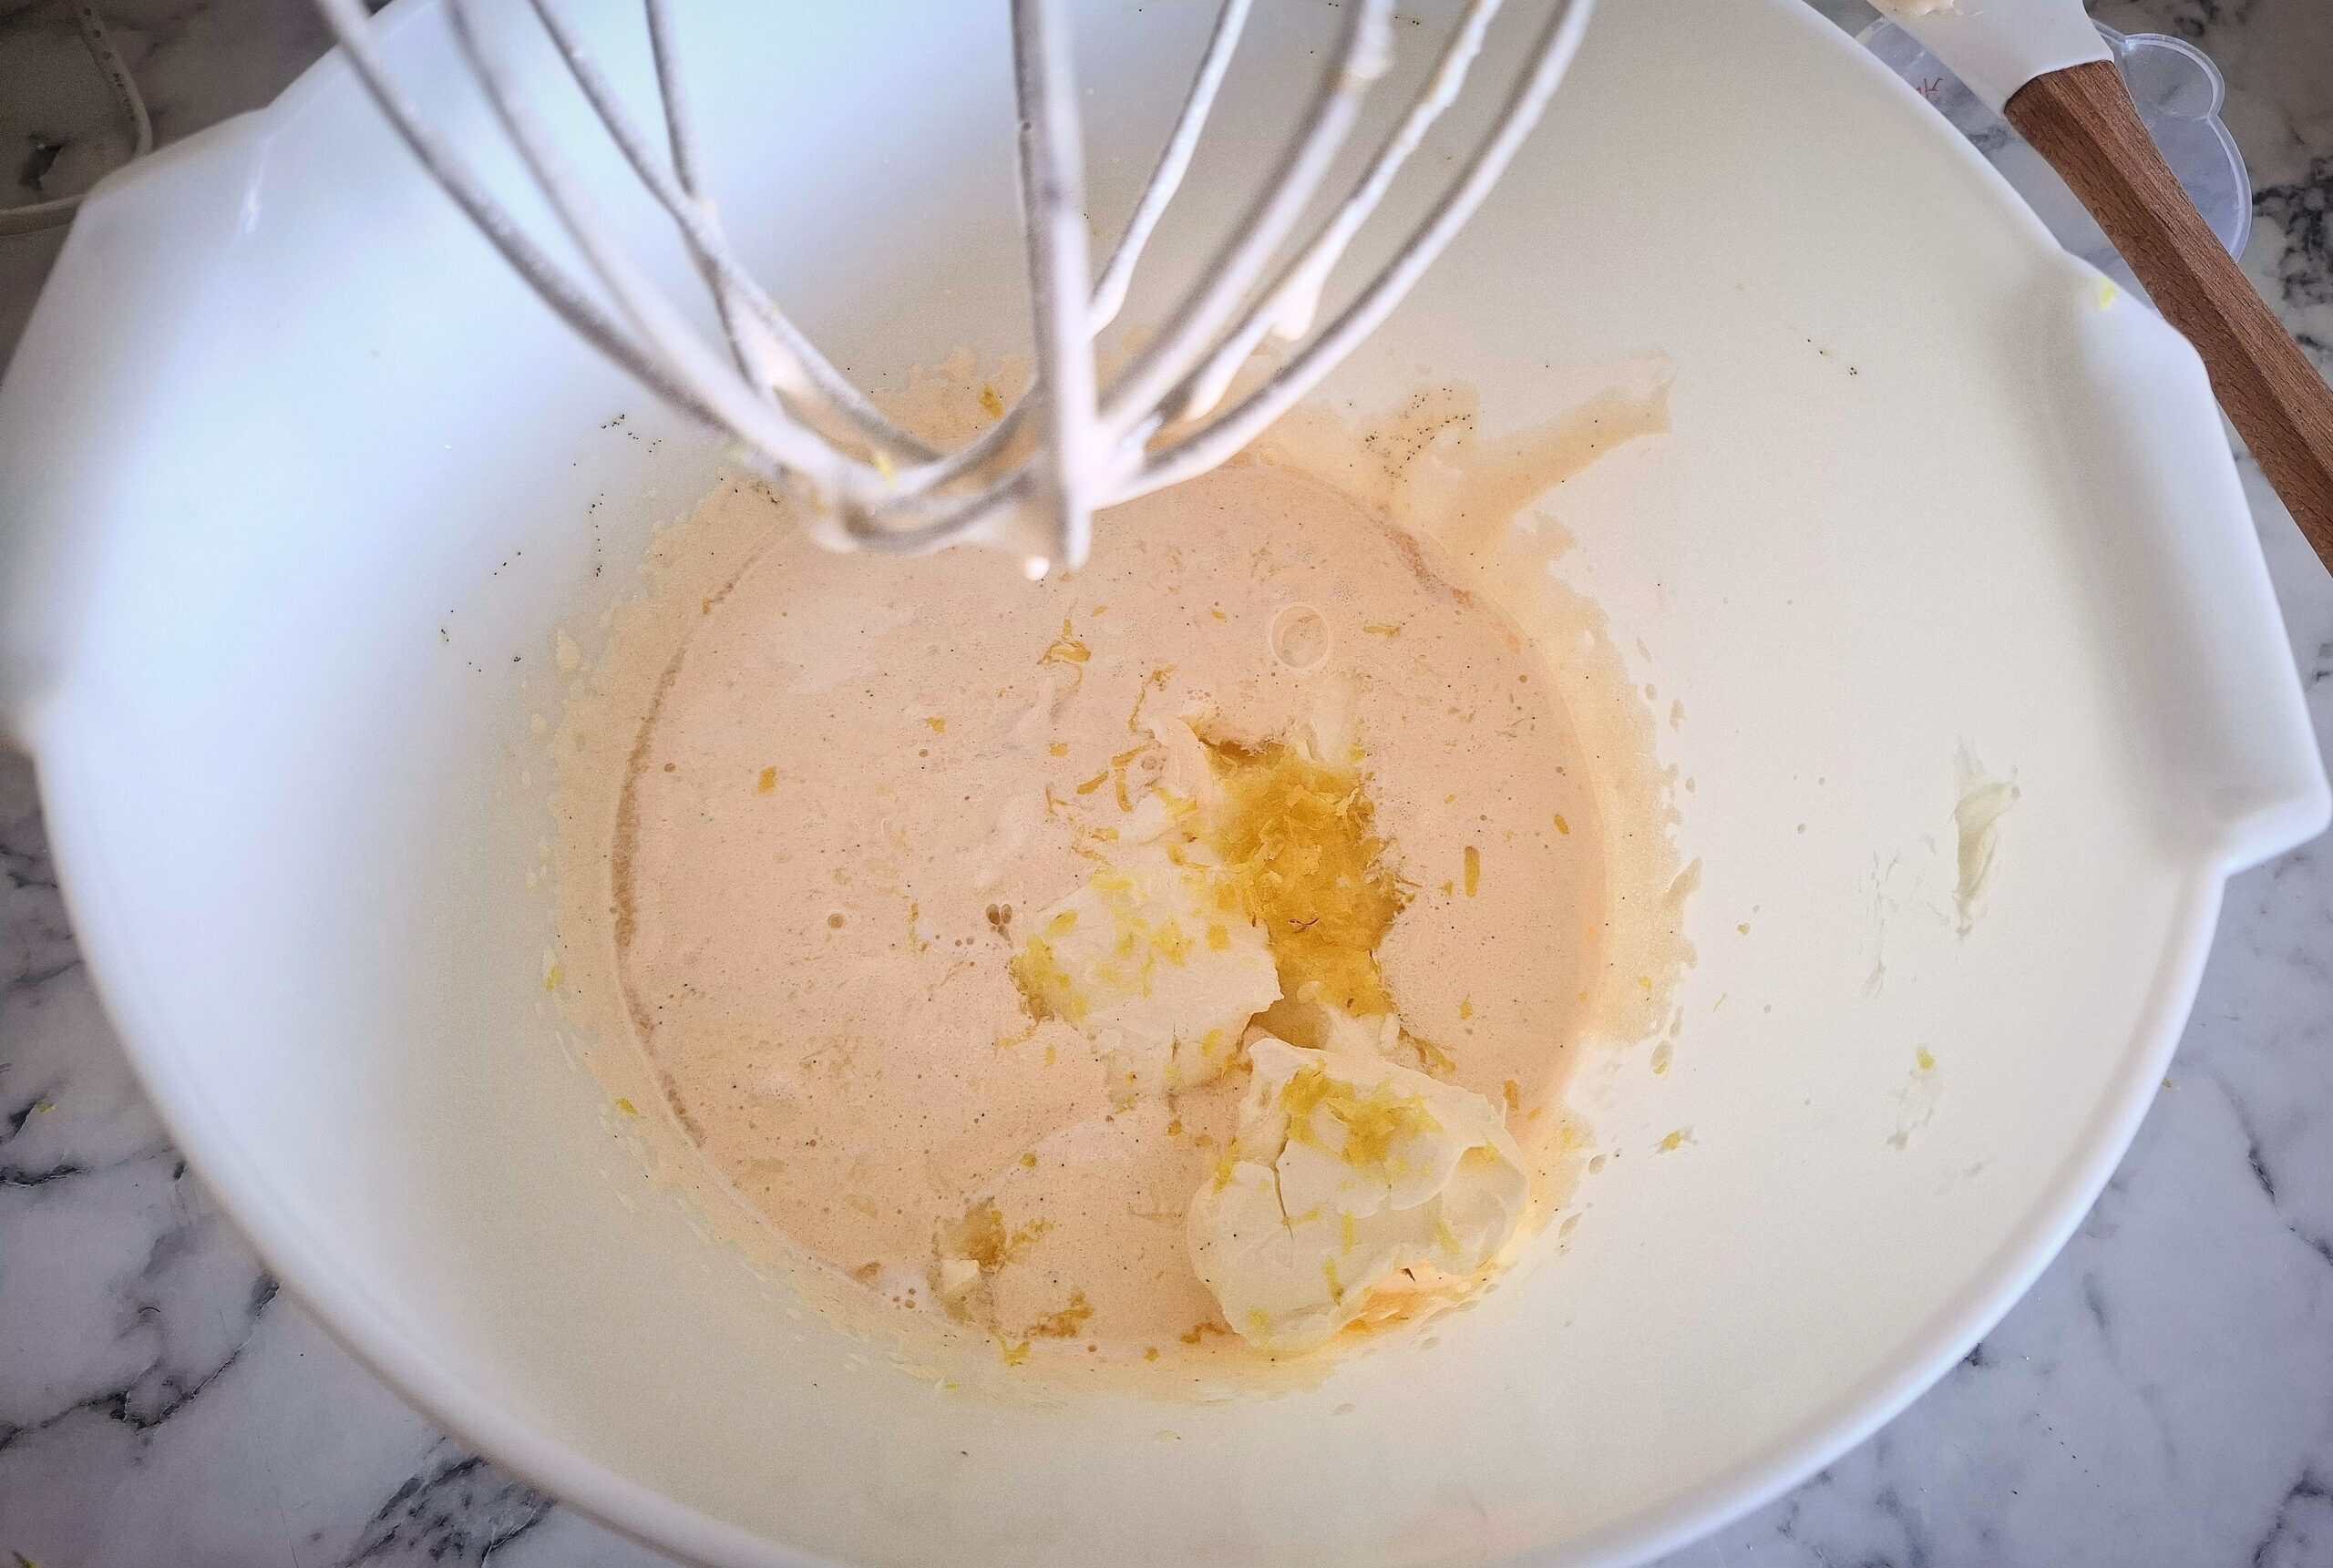
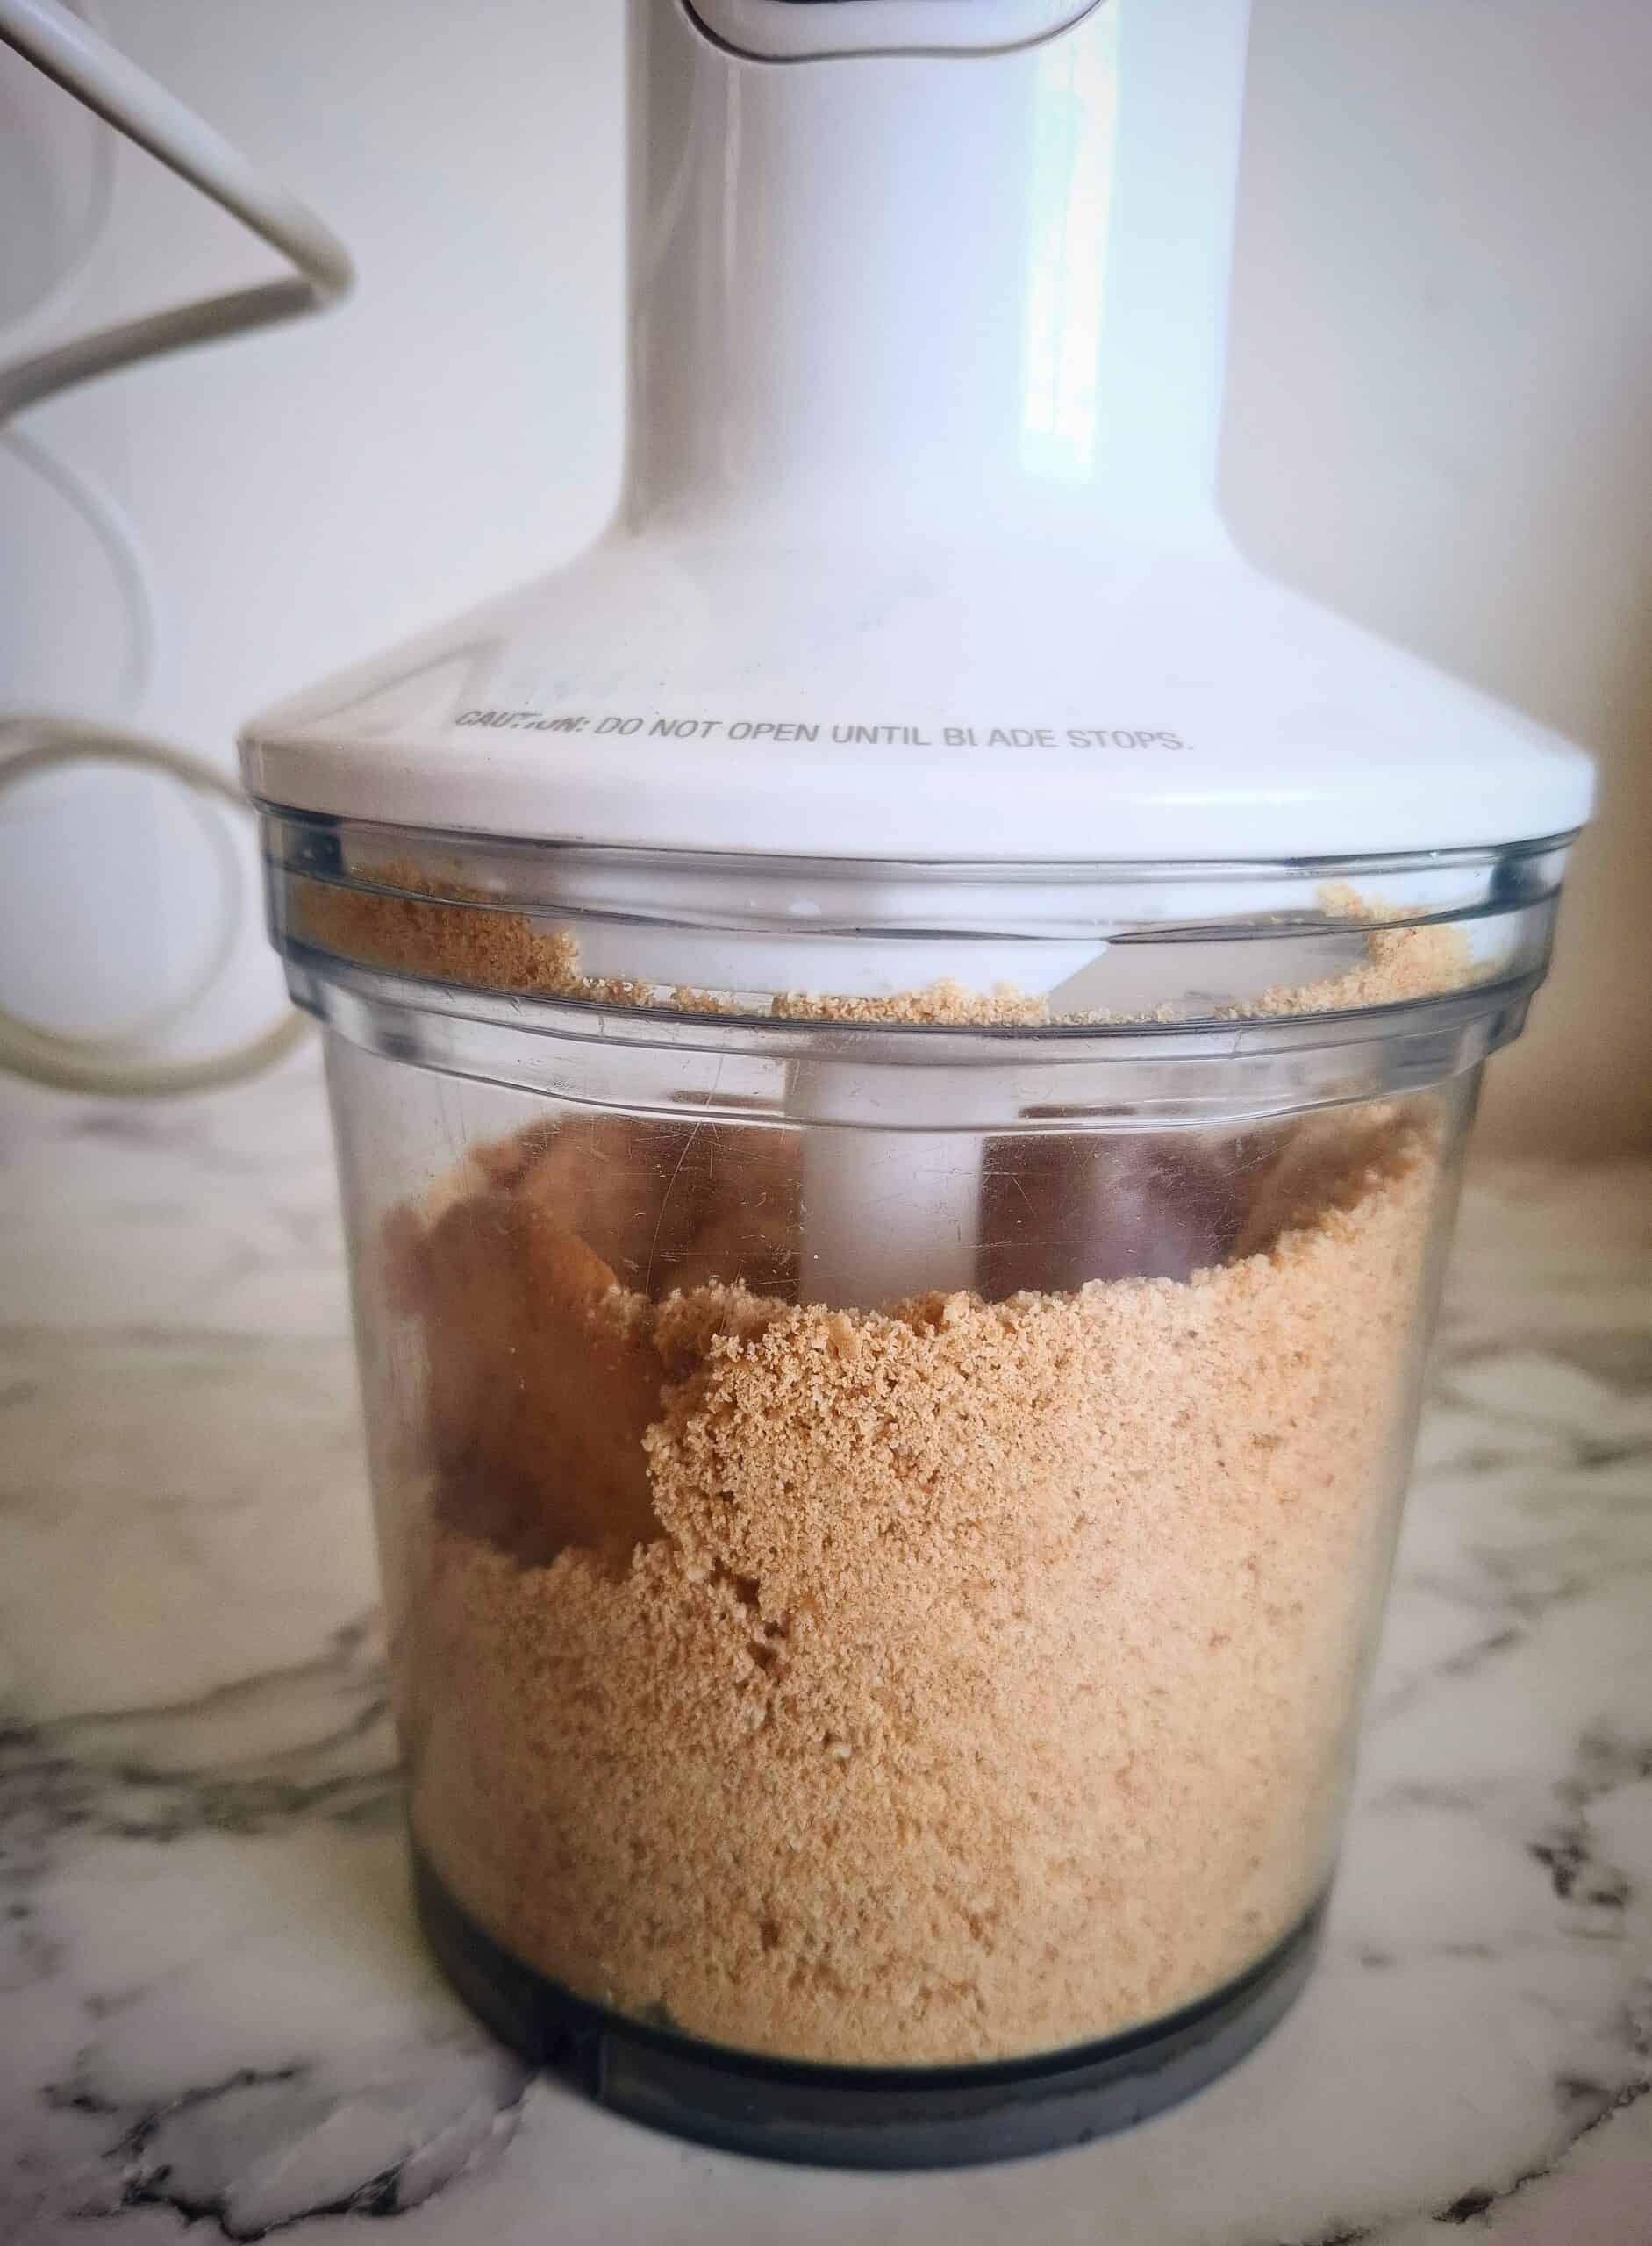
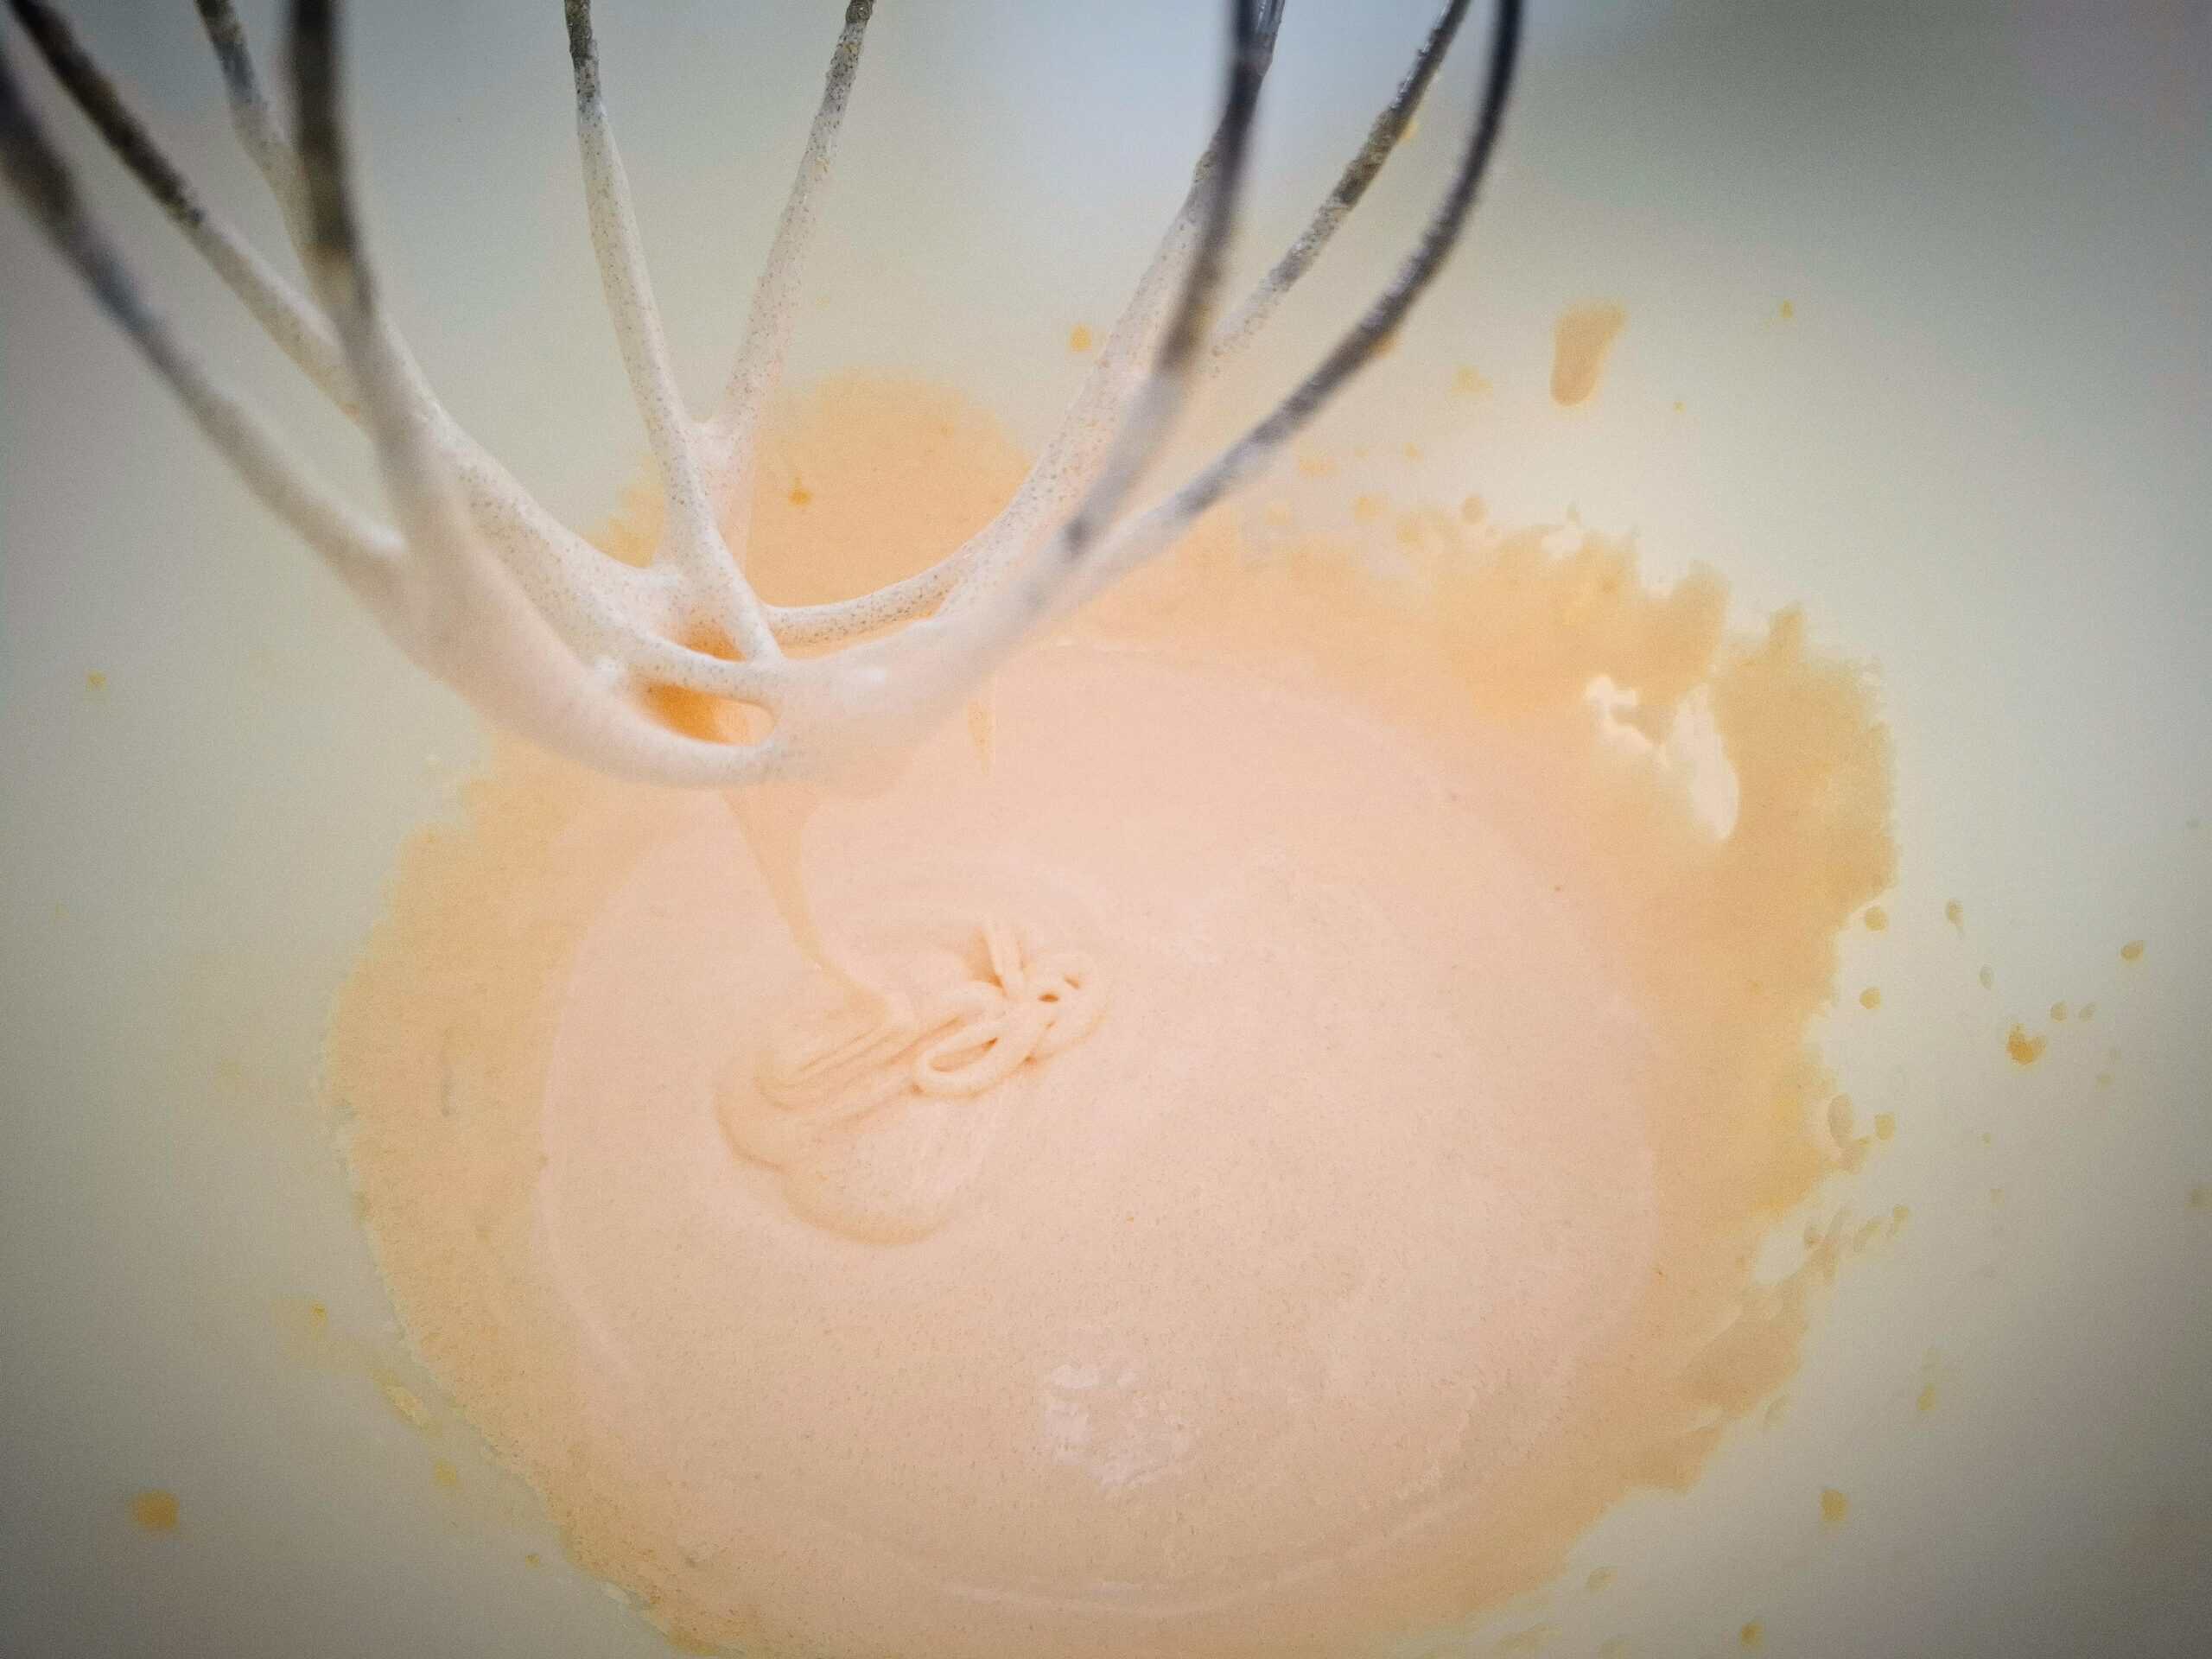
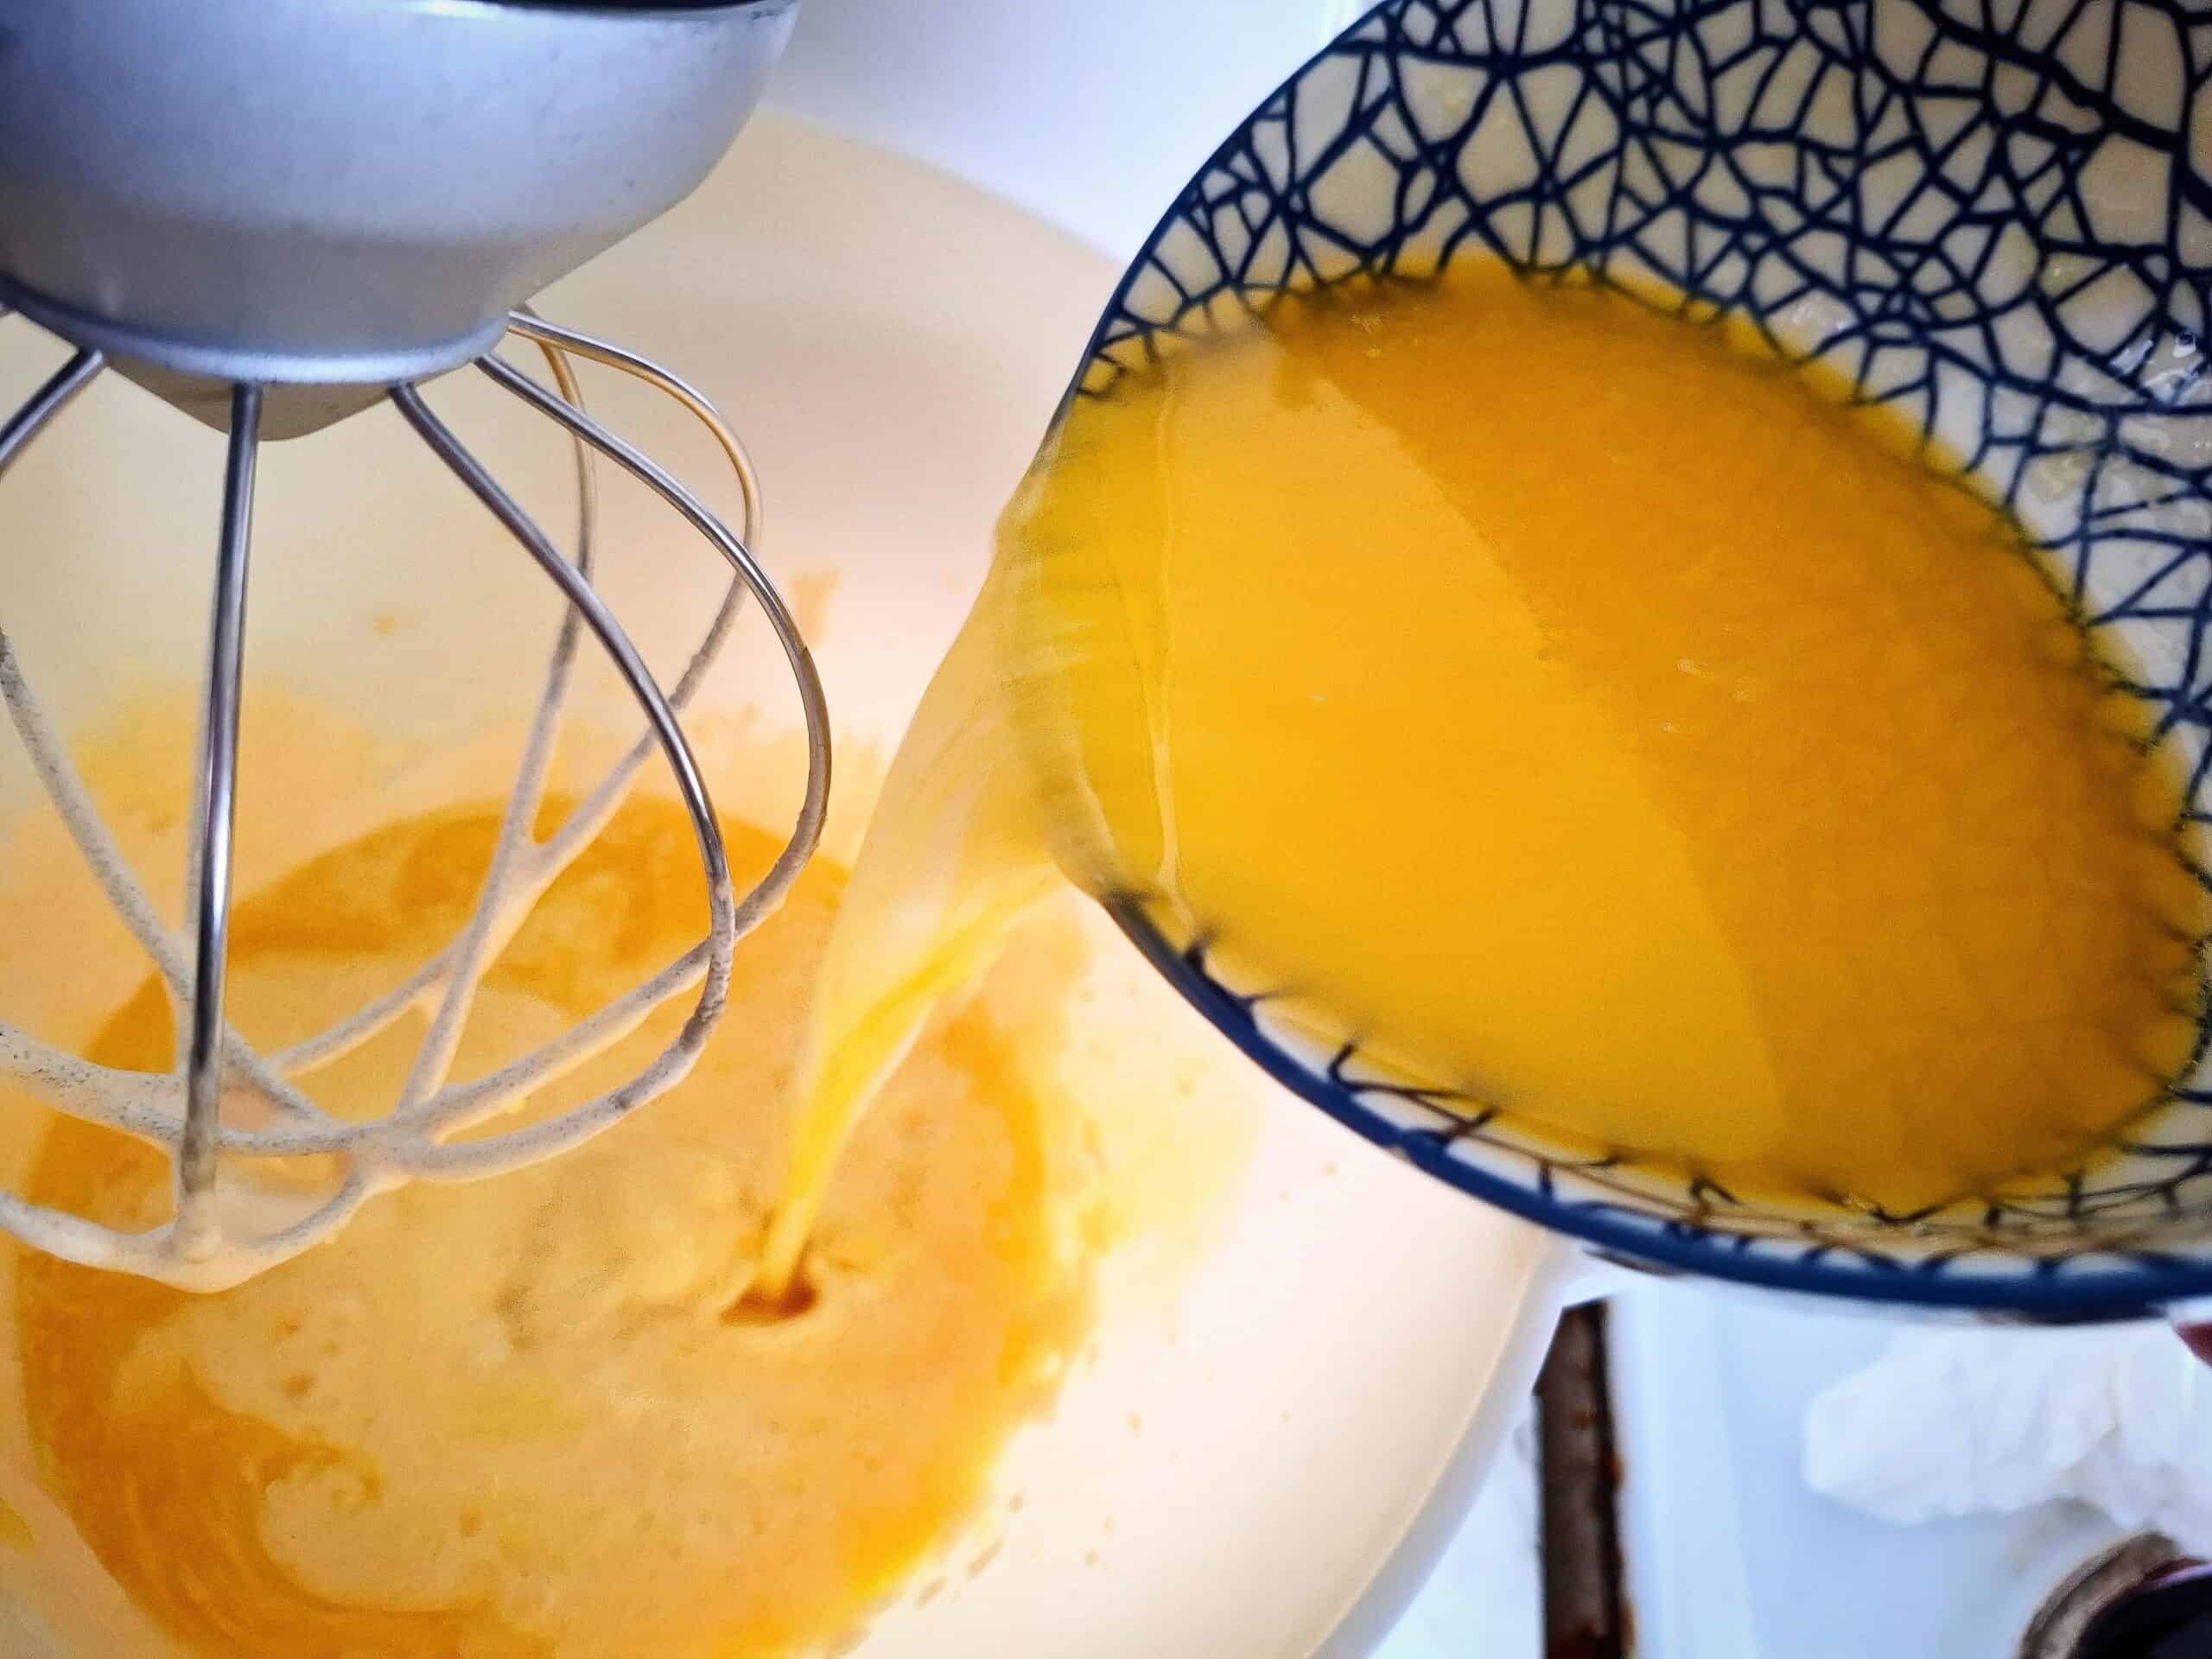
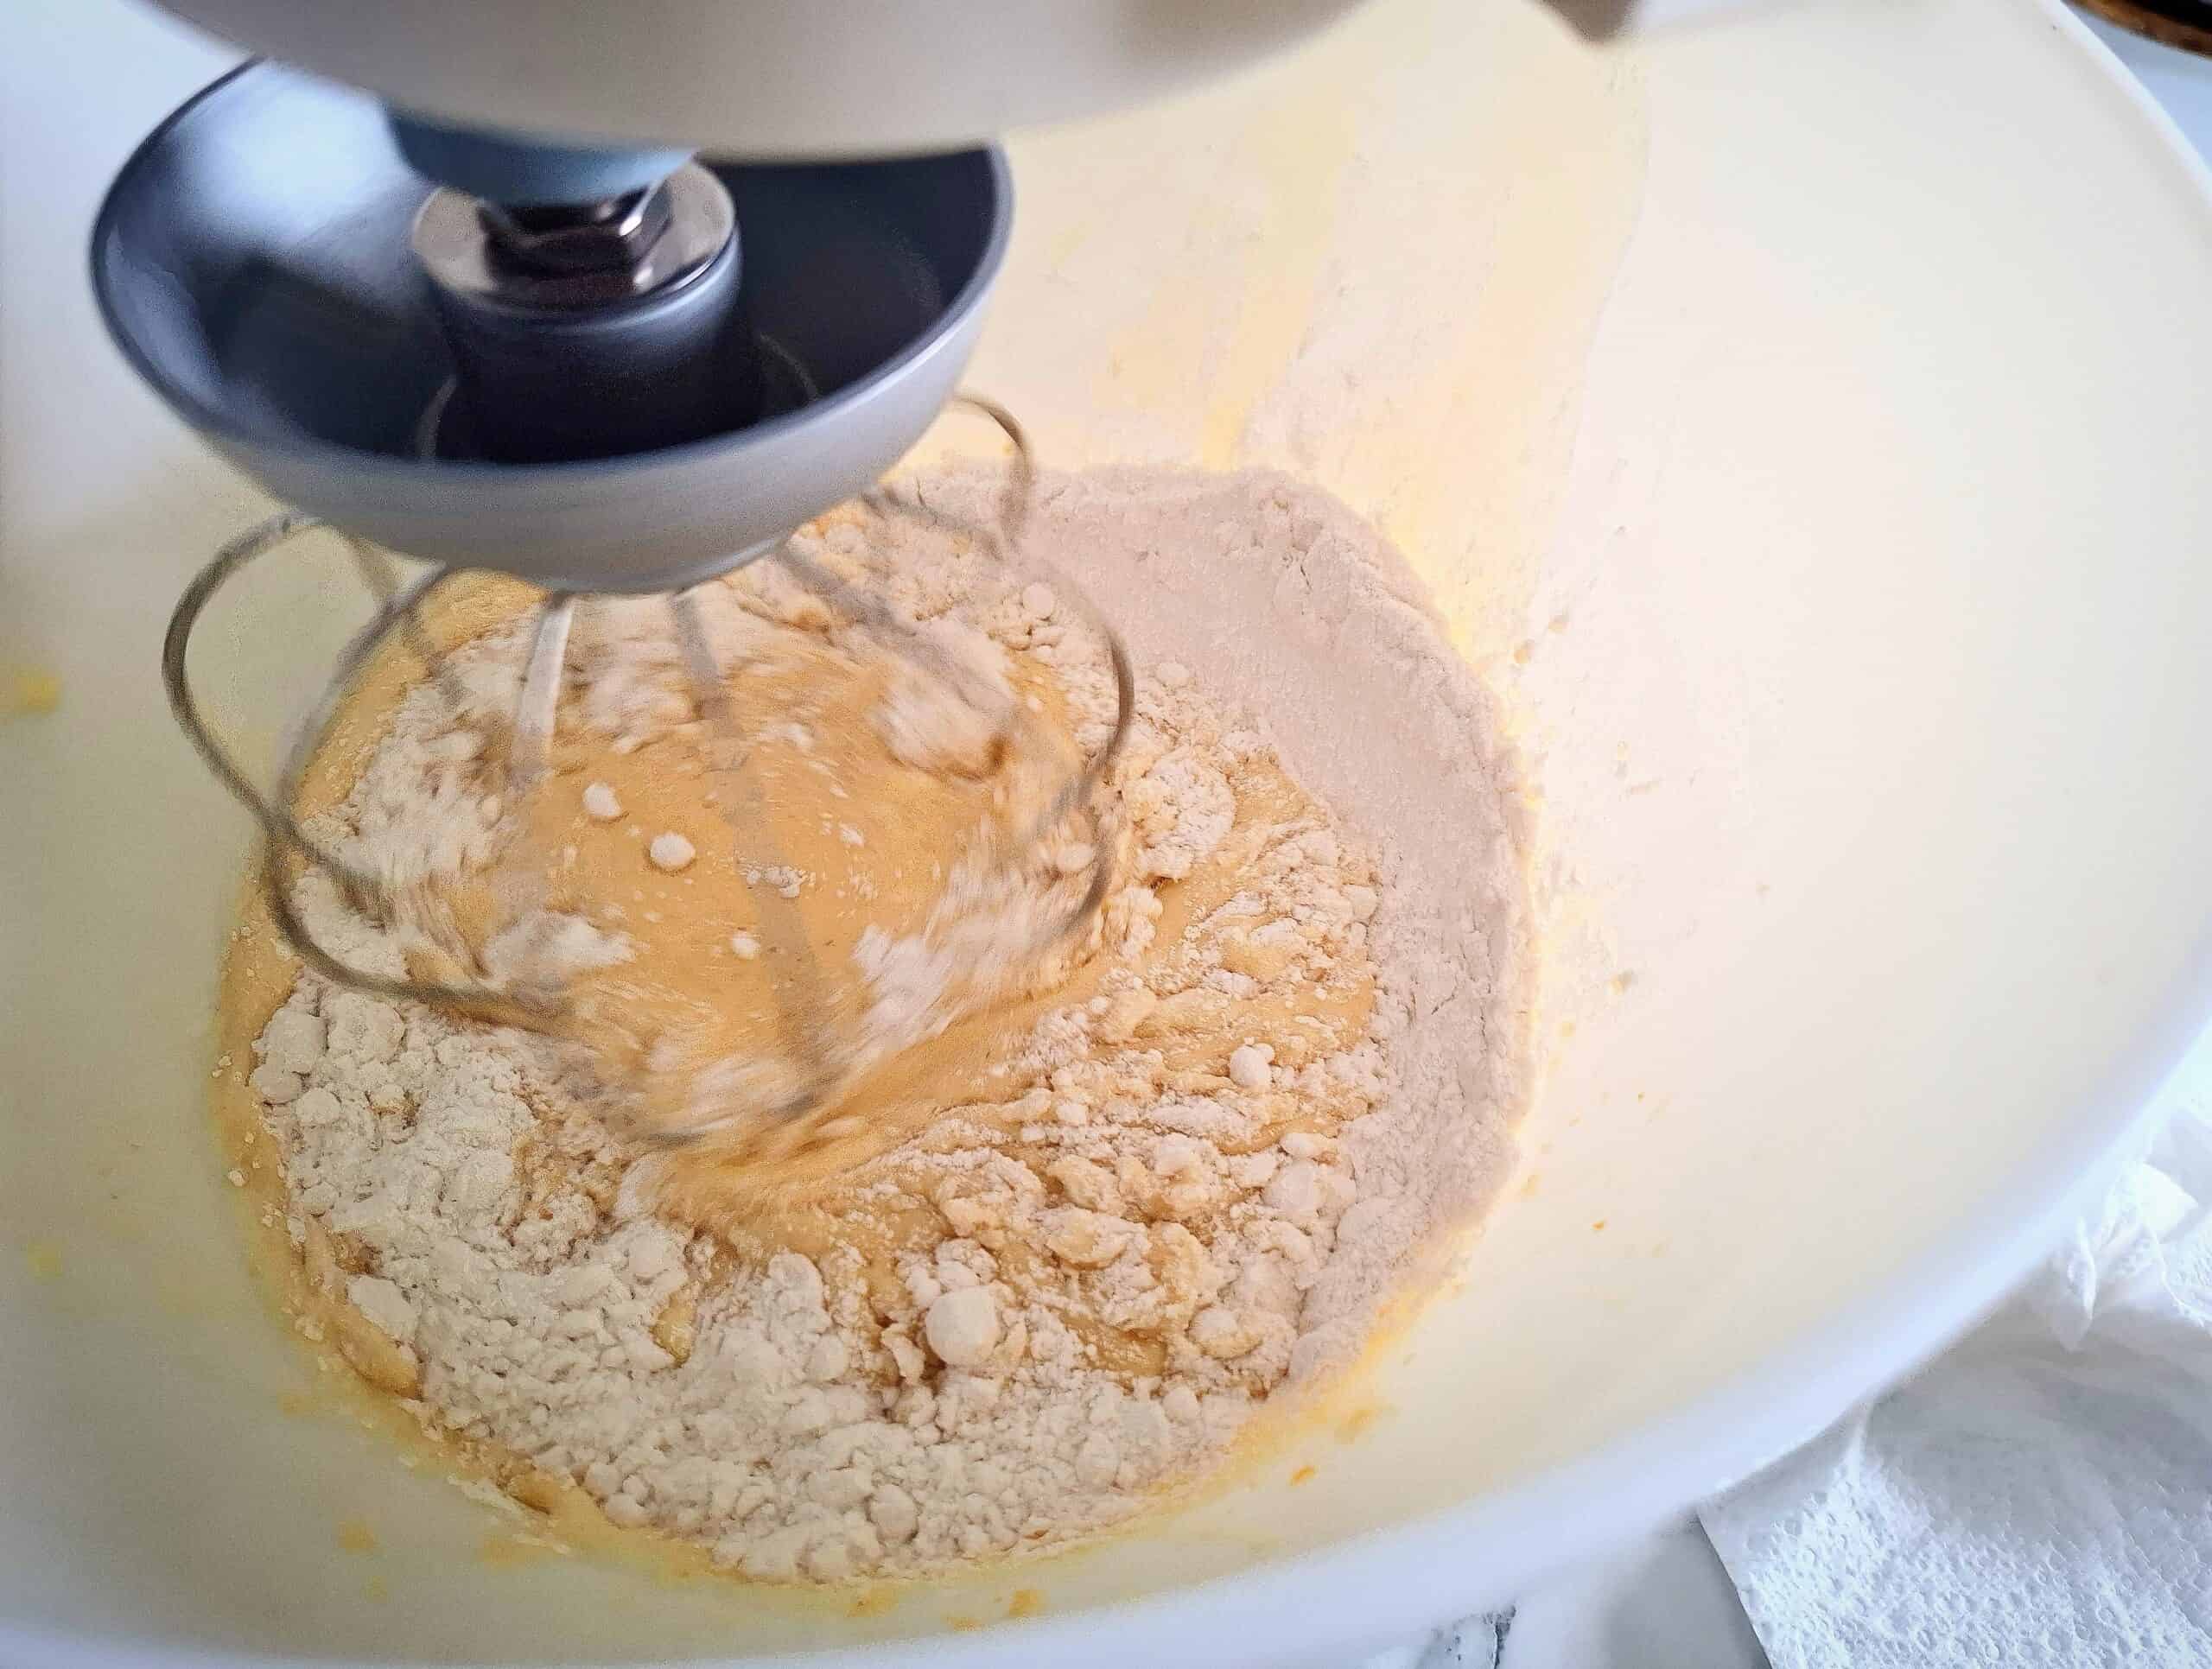
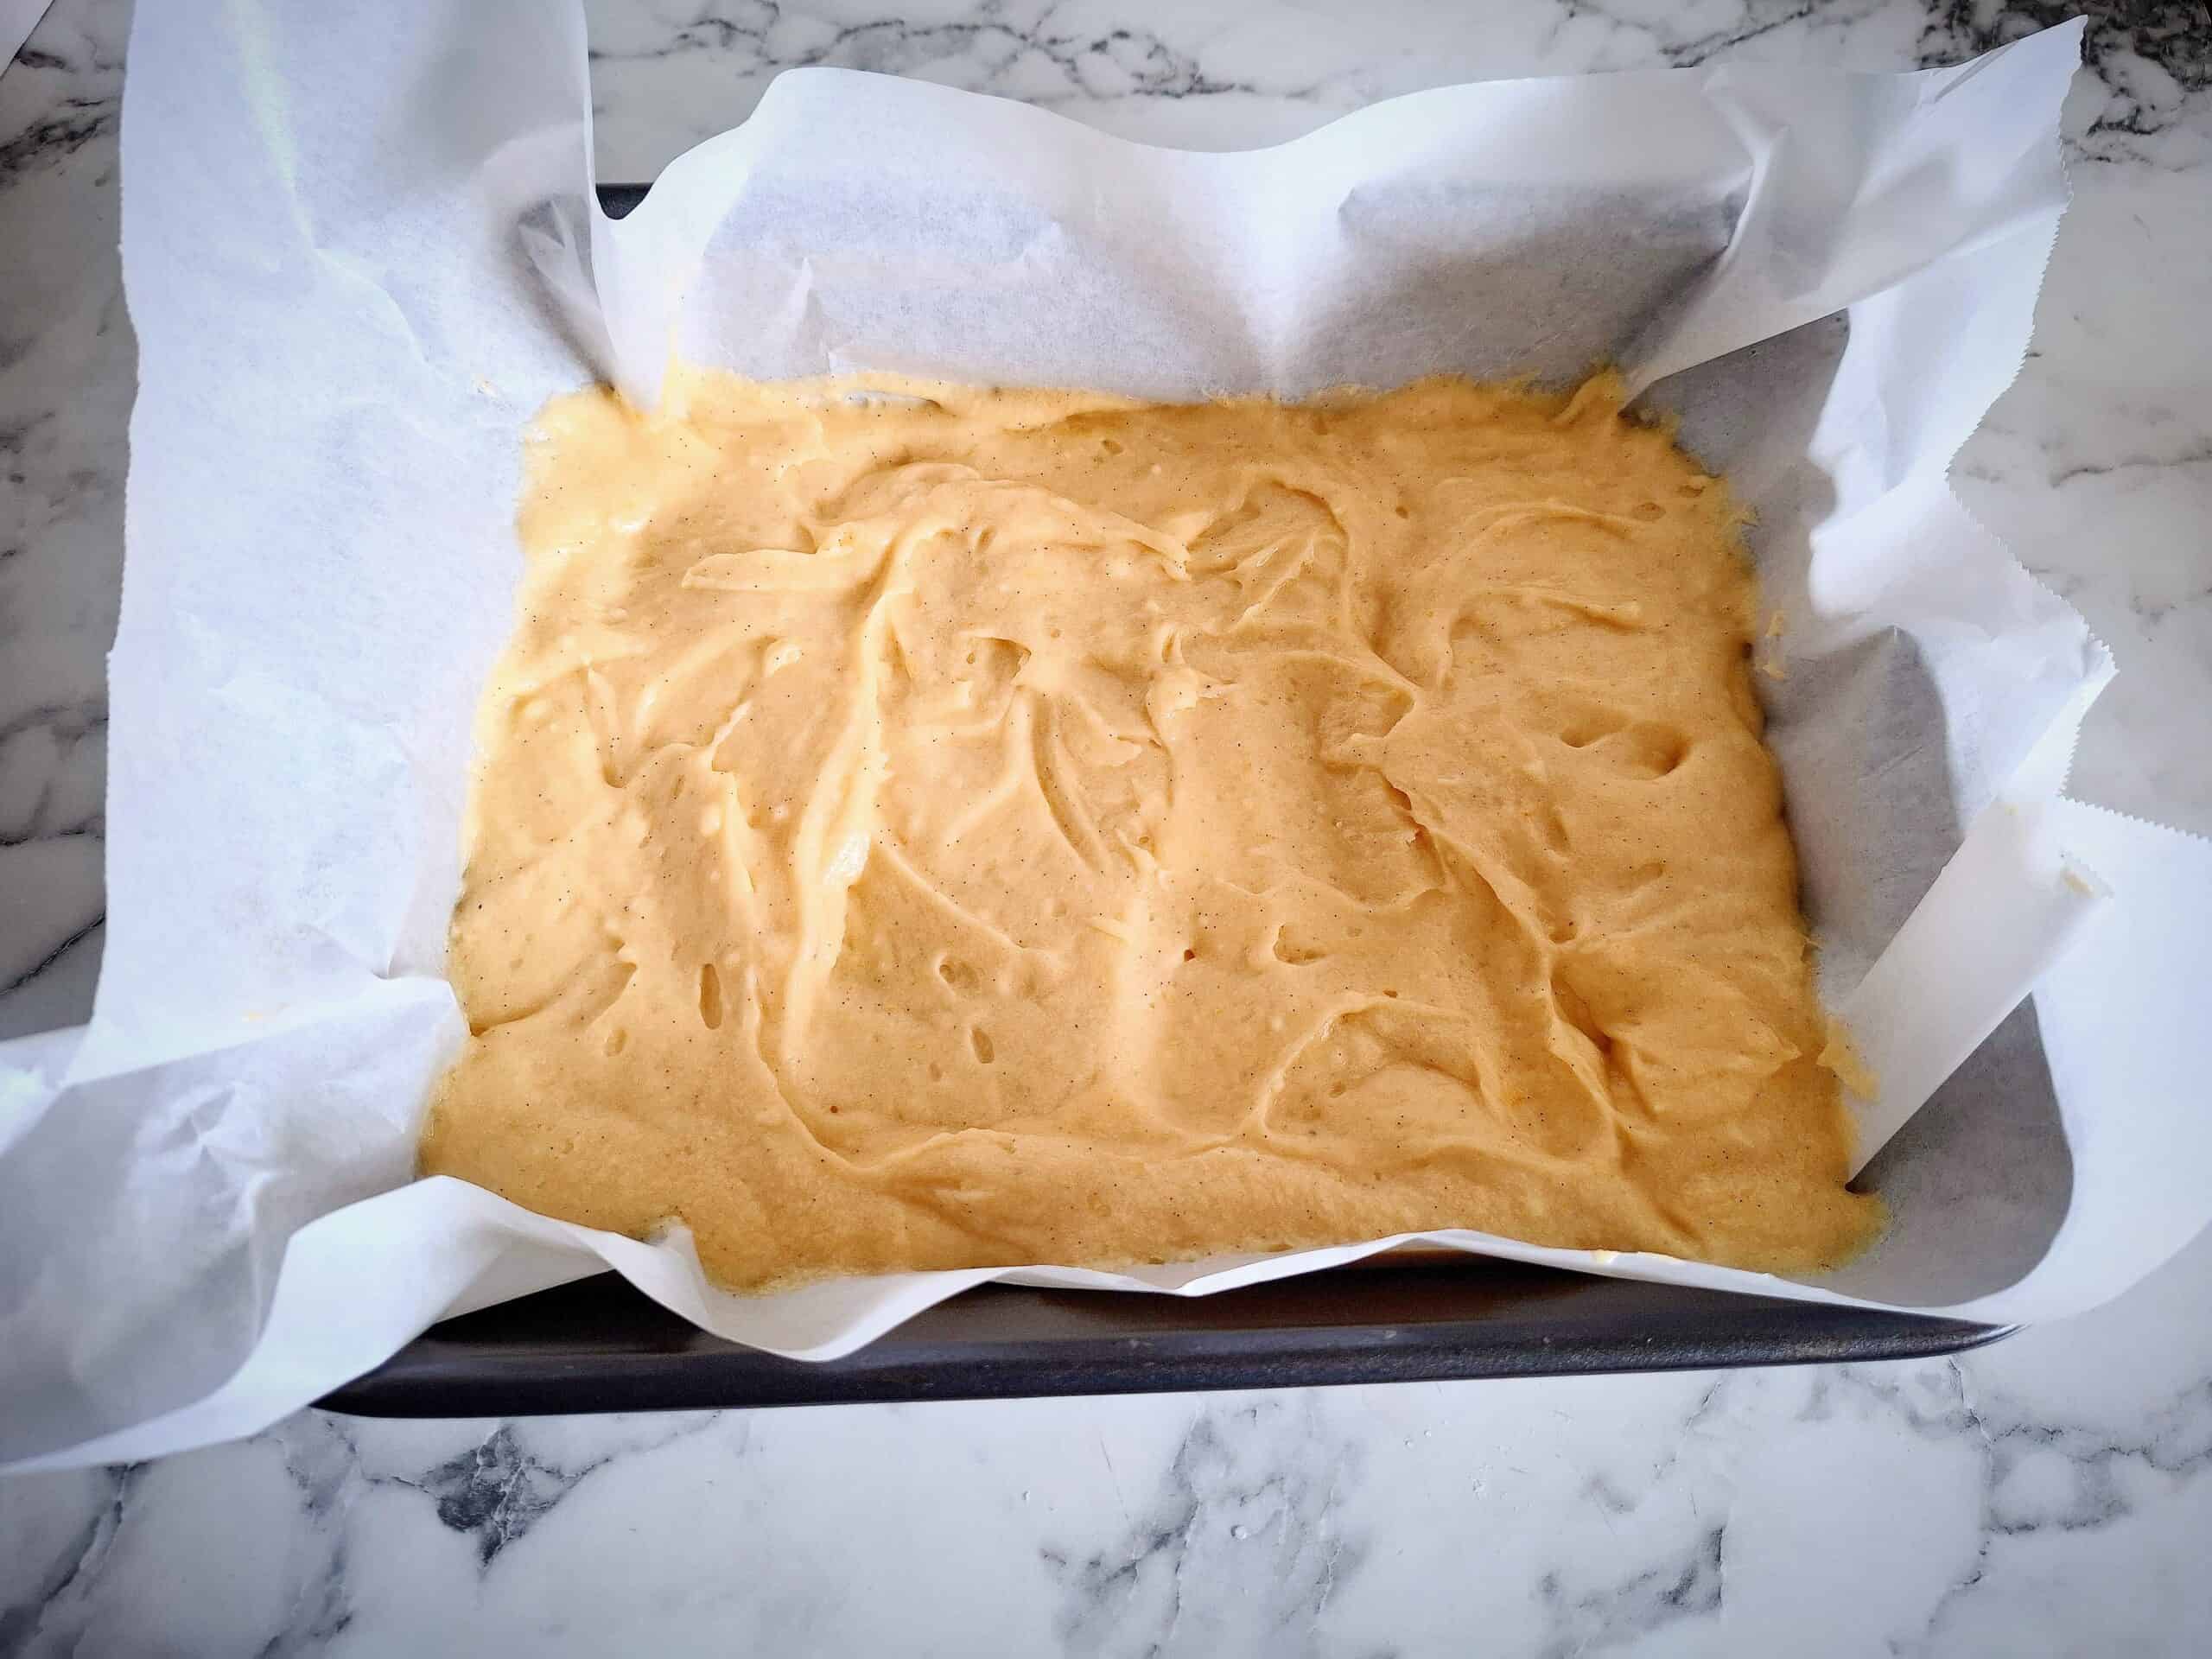
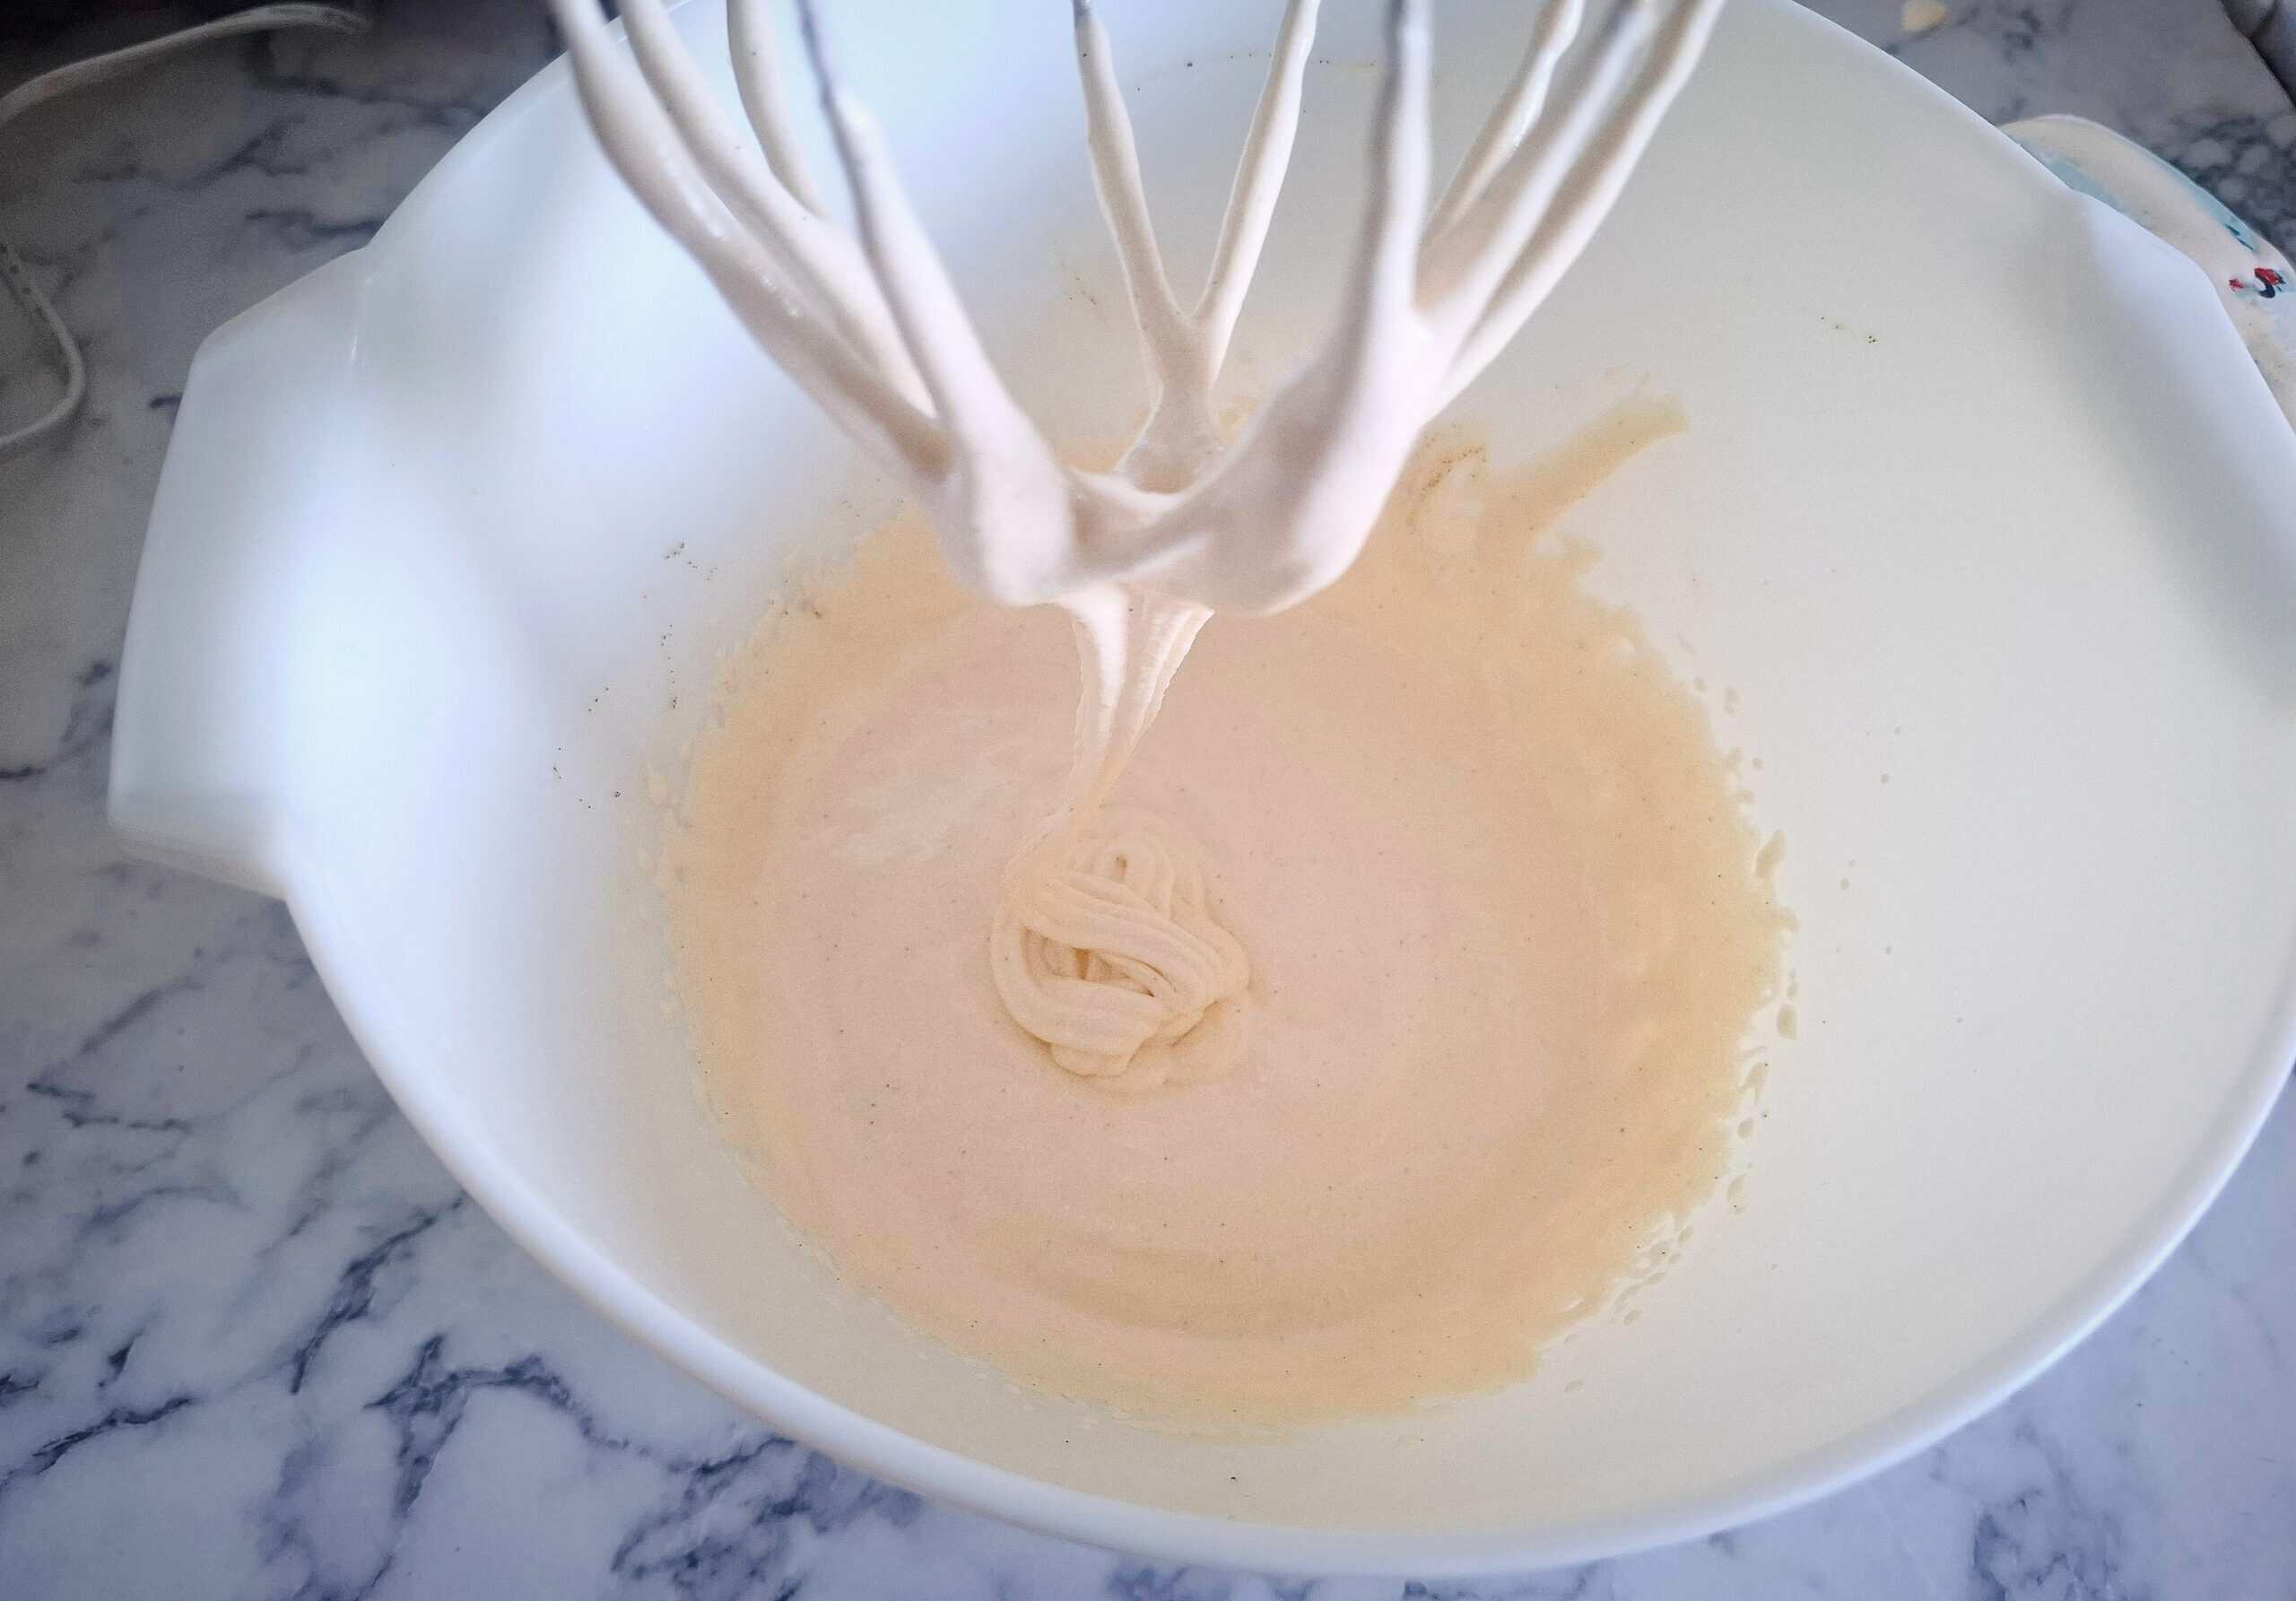
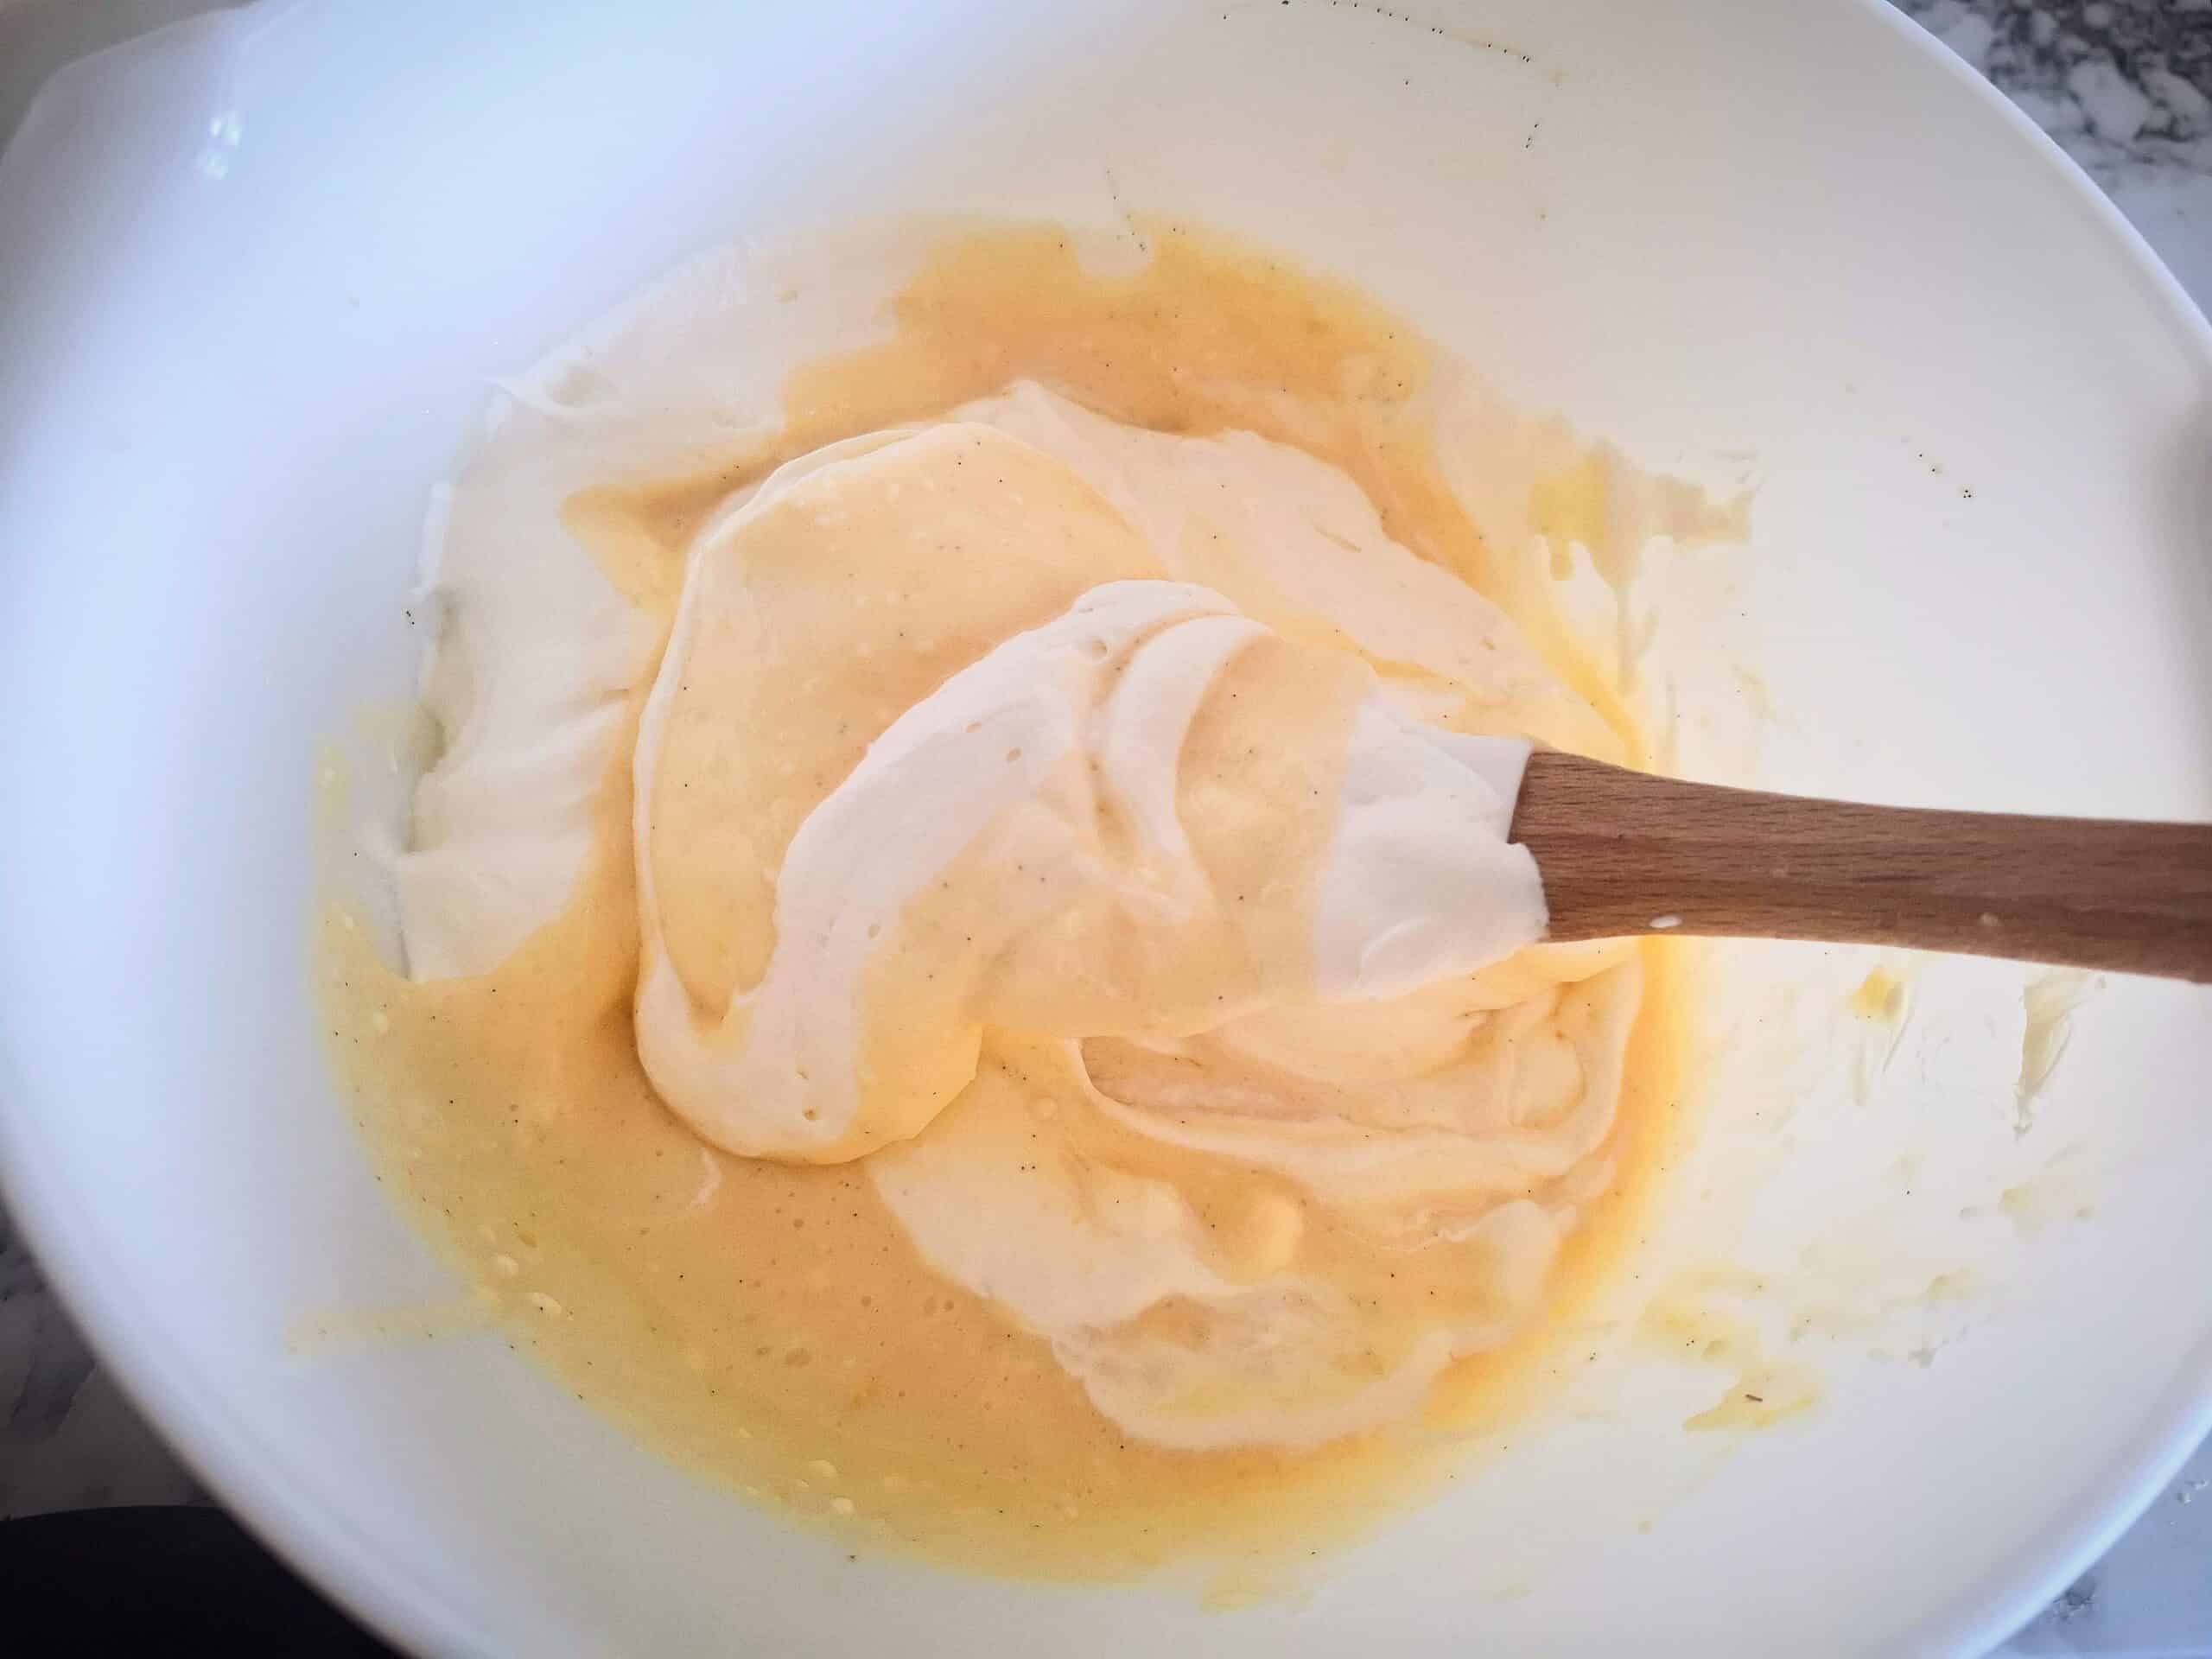
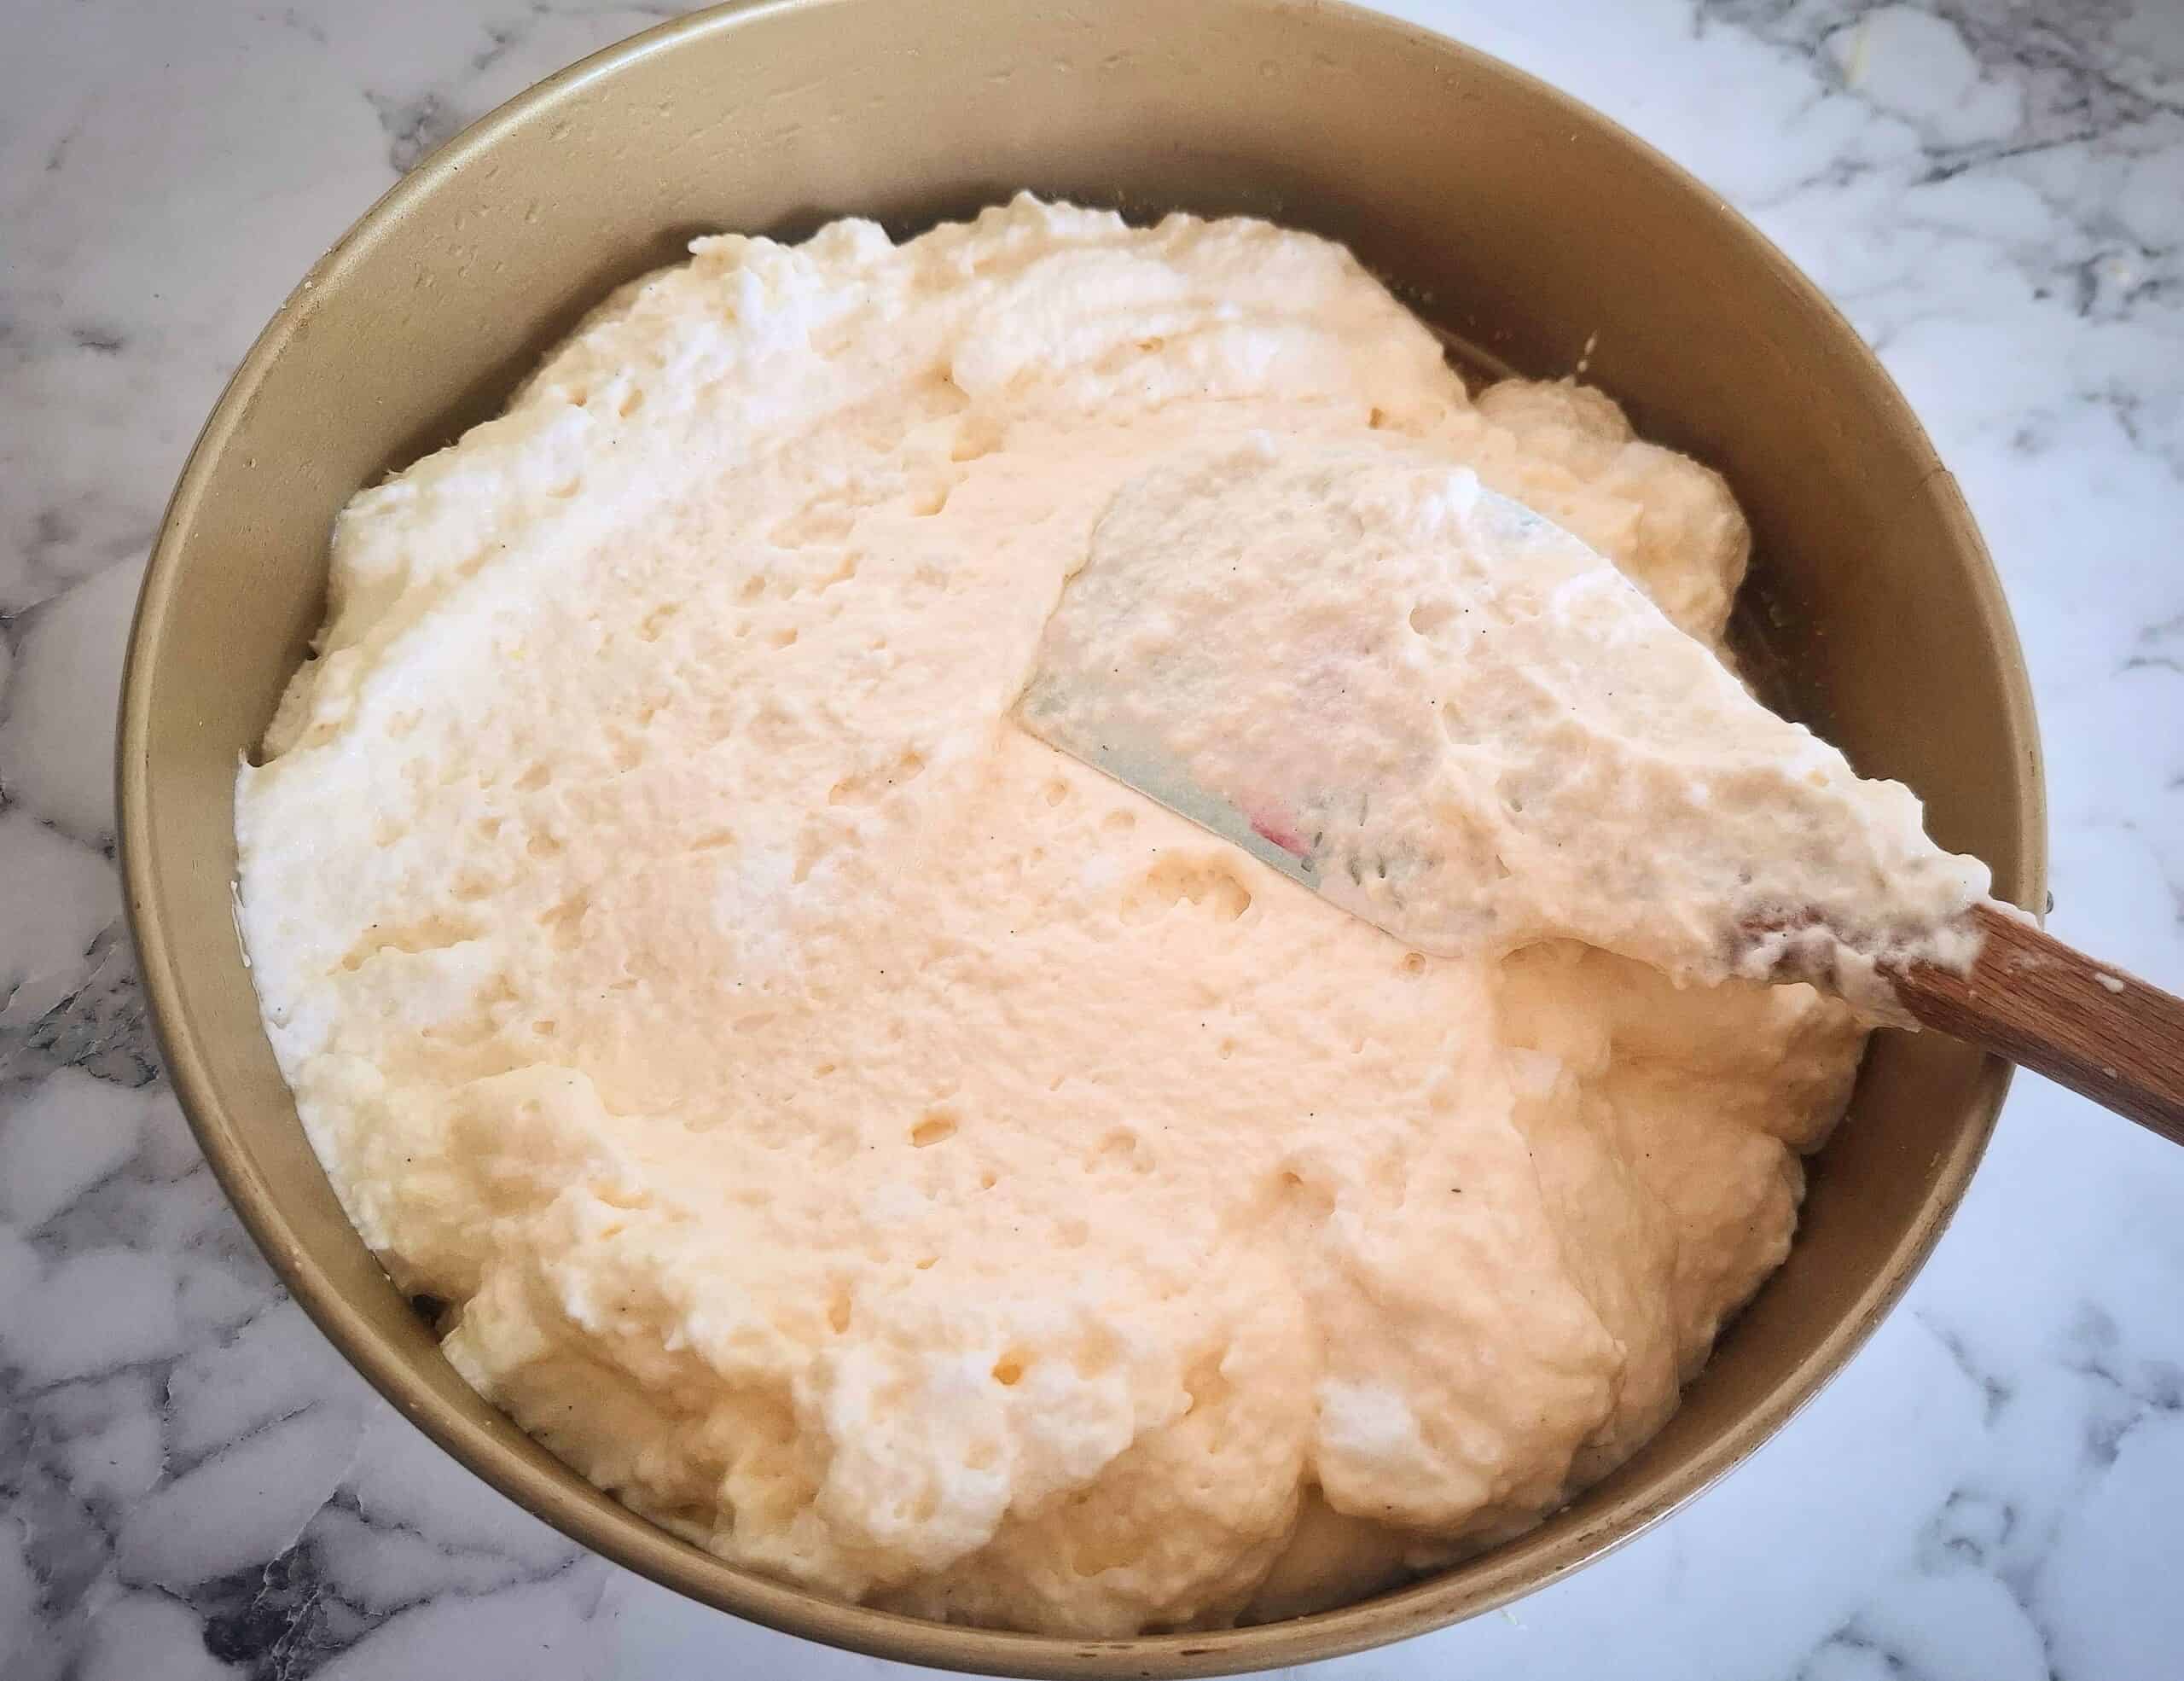
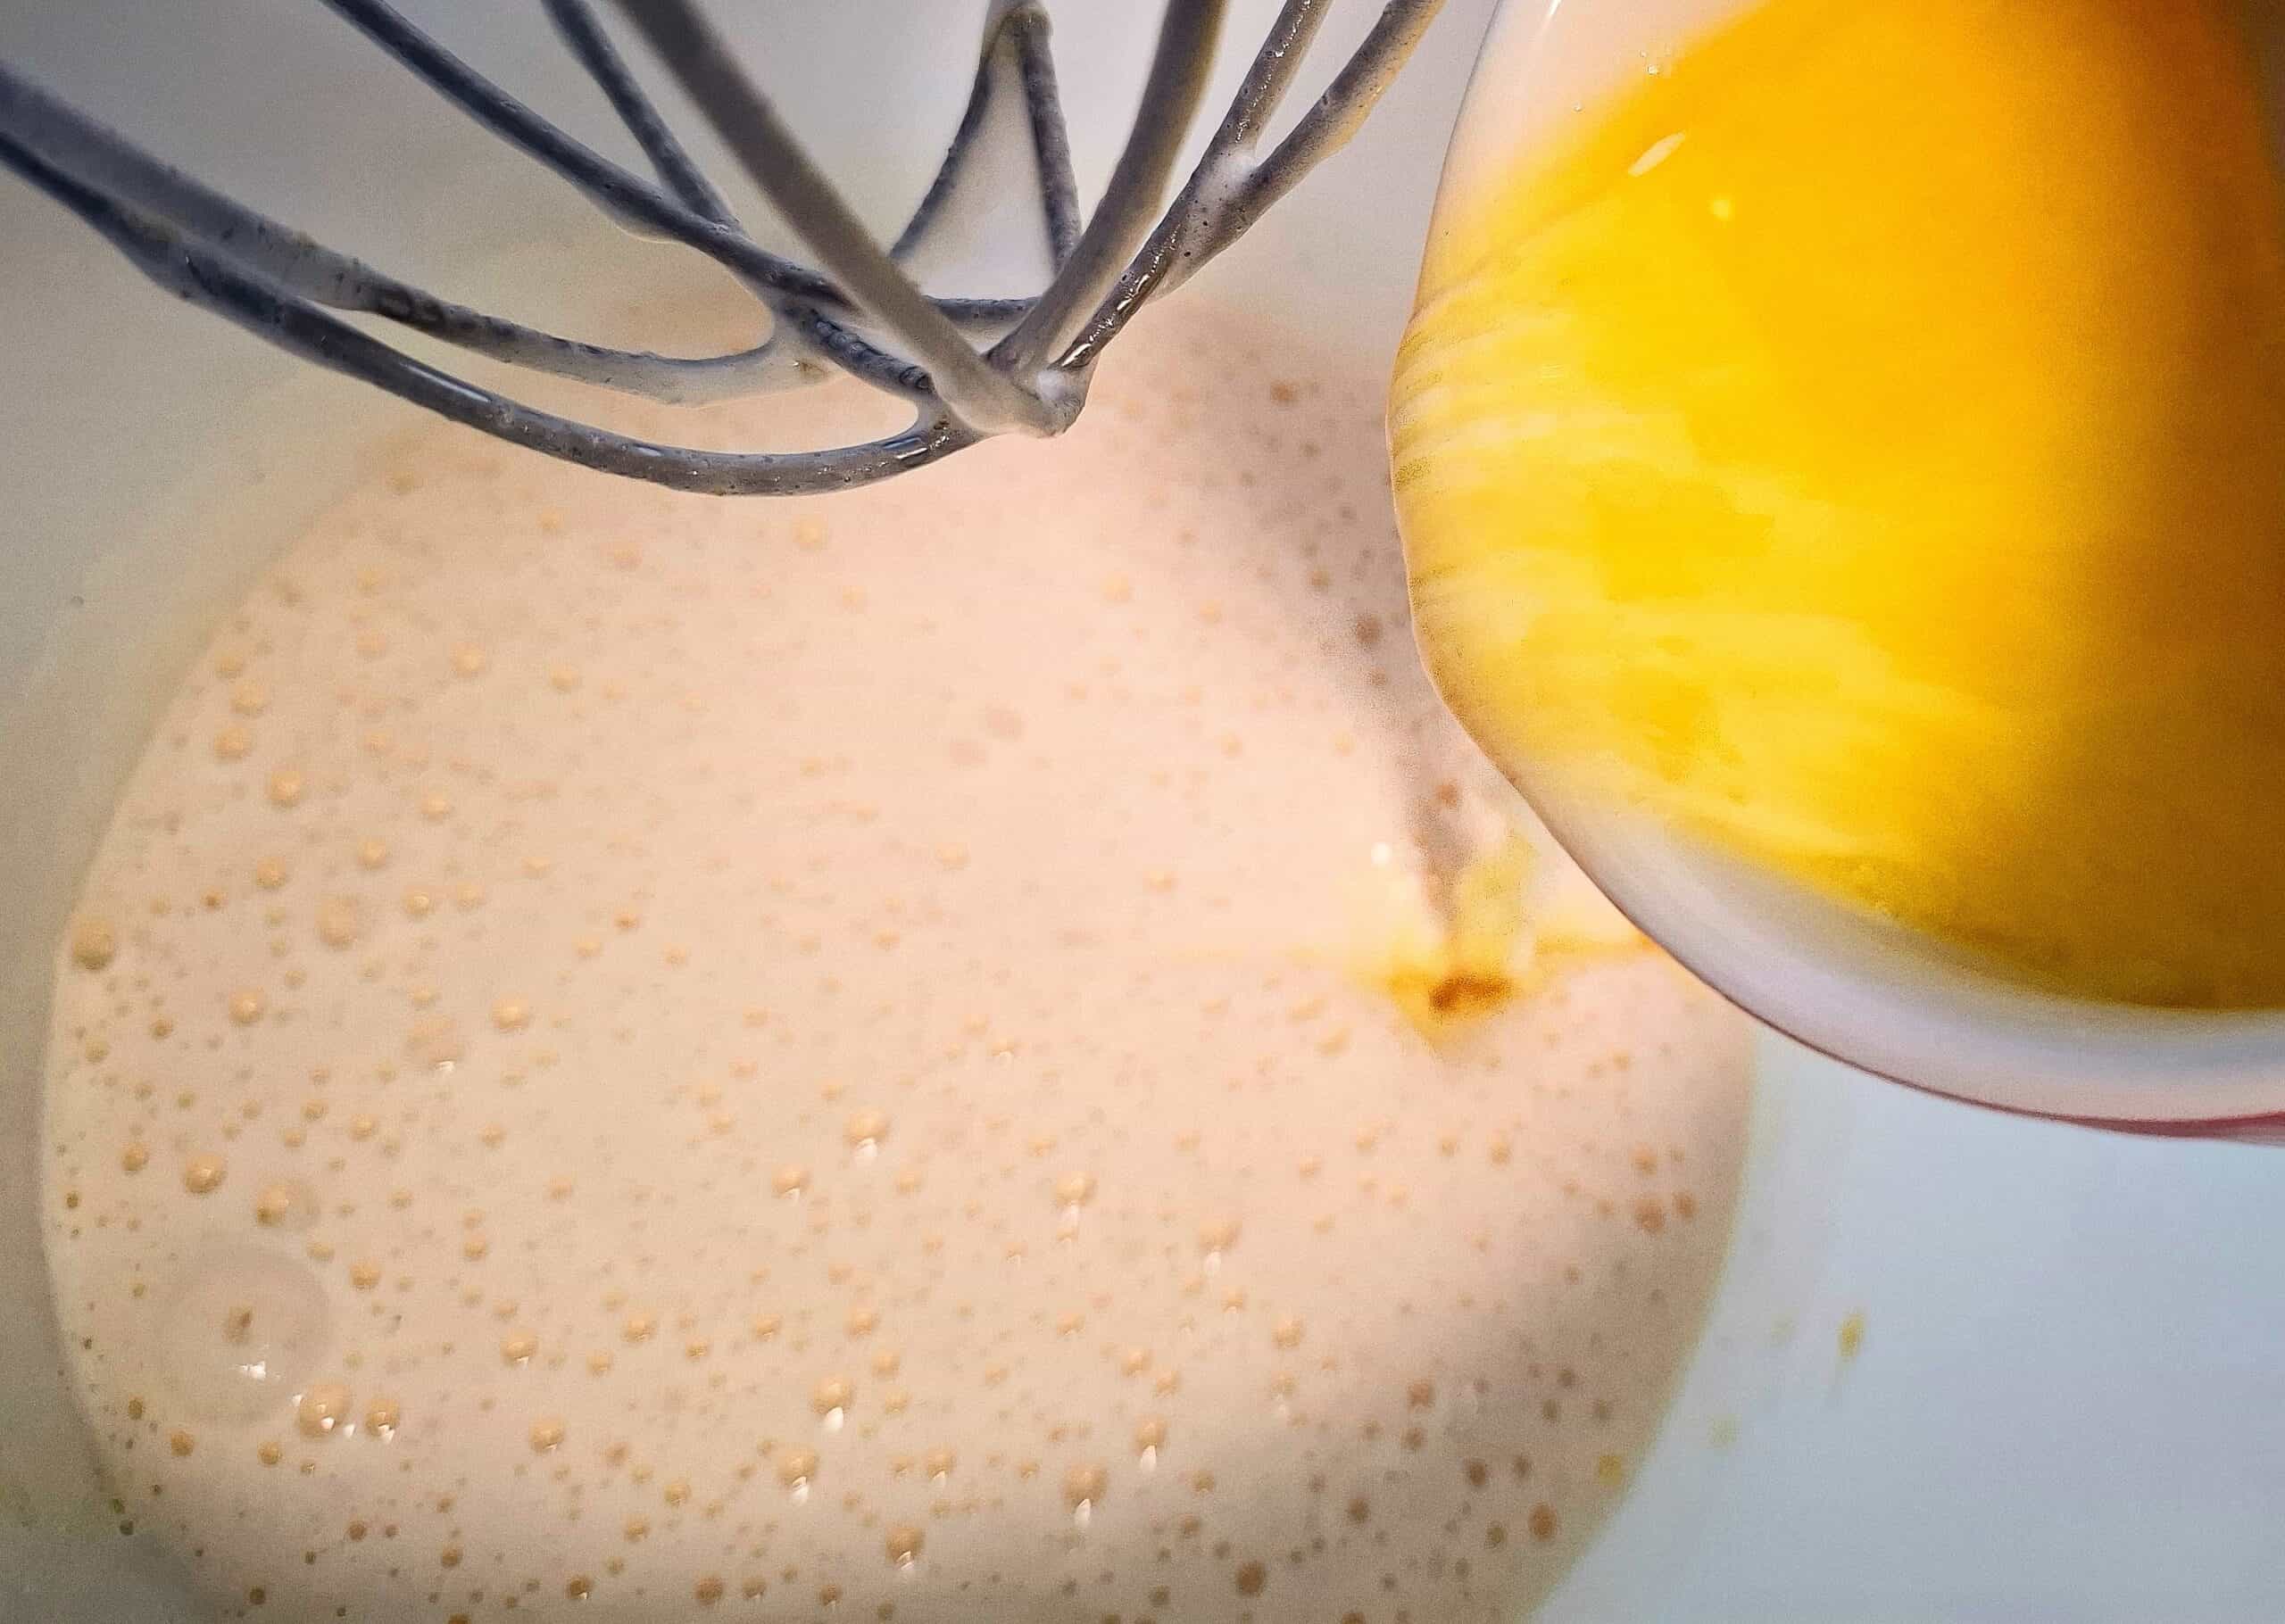
- Step 1: Add all the ingredients to a bowl. Mix well, either with a hand blender or a food processor

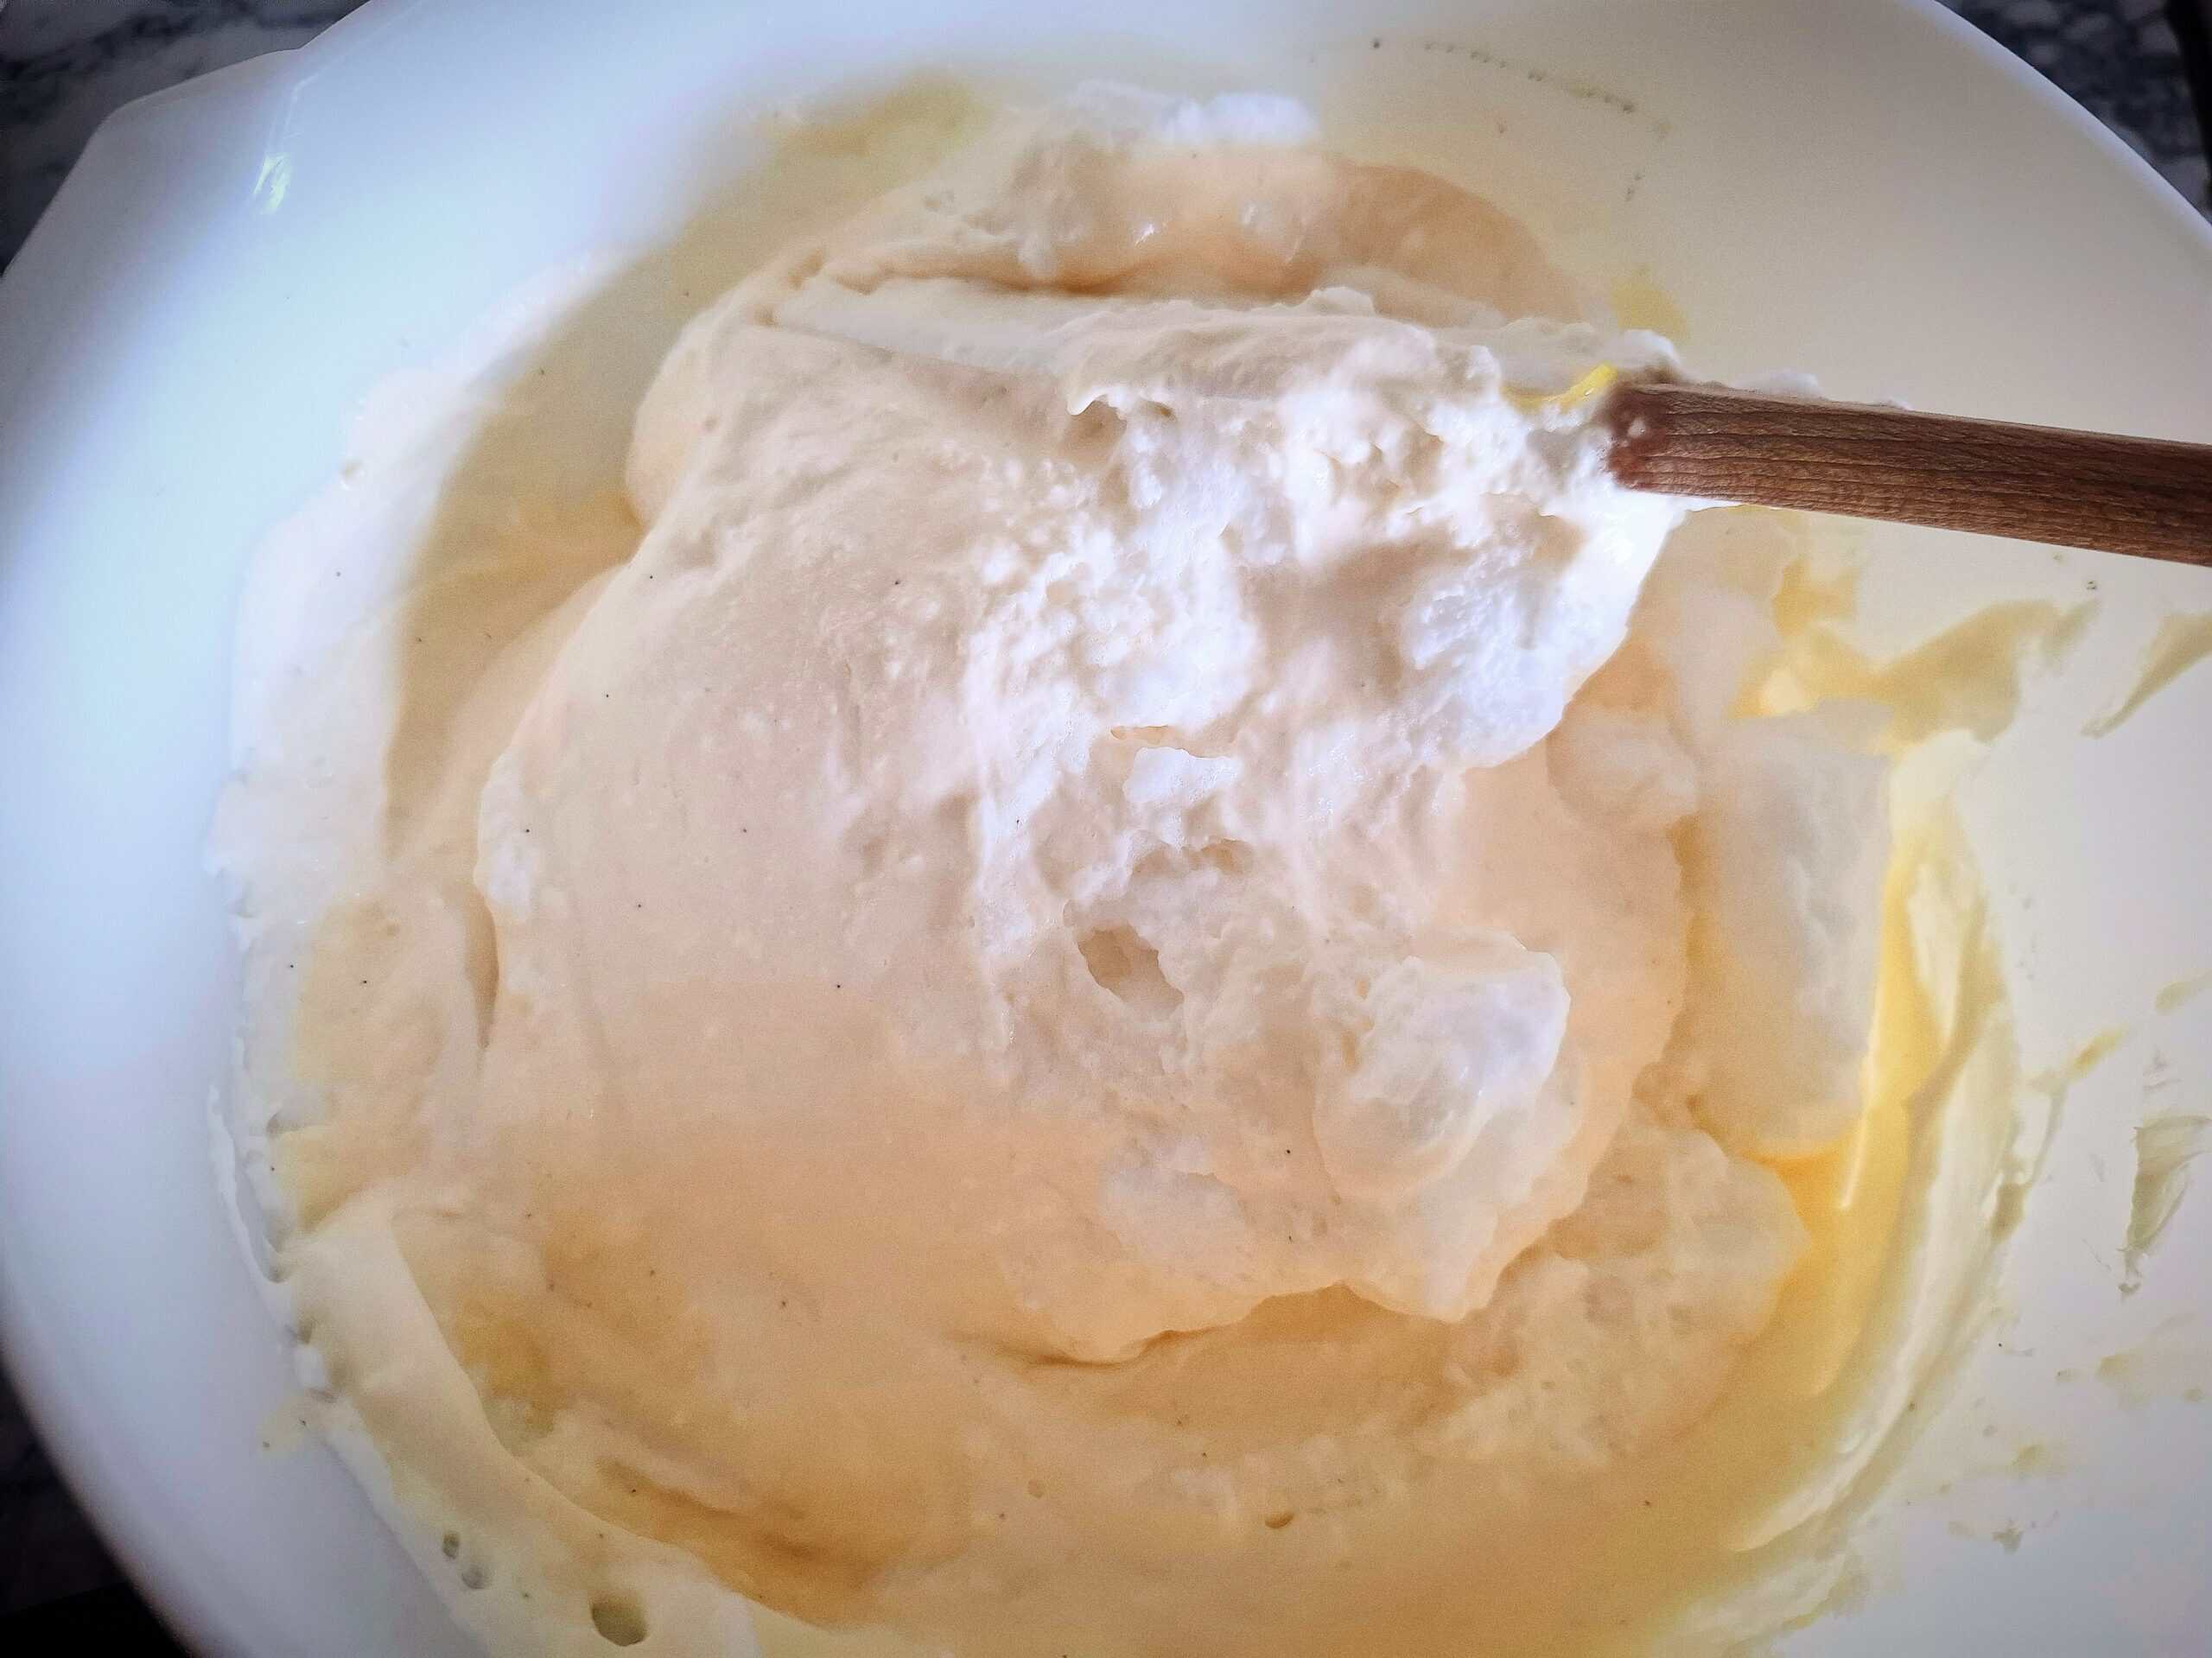
- Step 2: Or blend the ingredients in a nutri bullet to a smooth batter. The batter should be relatively thick, but pourable

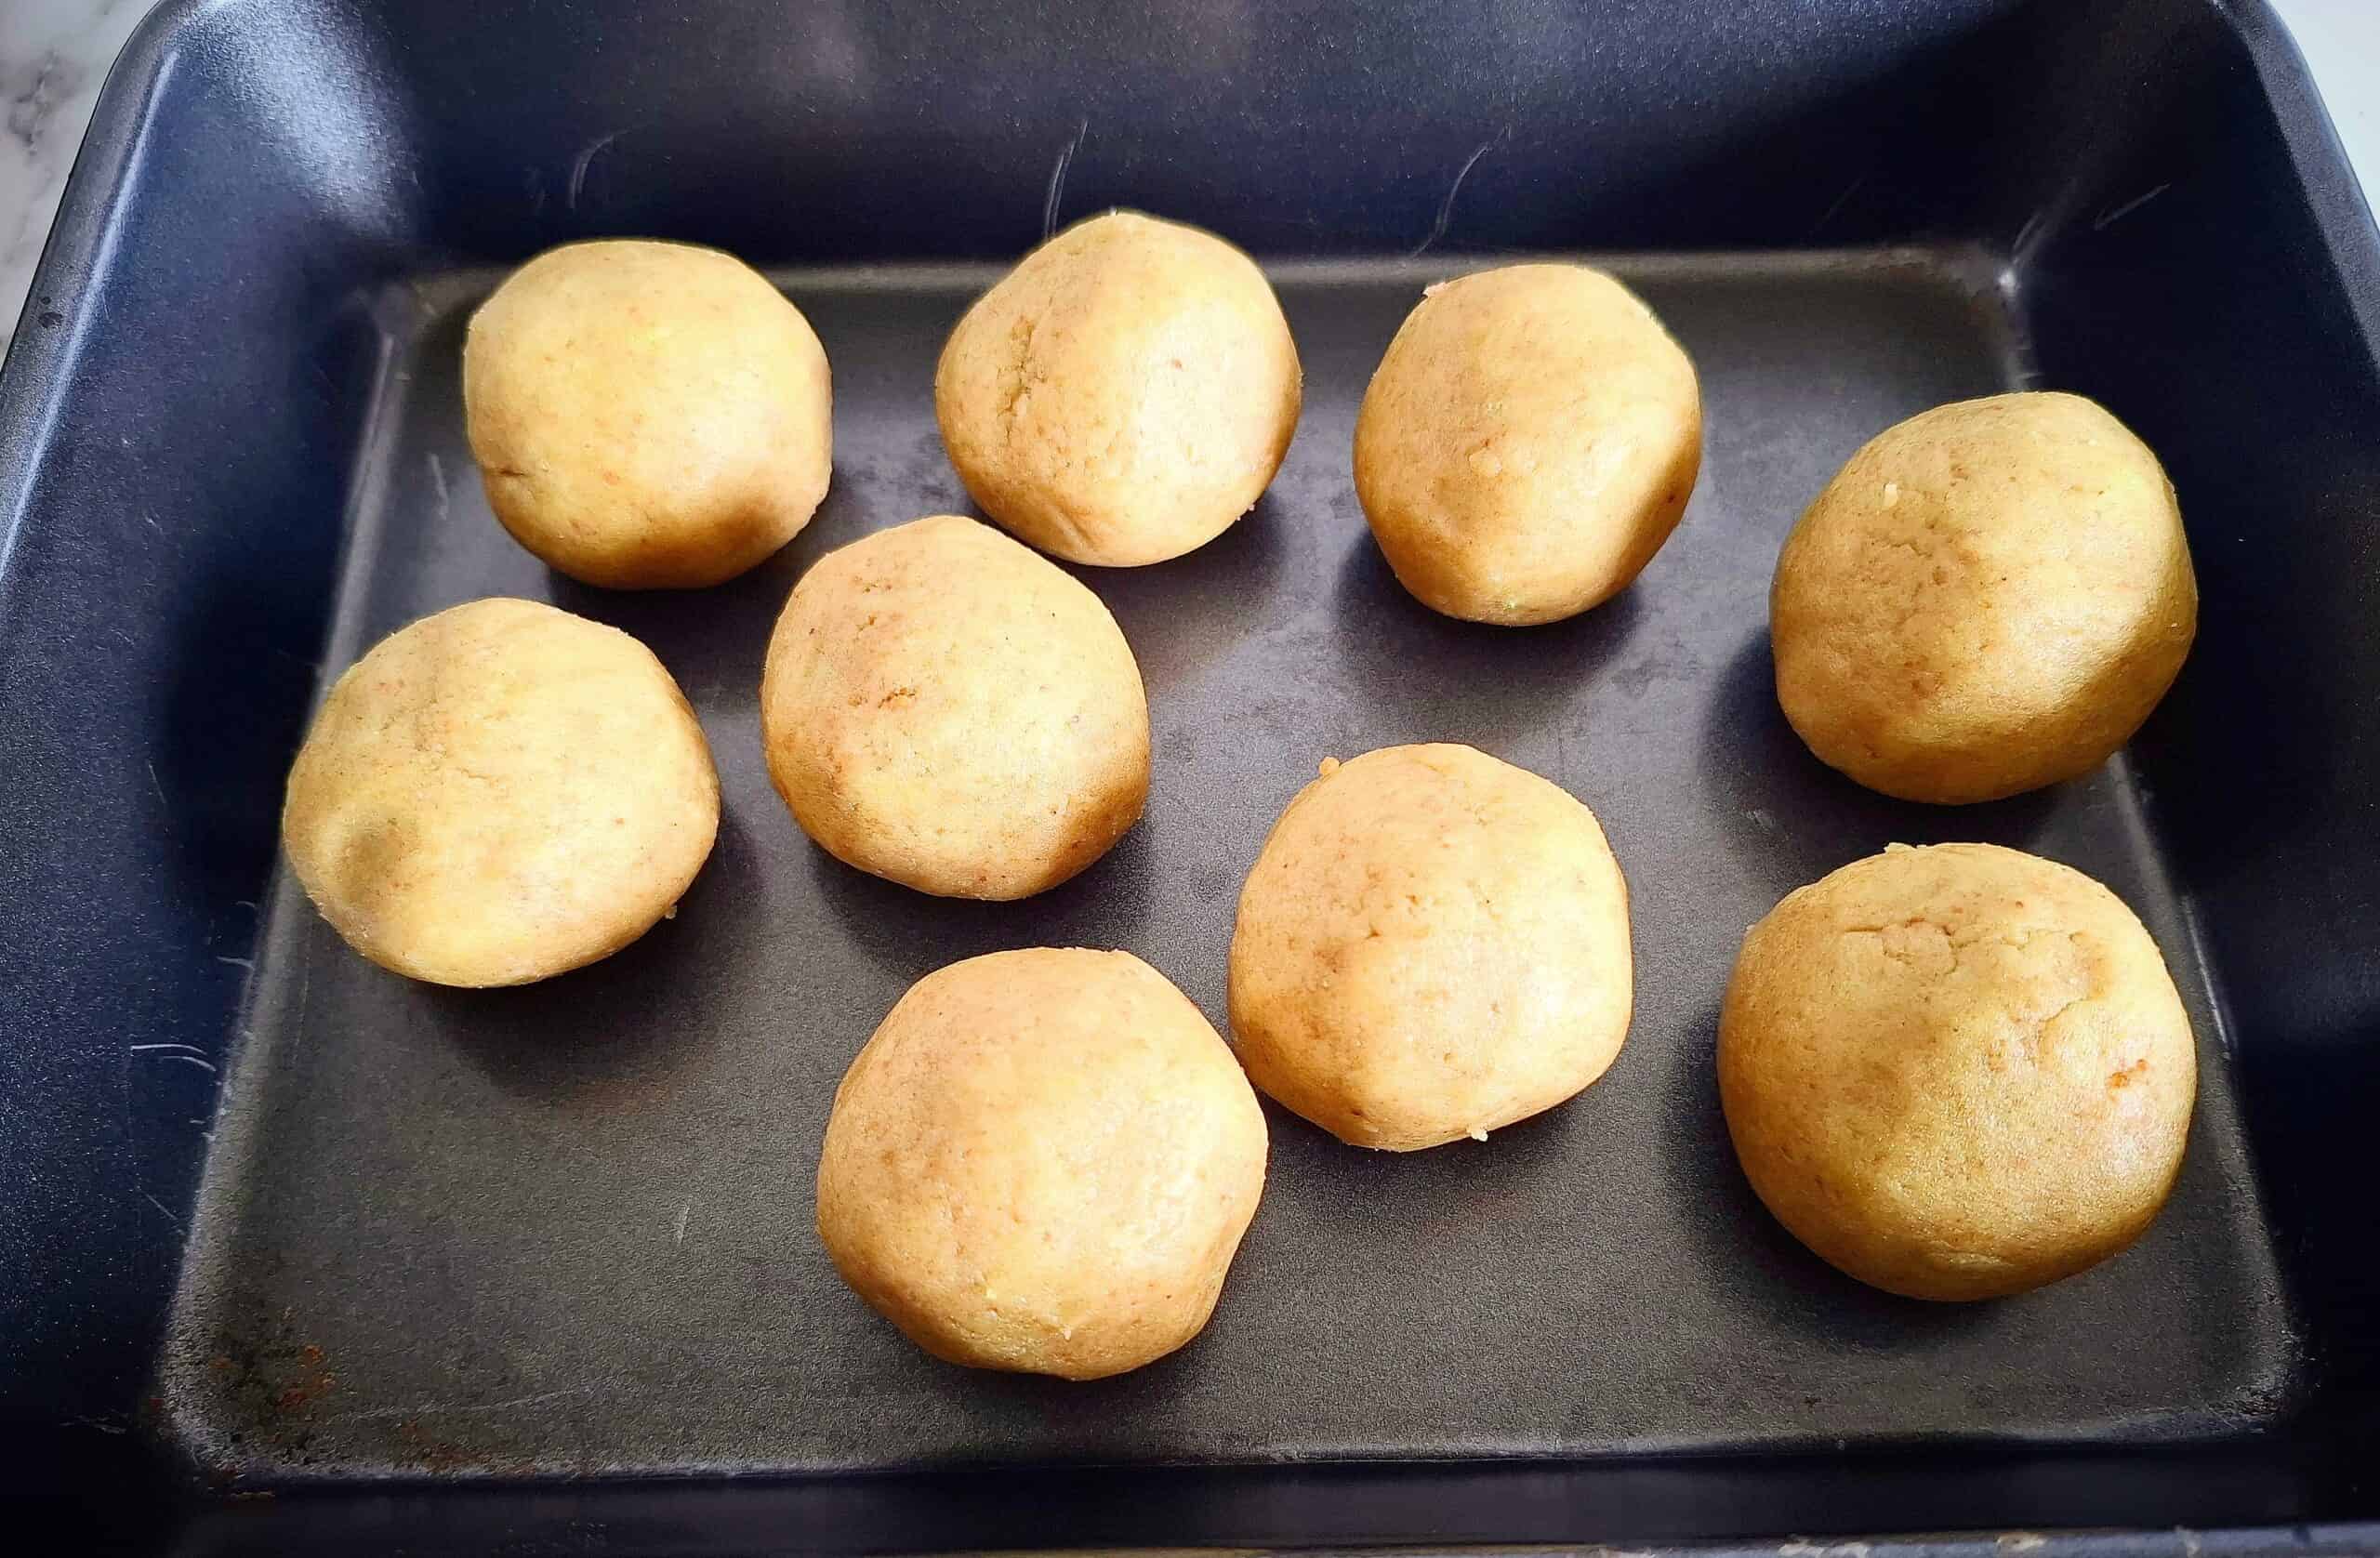
- Step 3: Heat a frying pan or skillet to low-medium heat. Add a small amount of oil or butter. Ladle pikelet sized portions of the batter into the frying pan.

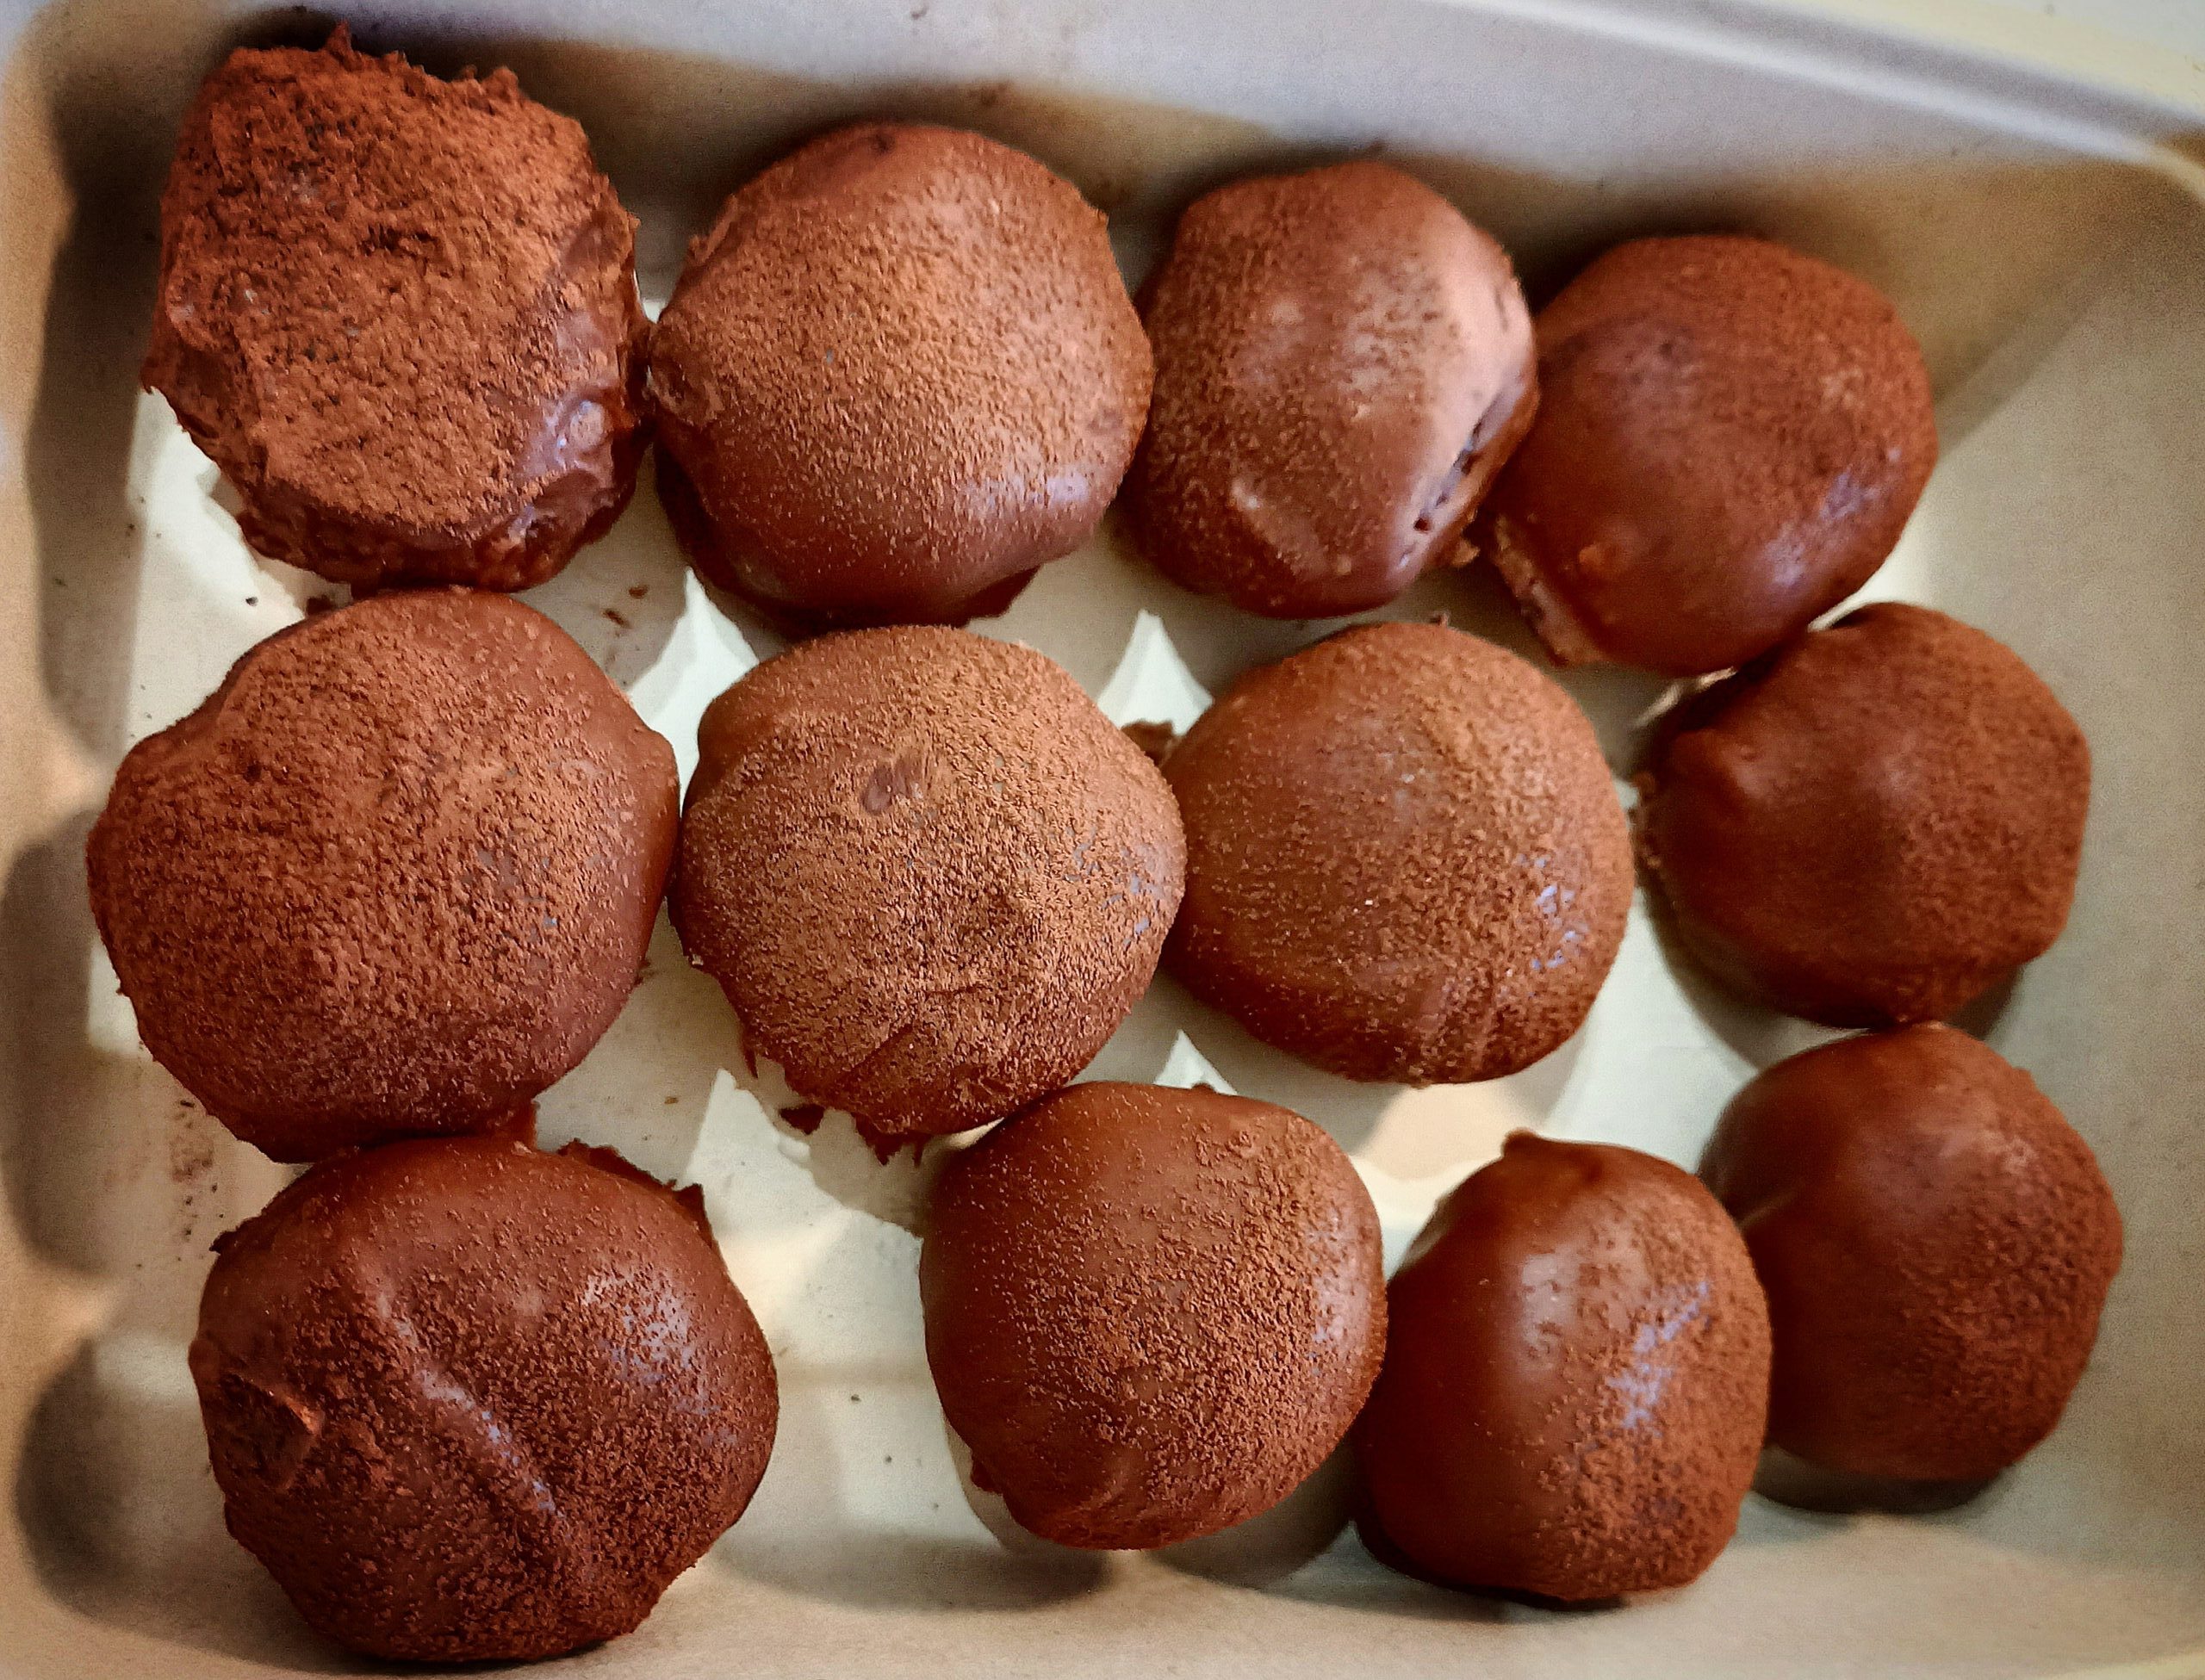
- Step 4: Fry until the pikelets are golden on the bottom and starting to set on top, 2-3 minutes, then flip the pikelets over with a spatula and fry the other side until golden. The pikelts are ready when they are golden and firm to touch.
Hint: Don’t use too much oil or butter when frying. Only use a minimal layer in the frying pan to get an even golden brown surface on your pikelets.
These gluten free pikelets don't last long in my house. My kids prefer them to regular pancakes/pikelets. They are lunch box and picnic friendly and often ends up in the school lunch boxes. They are naturally sweet from the bananas and almond meal and perfect for the whole family.

Substitutes and Variations to this recipe
- Add berries to the batter while cooking such as blueberries or raspberries
- Substitute the bananas for apple pure or pumpkin puree
Equipment
- Frying pan
- spatula
- mixing bowl
- hand blender, food processor or nutri bullet
Storage
Cooked banana pikelets lasts covered in the fridge for 2-3 days.
Uncooked batter lasts in the fridge for up to 24 hours
Cooked banana pikelets can be stored in the freezer for up to 3 months: Place the pancakes with parchment paper between them to prevent sticking.
Top Tip
- Don't overmix the batter for lighter and fluffer pancakes.
- Use very ripe bananas for a sweeter flavor and moist soft texture.
- These pancakes darken more easily than regular ones, so be careful not to burn them. Cook on low-medium heat and wait until batter is set on top before flipping them.
FAQ
The cooking temperature is too high. Cook on medium-low heat so the inside cooks through before the outside darkens.
Yes. Let them cool down completely and place parchment paper between the pancakes. Store them in a sealed freezer bag or container for up to 3 months.
Yes, but the pancakes will be less sweet and less moist and have a milder banana flavor.
When the batter is set on top and has a golden color underneath it's time to flip them.
Related
Looking for another recipe using ripe bananas? Try this:
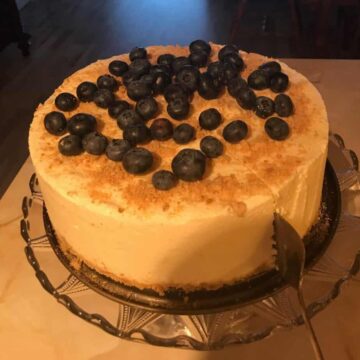
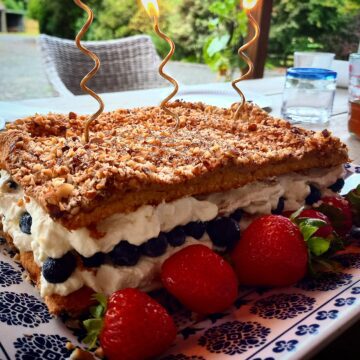
banana cake with chocolate icing
Looking for another recipe using almond meal? Try this:


Pairing
This is my favorite side dish to serve with banana almond pancakes:
They are excellent for brunch, a snack or morning tea. Especially good served with fresh berries and sliced bananas.
This is my family's new favorite pancake recipe that only includes ingredients that are good for you. They’re fluffy, filling, and naturally sweetened.
If you made this banana pikelets recipe? Please leave me a comment and rating below. I really appreciate it and I love hearing from you!

Banana pikelets
Equipment
- 1 Frying pan
- 1 spatula
- 1 Mixing bowl
- 1 hand blender, food processor or nutri bullet
Ingredients
- 4 Bananas very ripe
- ¾ cup Almond meal
- ¼ cup oats rolled
- 4 eggs free ranged
- 1 teaspoon vanilla extract or paste
Instructions
- Add all the ingredients to a bowl. Mix well, either with a hand blender or a food processor
- Or blend the ingredients in a nutri bullet to a smooth batter. The batter should be relatively thick, but pourable
- Heat a frying pan or skillet to low-medium heat. Add a small amount of oil or butter
- Ladle pikelet sized portions of the batter into the frying pan.
- Fry until the pikelet are golden on the bottom and starting to set on top, 2-3 minutes, then flip the pikelets over with a spatula and fry the other side until golden.
- The pikelets are ready when they are golden and firm to touch.
Notes
- Don't overmix the batter for lighter and fluffer pancakes.
- Use very ripe bananas for a sweeter flavor and moist soft texture.
- These pancakes darken more easily than regular ones, so be careful not to burn them. Cook on low-medium heat and wait until batter is set on top before flipping them.