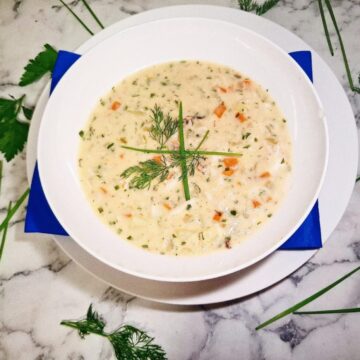
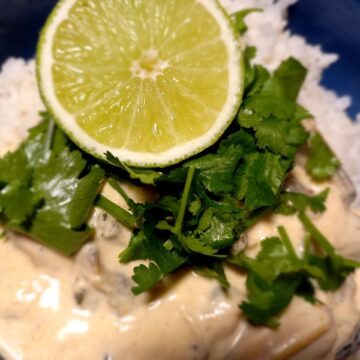
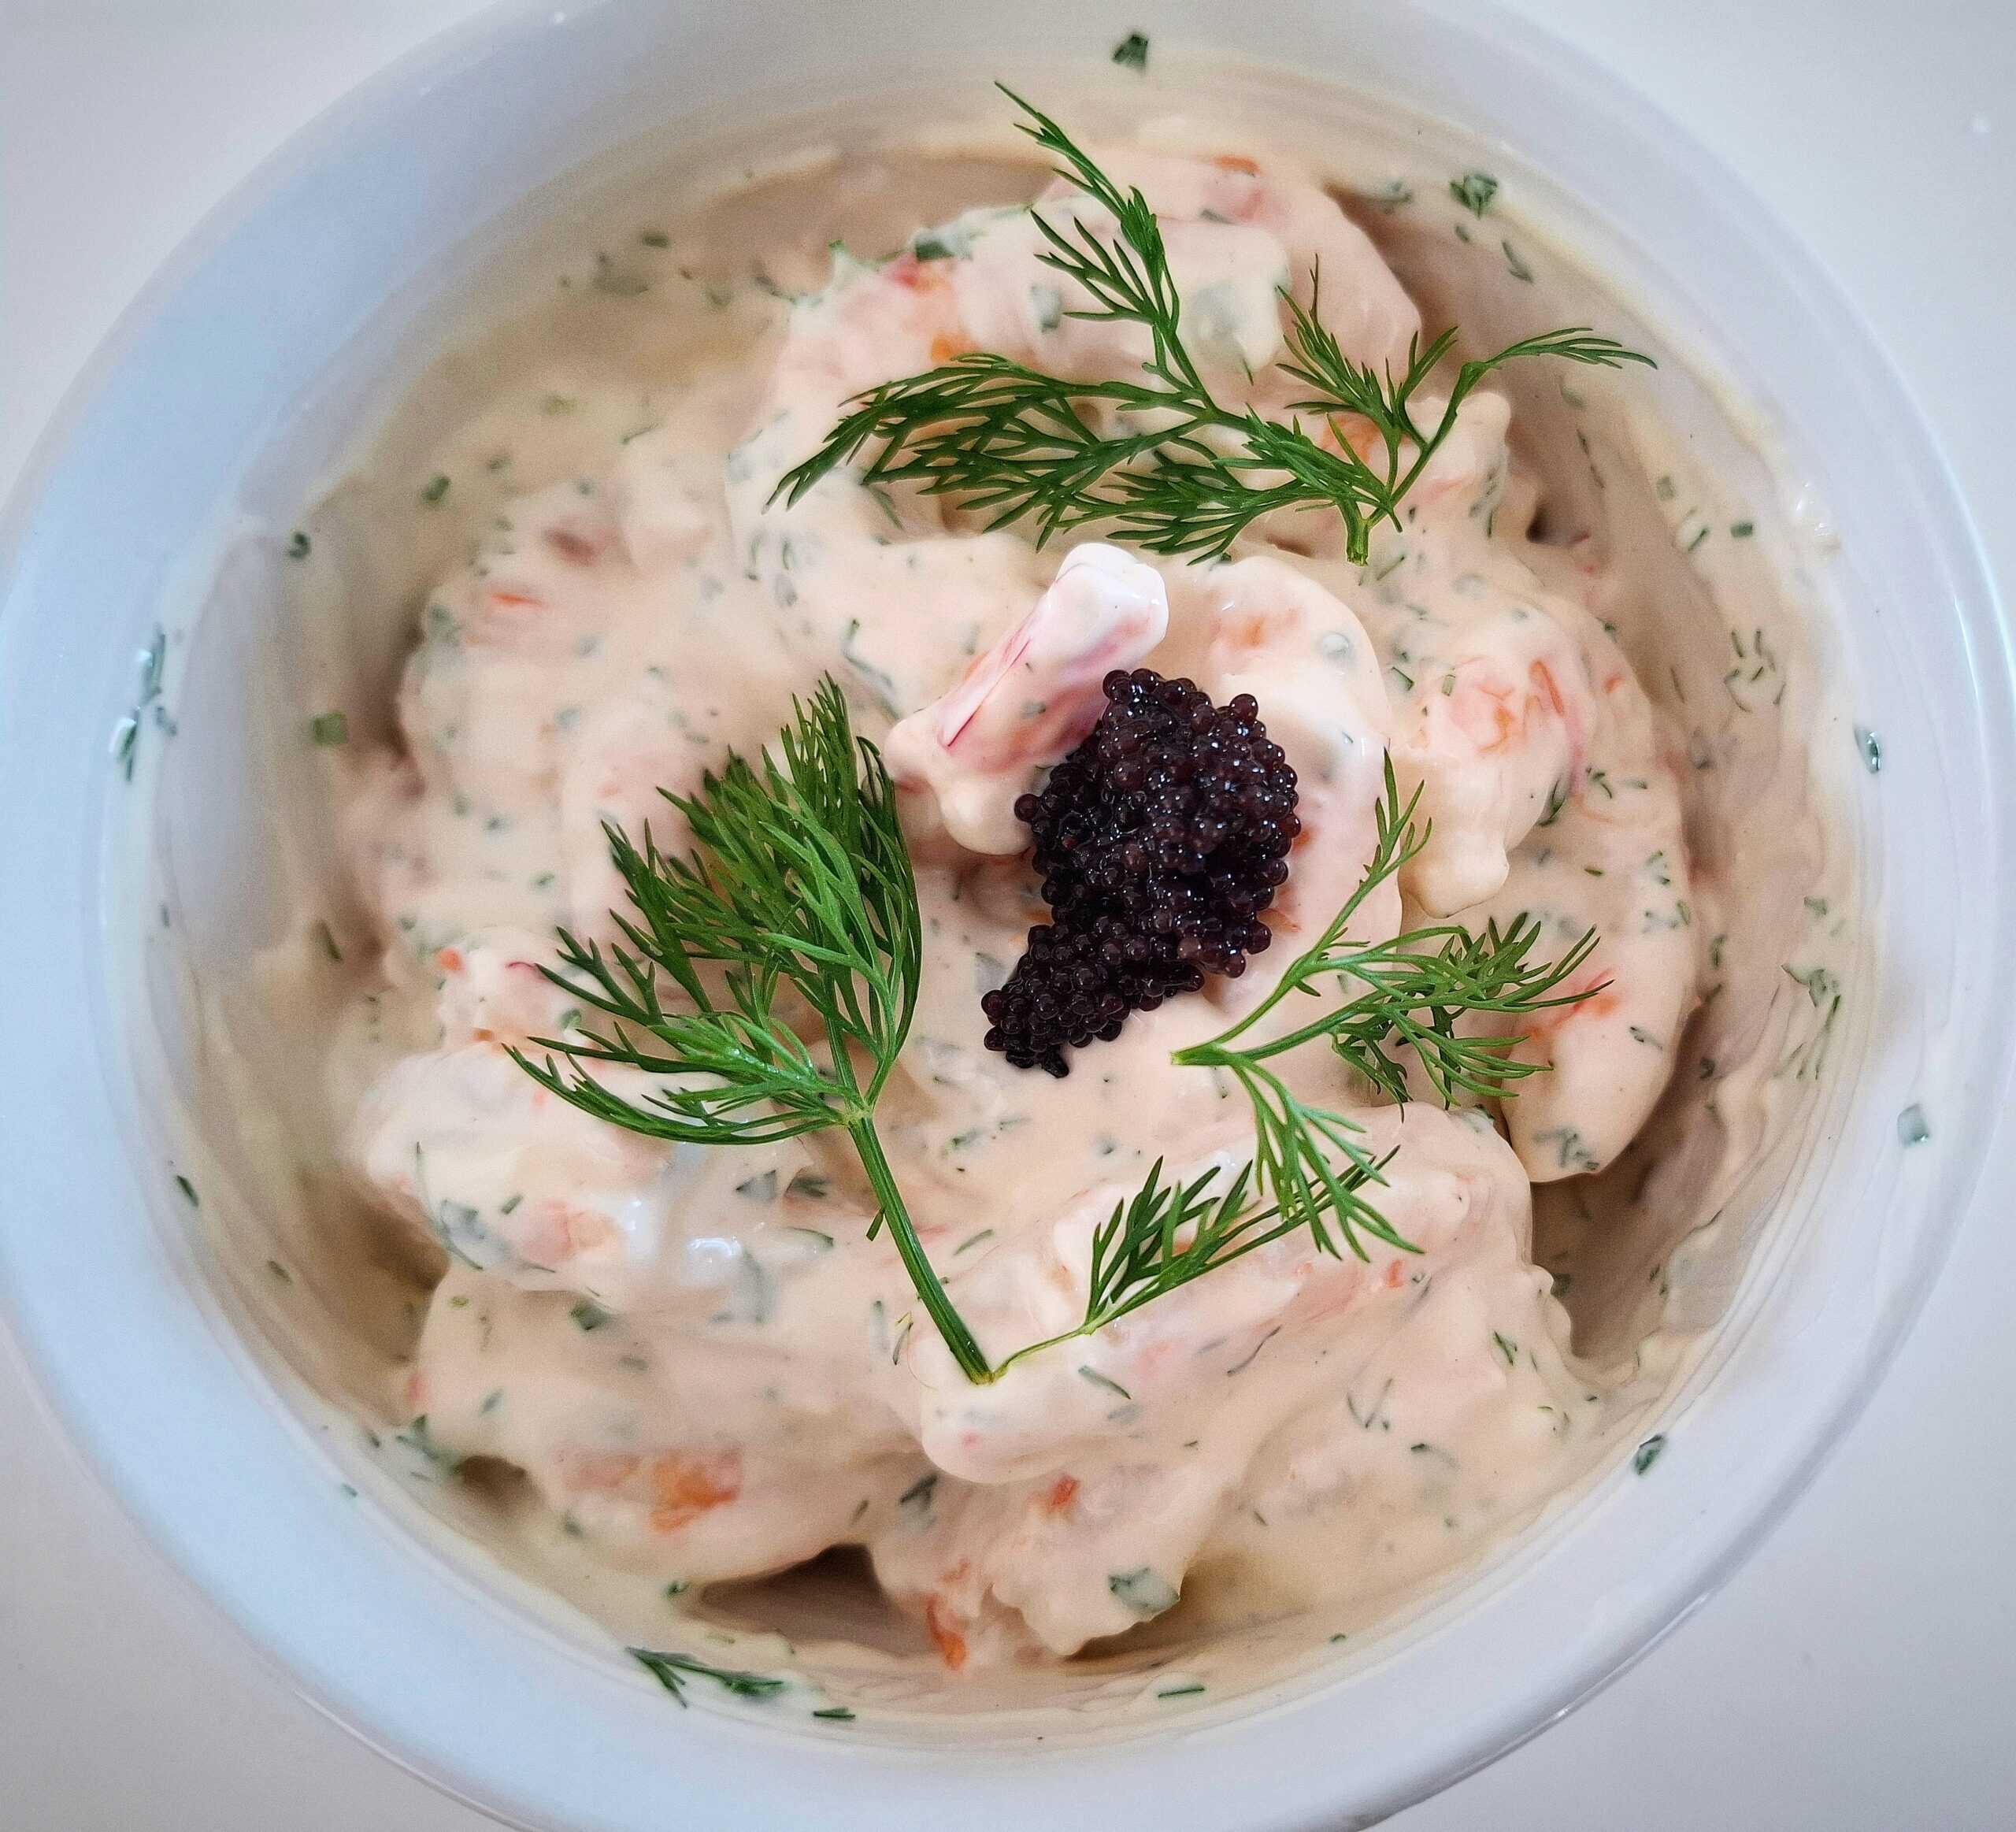
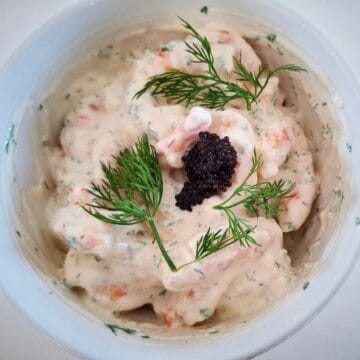
Prawn or shrimp skagen is an elegant Swedish classic and often served as an appetizer in restaurants on toast and on a buffets (smorgasbord).
An extremely good prawn salad that highlights cooked peeled prawns and the magical combination of prawns, dill and sour cream.
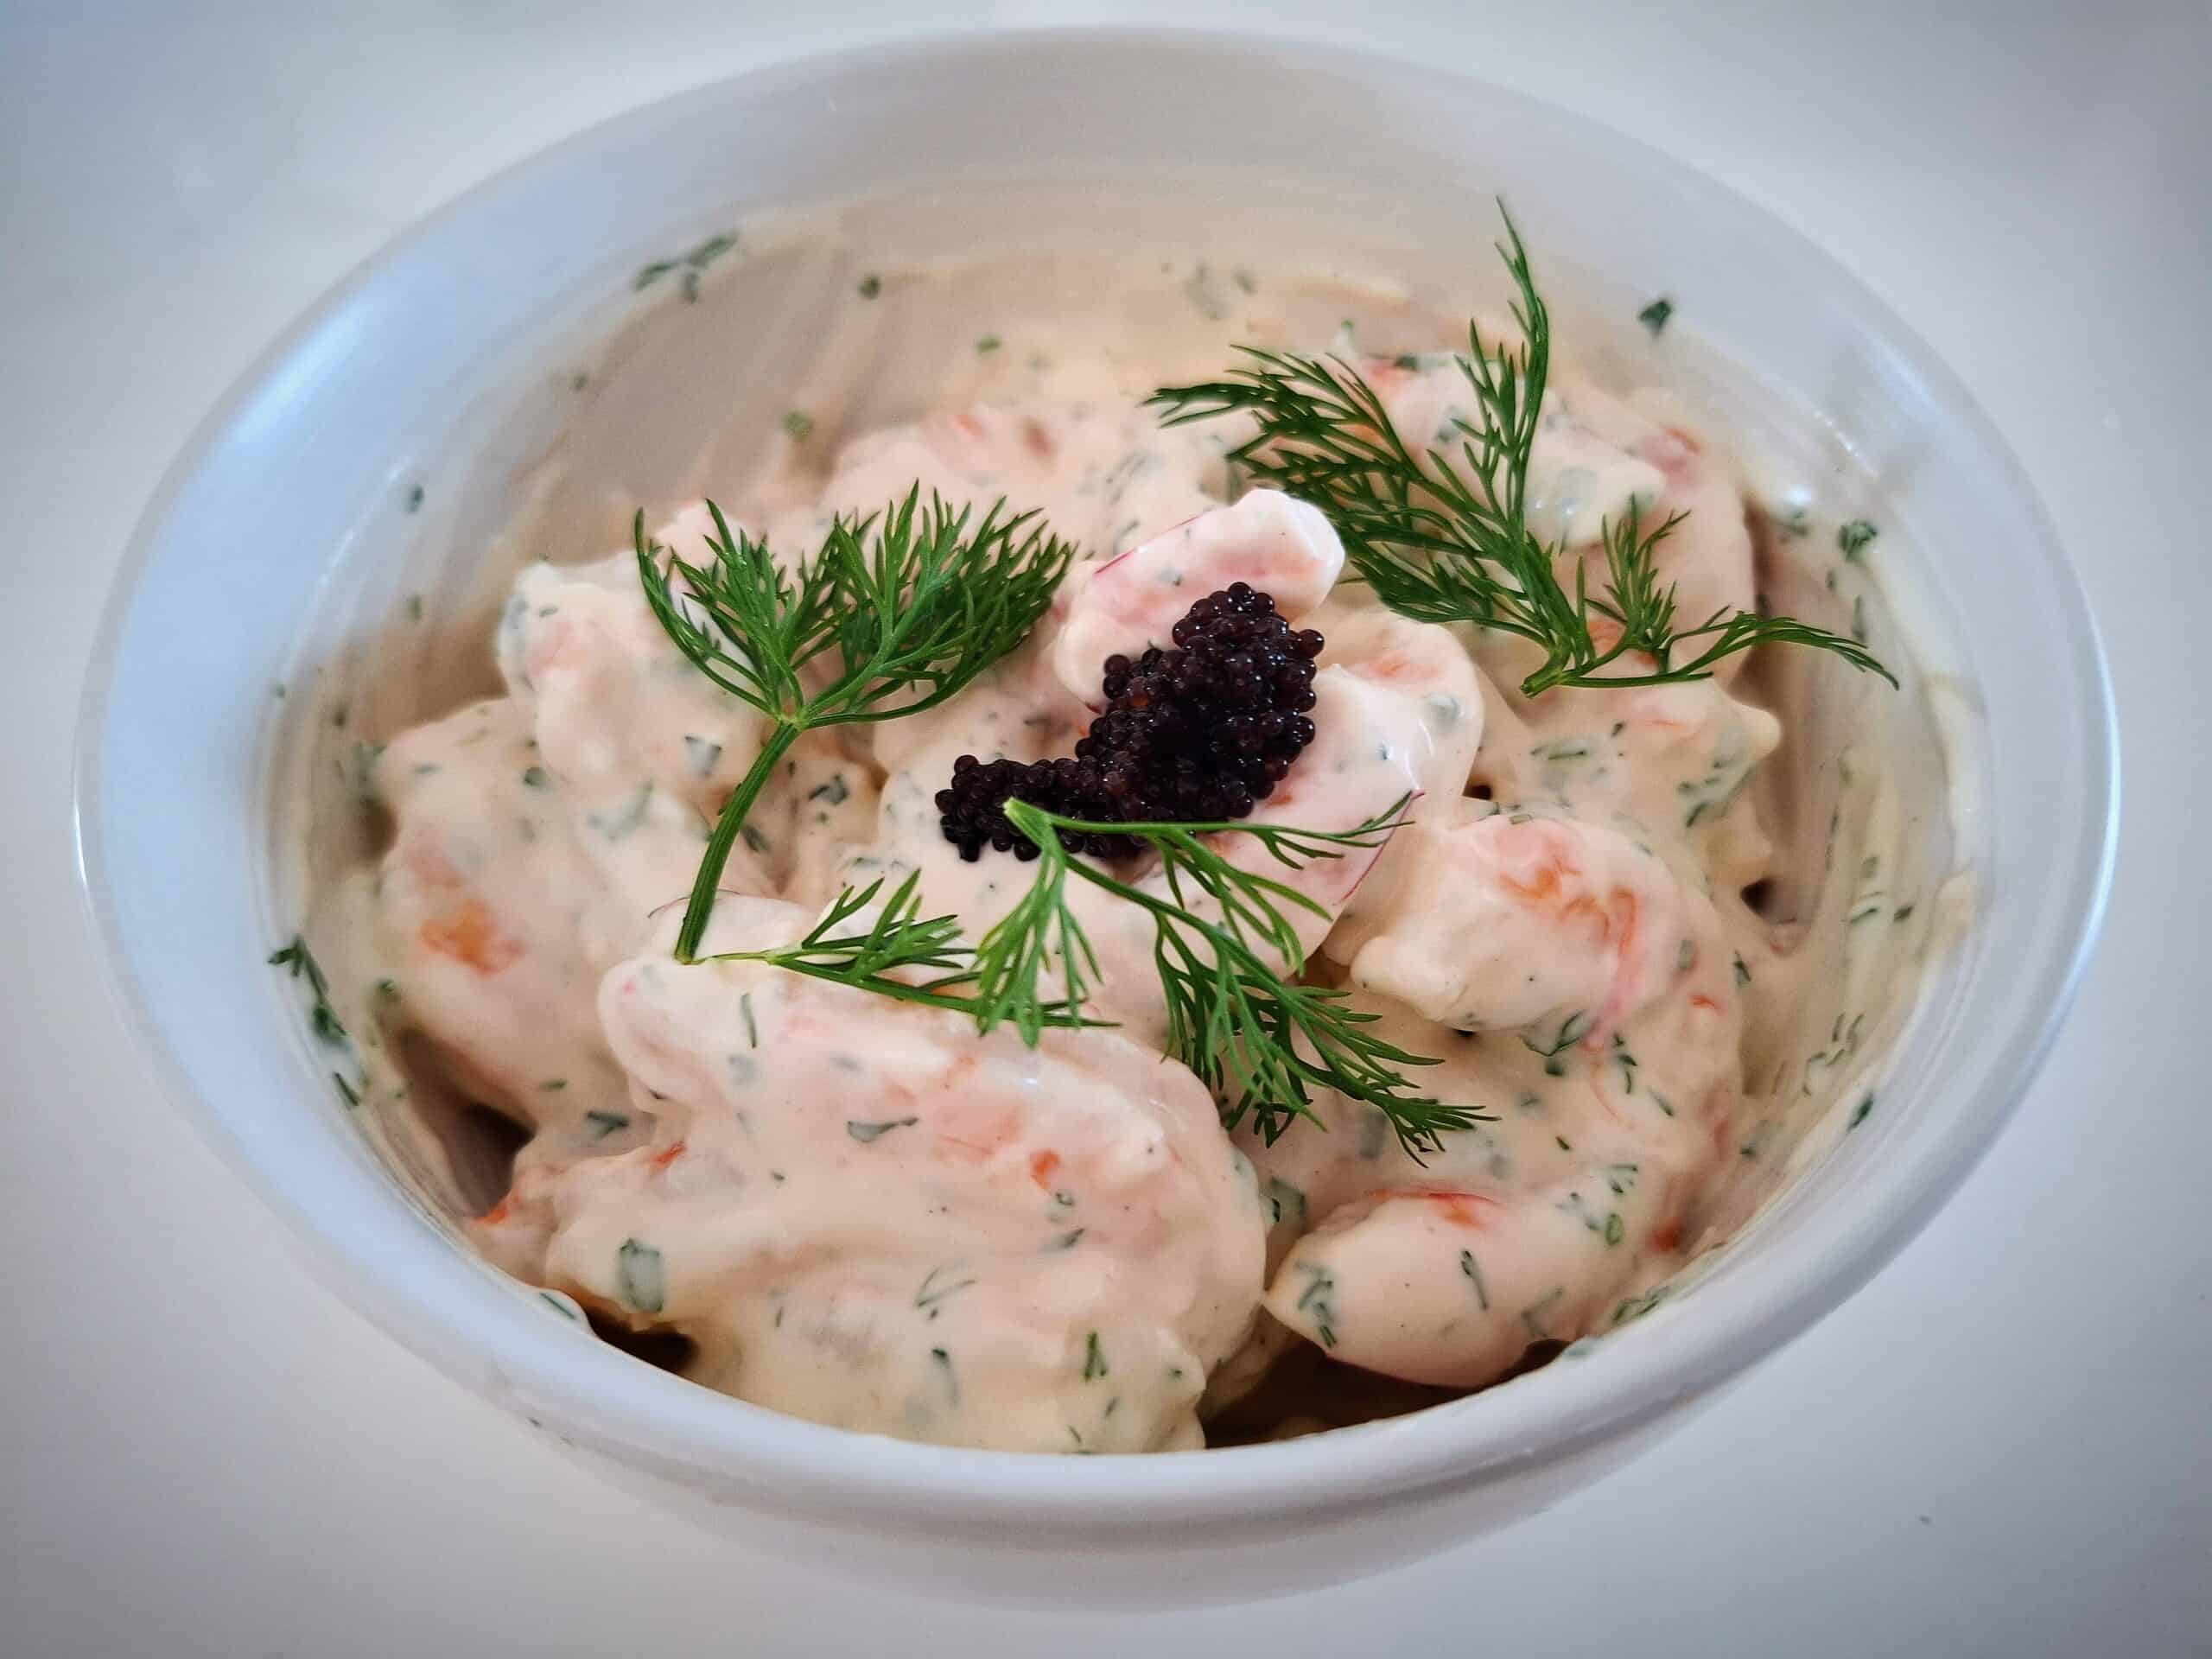
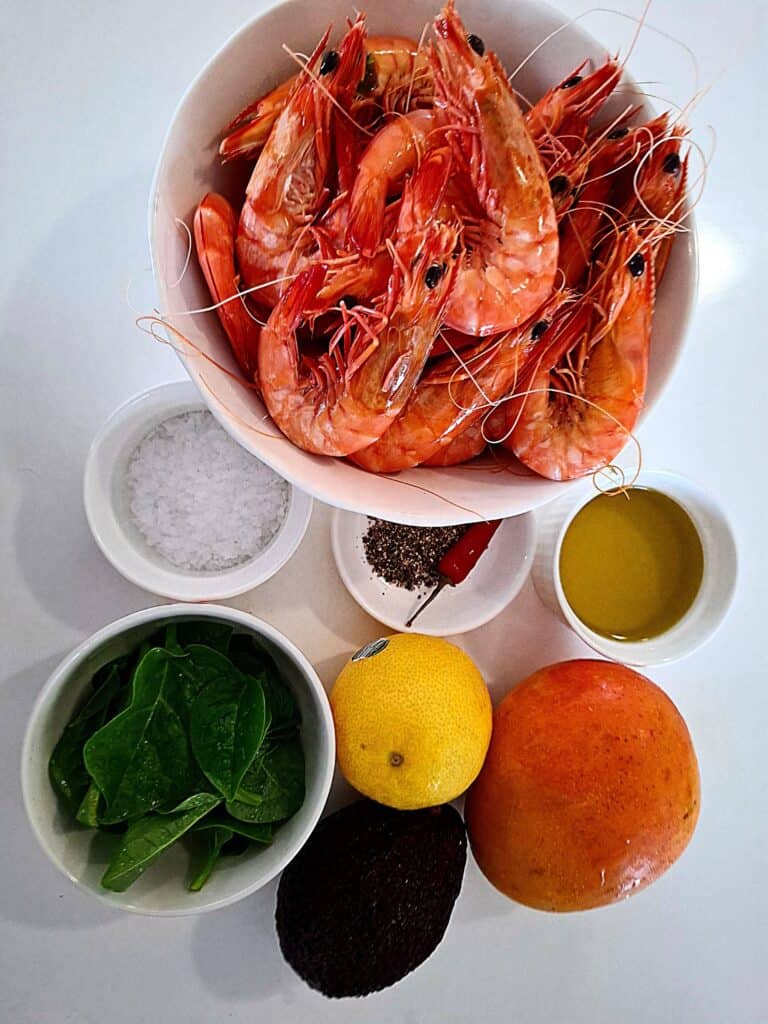
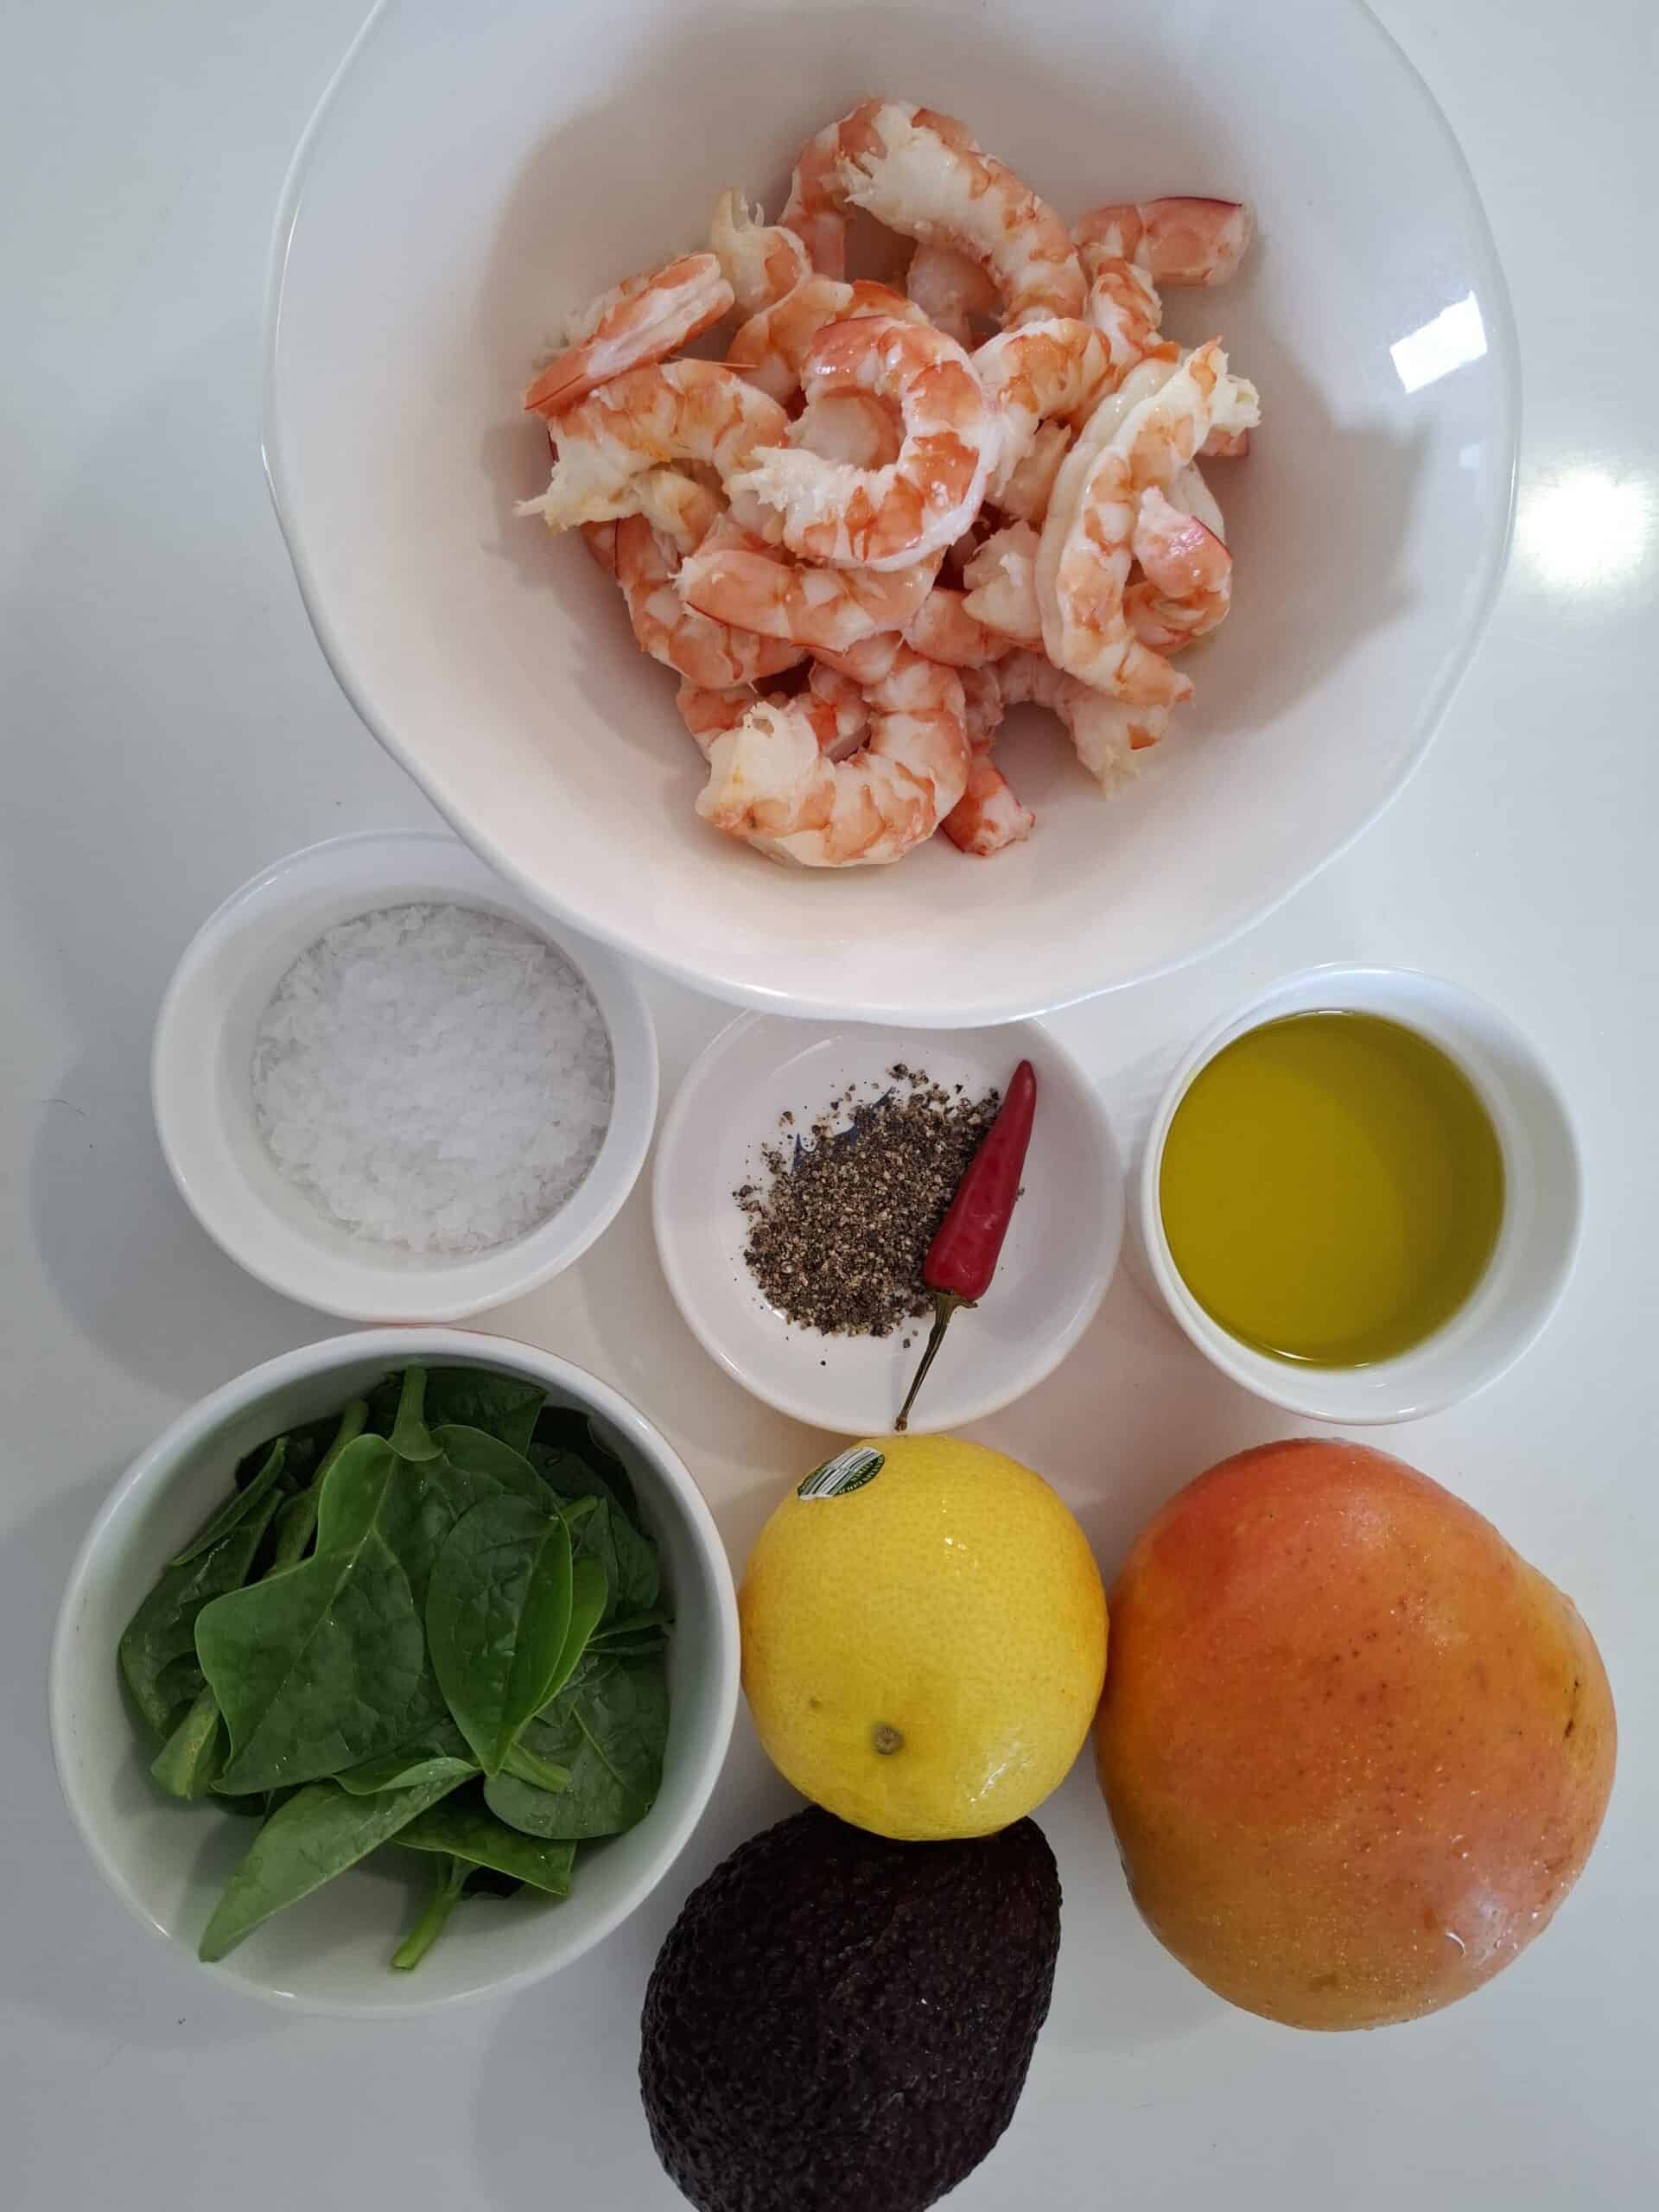
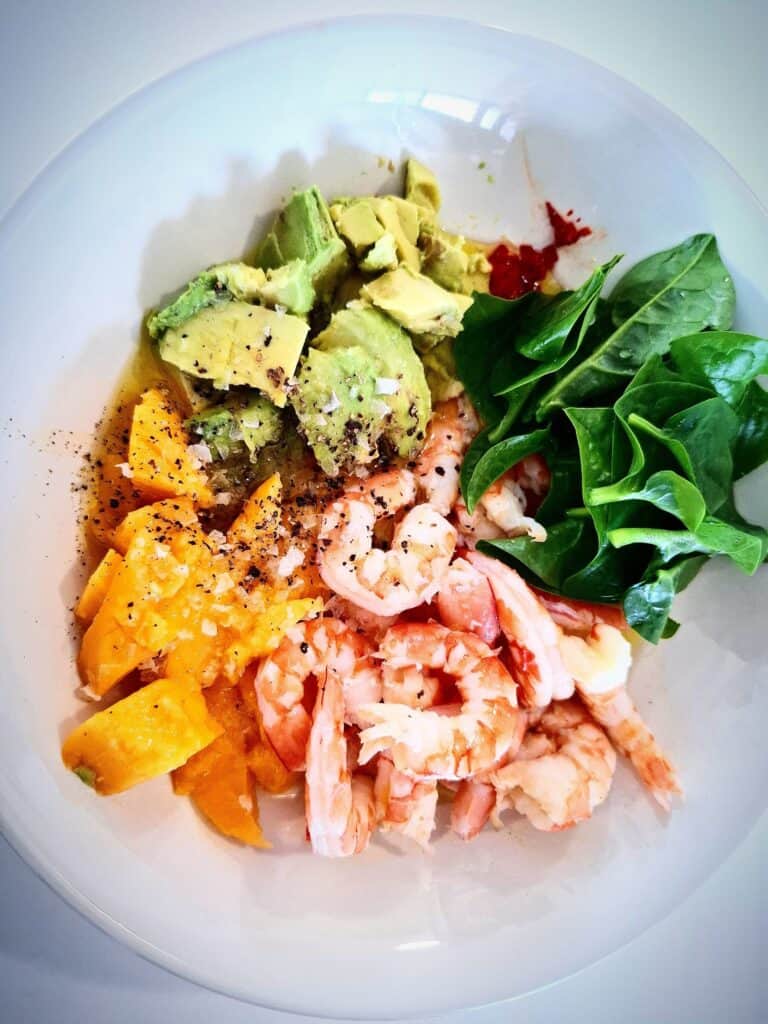
Cooked peeled prawns are covered in a tasty creamy dressing flavored with lemon and herbs. Check out my other prawn salad with mango and avocado on this site for another delicious prawn salad recipe
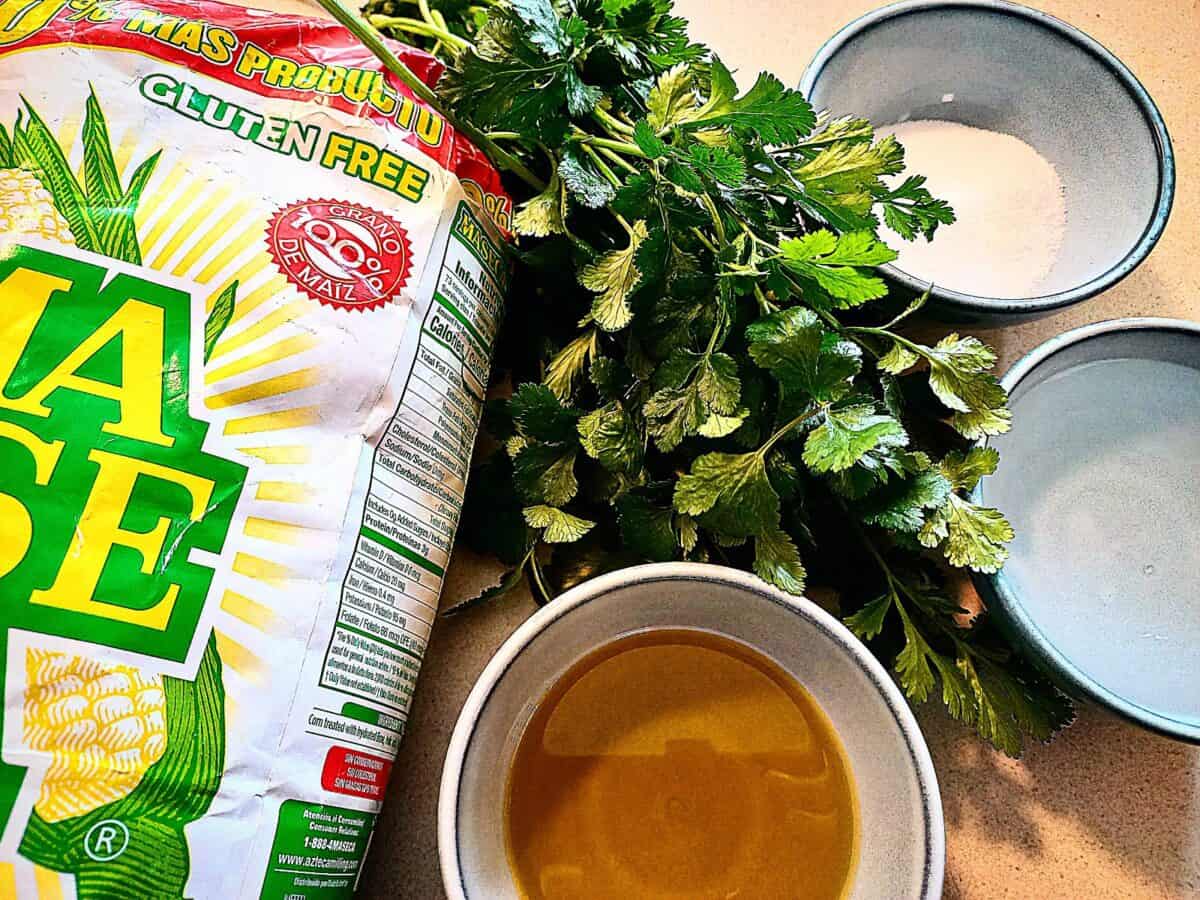
[feast_advanced_jump_to]Ingredients for shrimp skagen
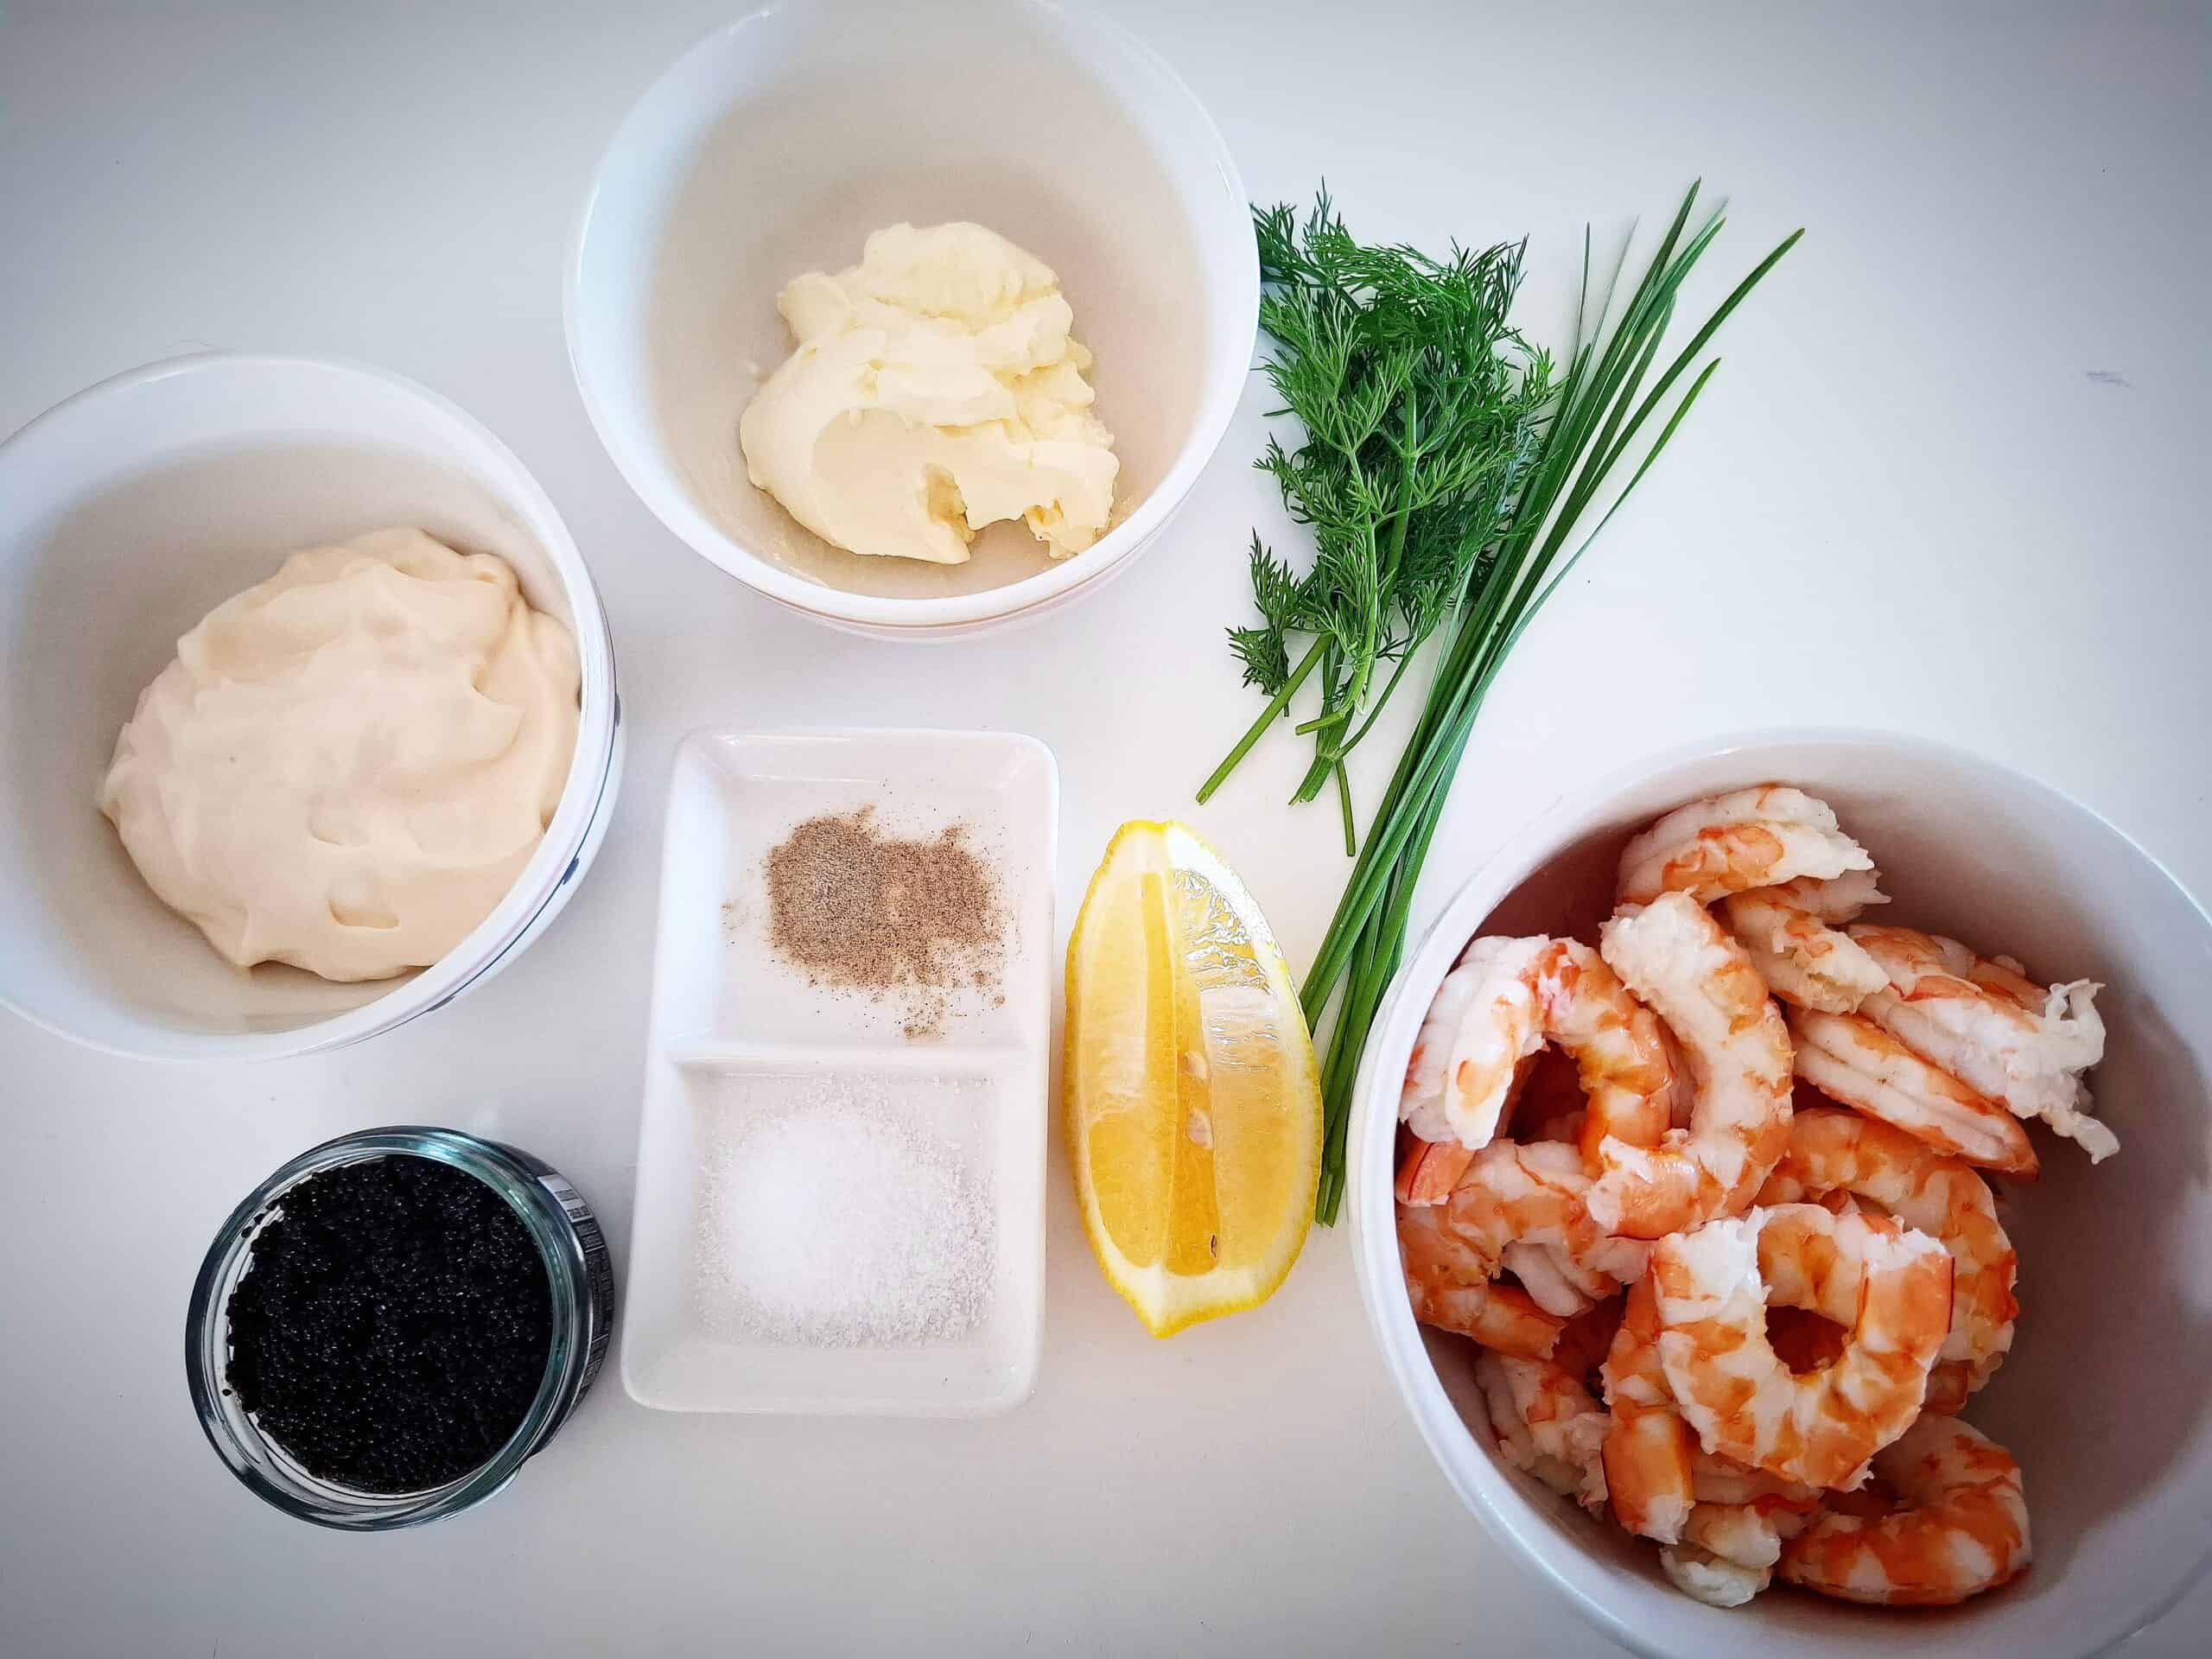
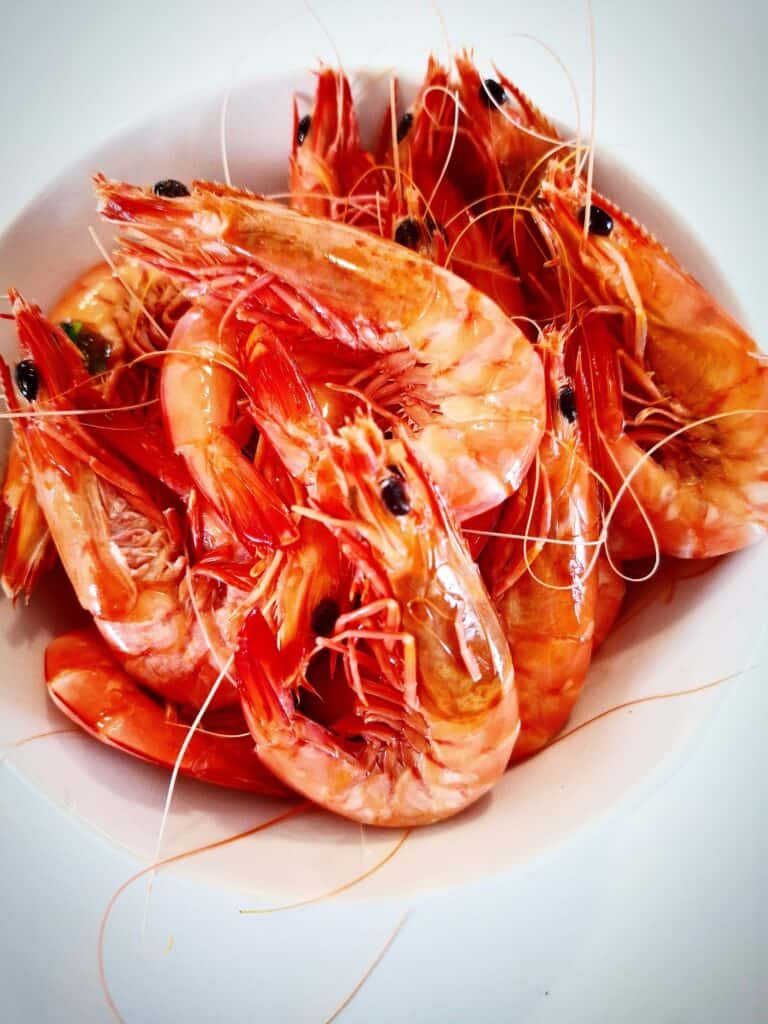
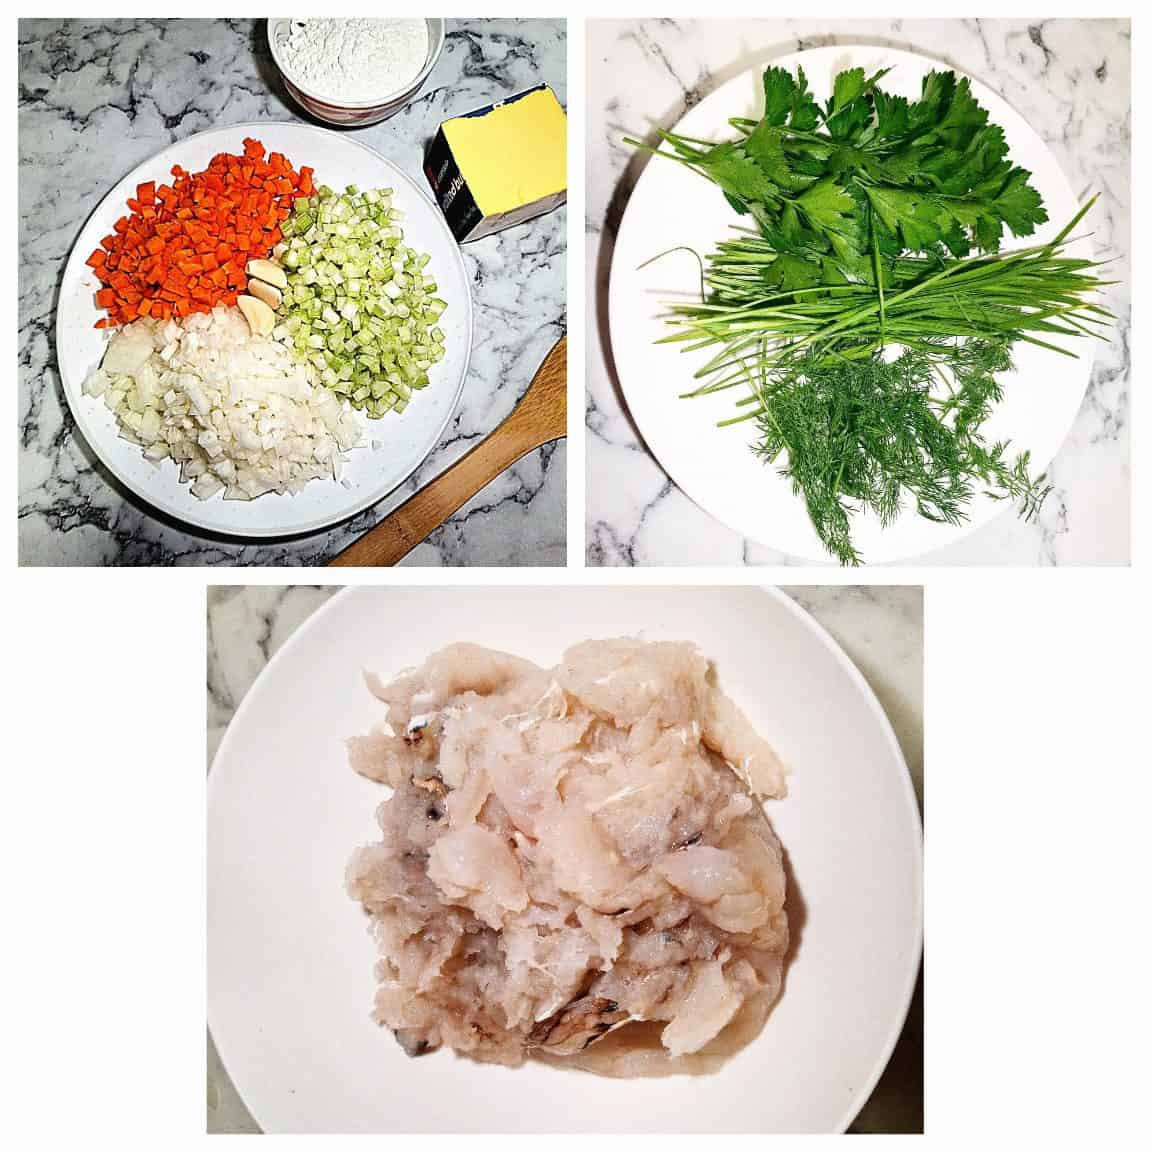
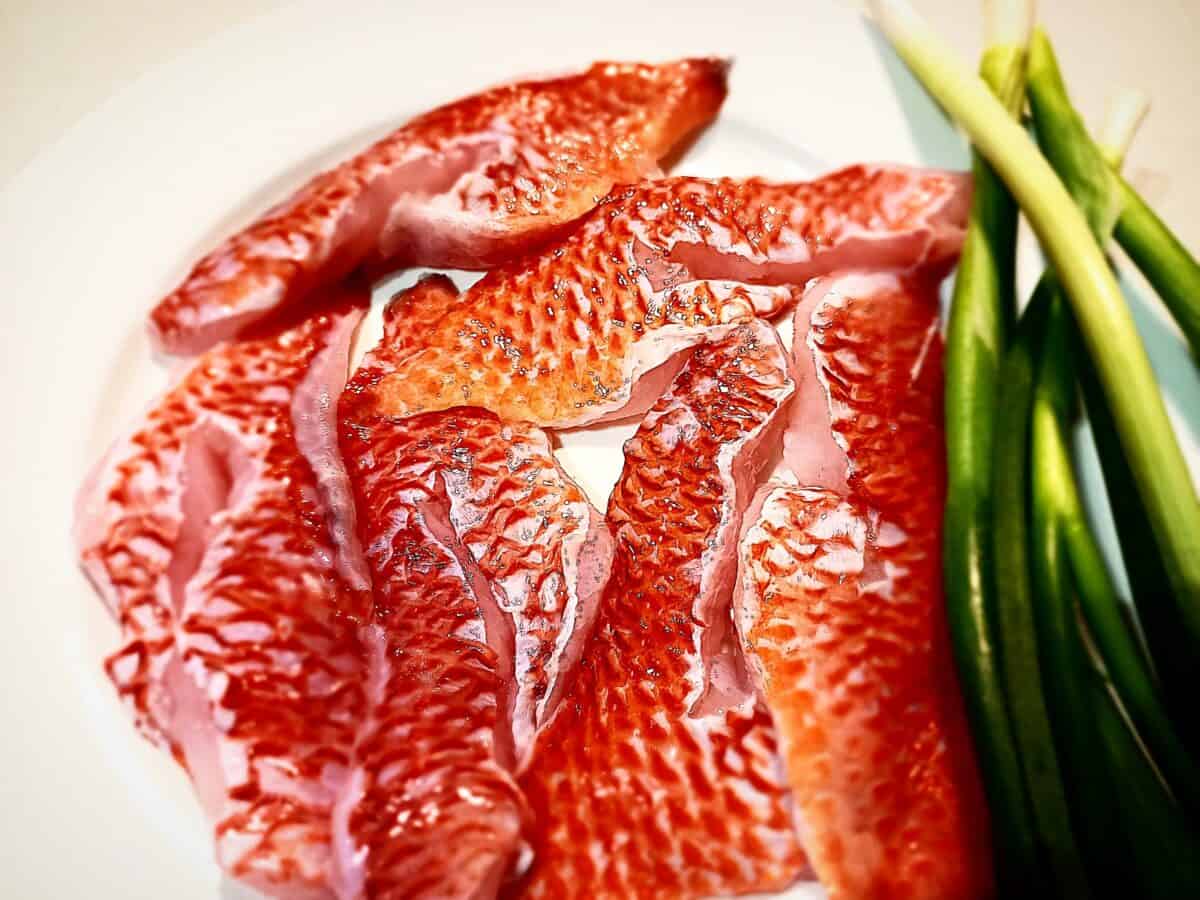
- Cooked and peeled prawns (shrimp) - wild caught
- mayonnaise - good quality
- sour cream
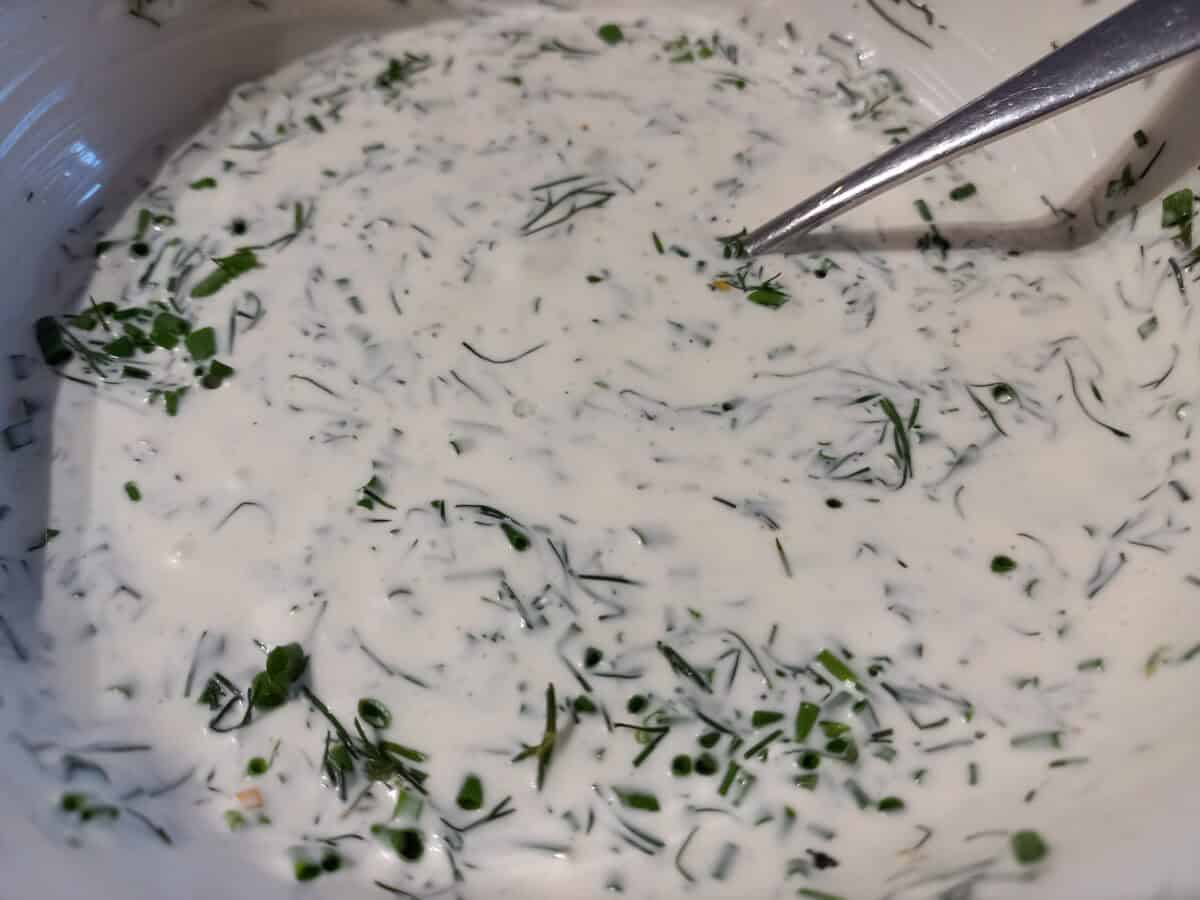
- soft fresh herbs (dill, parsley, chives) - finely chopped
- lemon juice - fresh
- salt and white pepper
- lumpfish caviar for garnish - optional
See recipe card for quantities.
How to make this shrimp skagen recipe
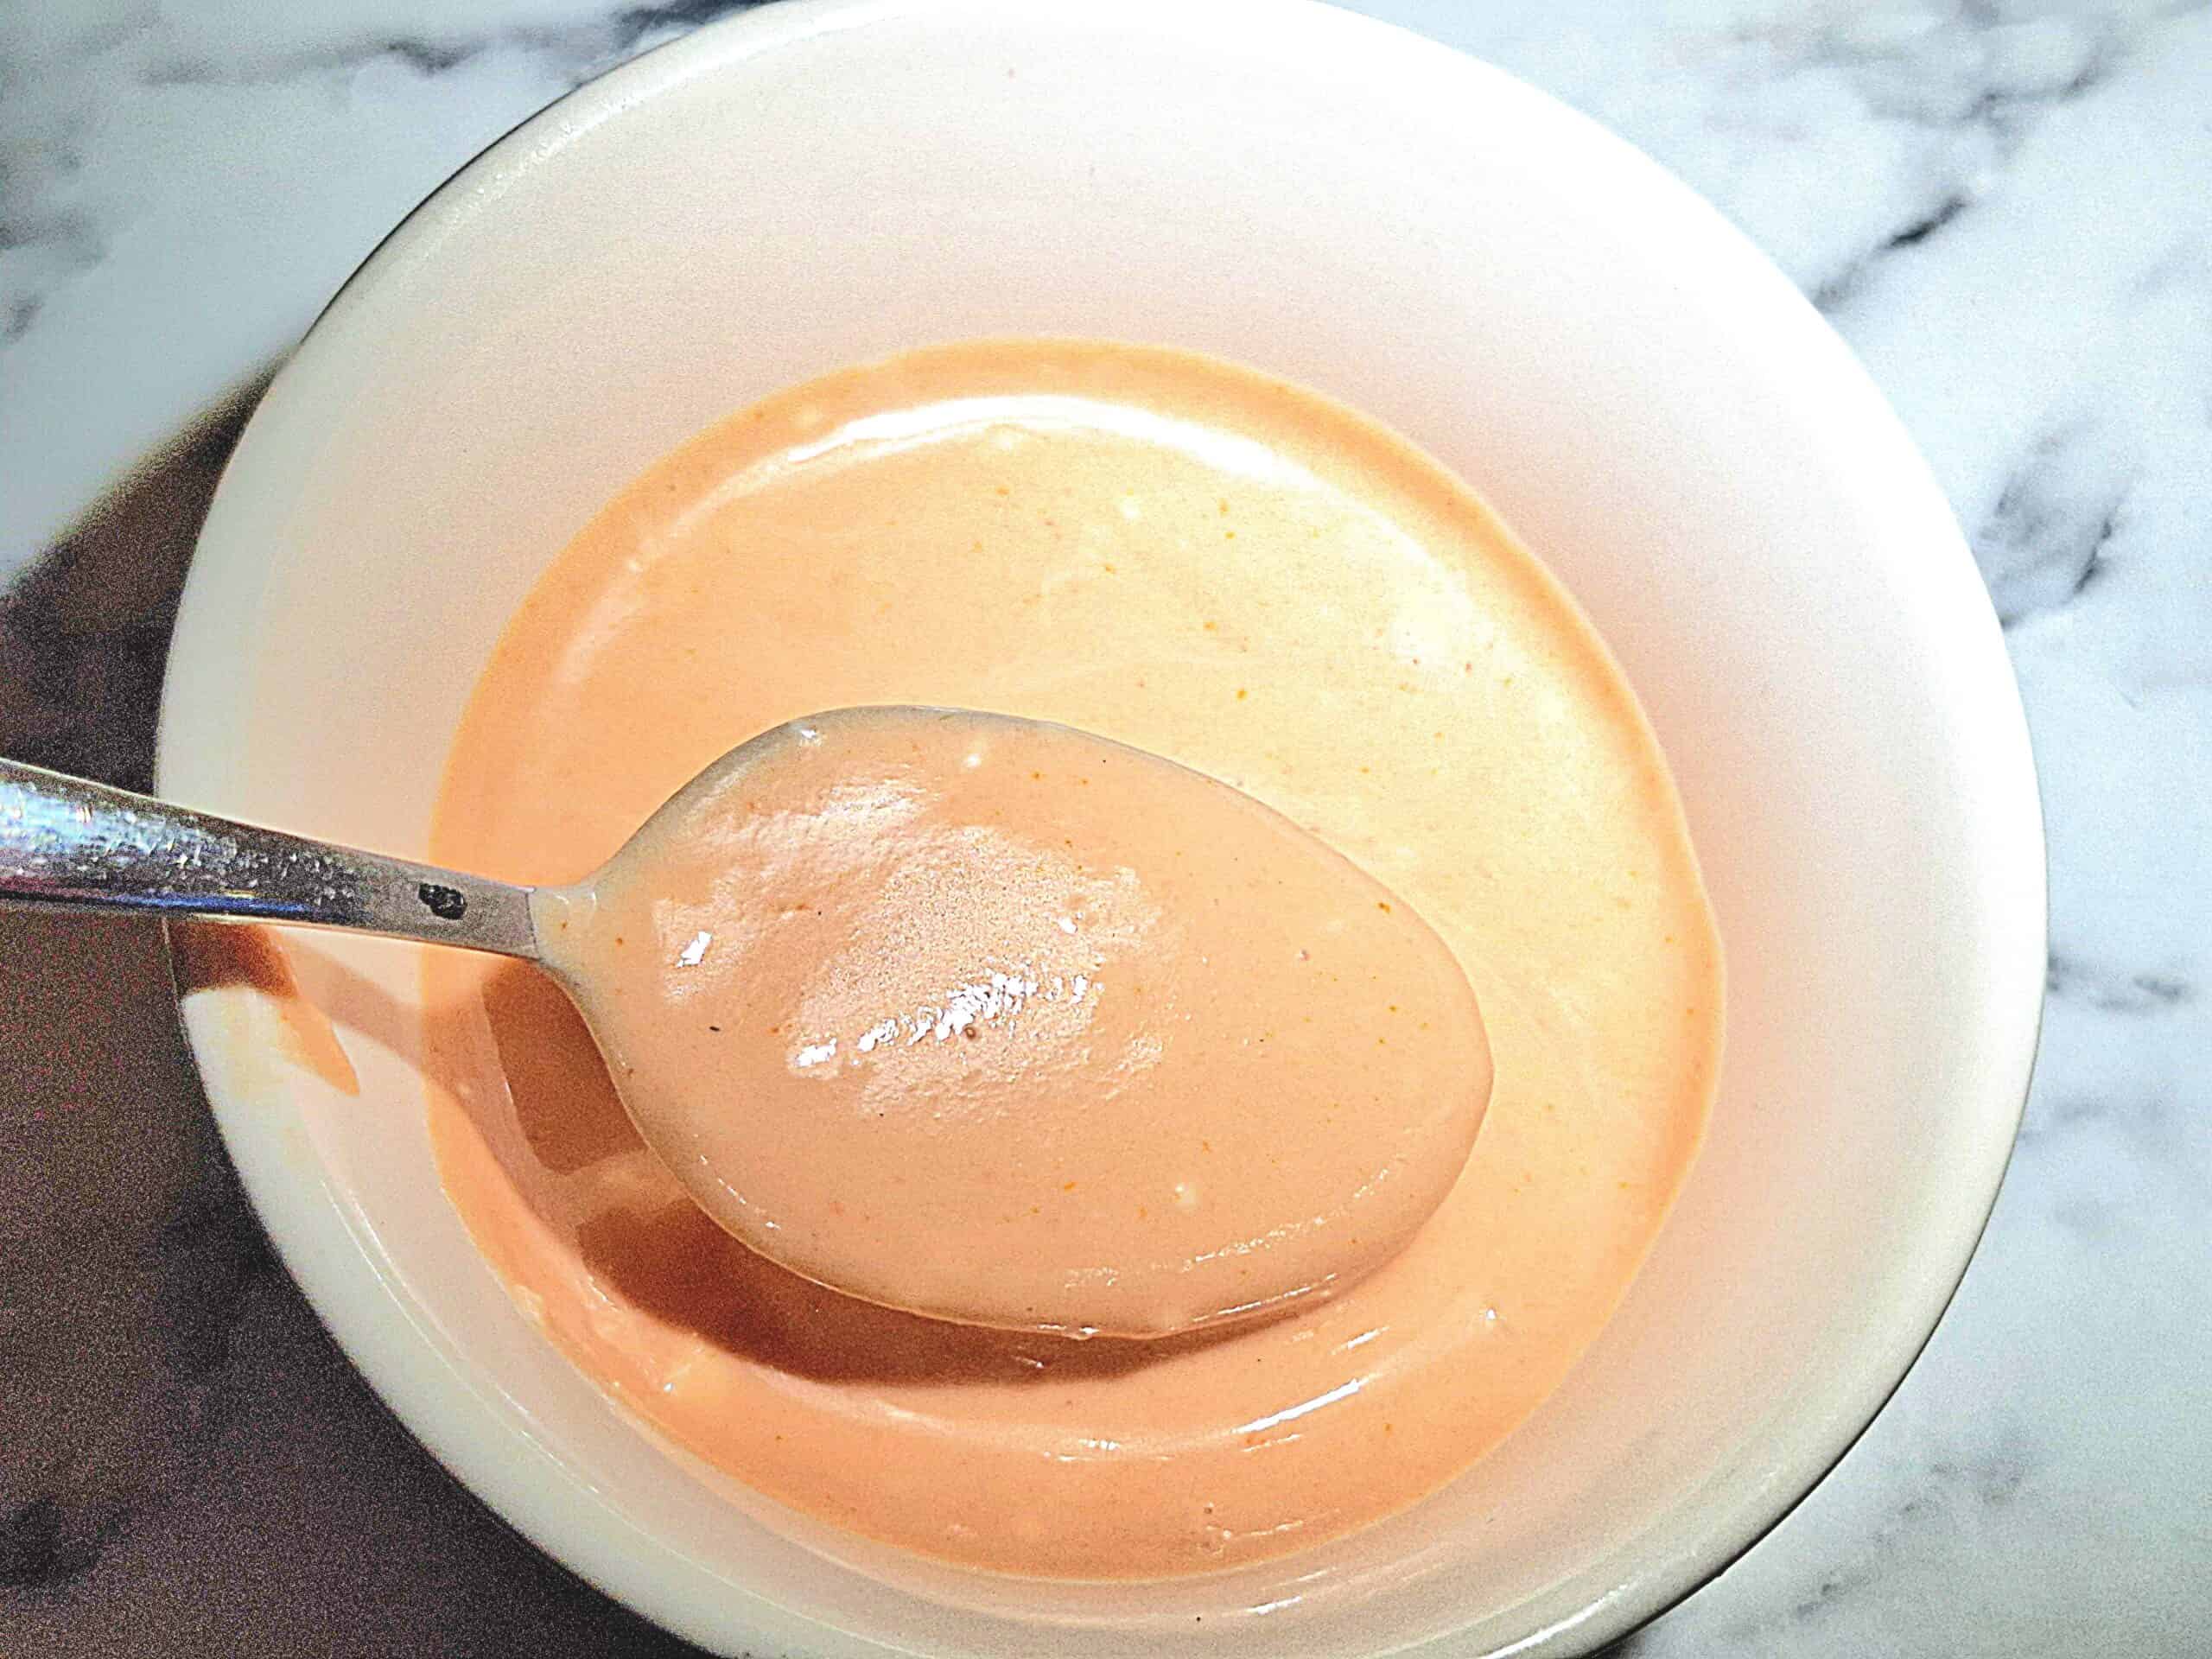
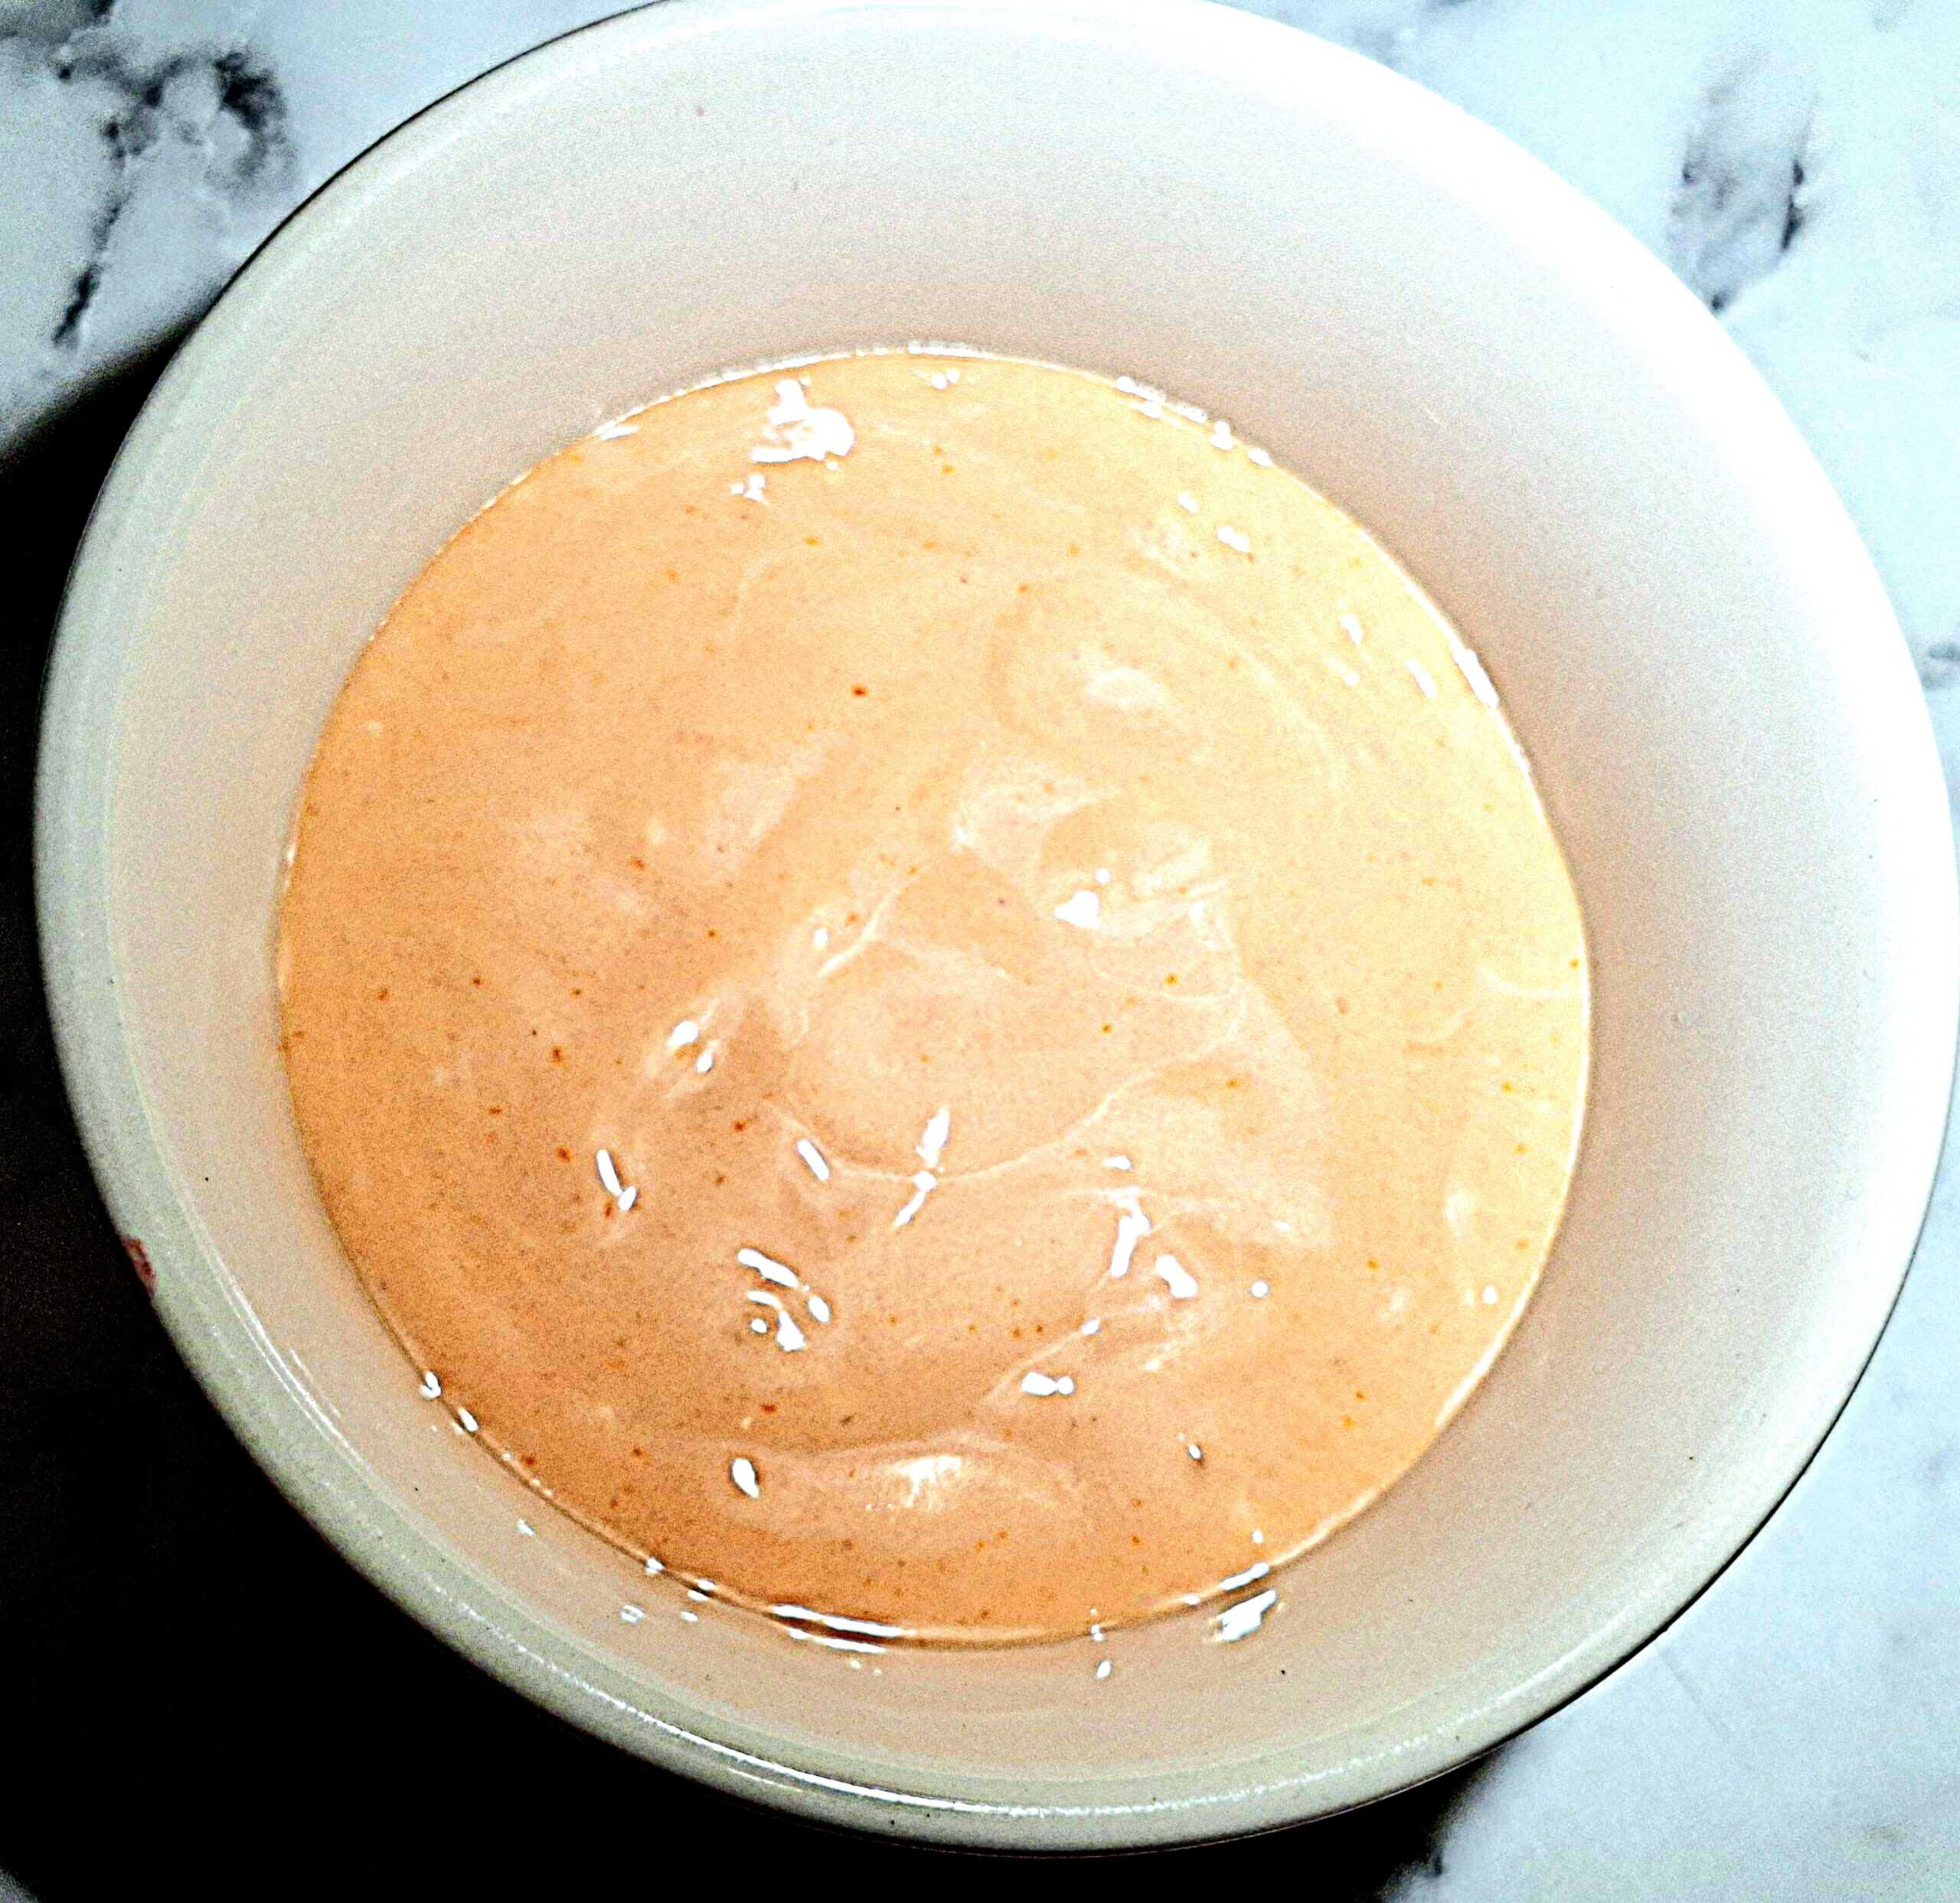
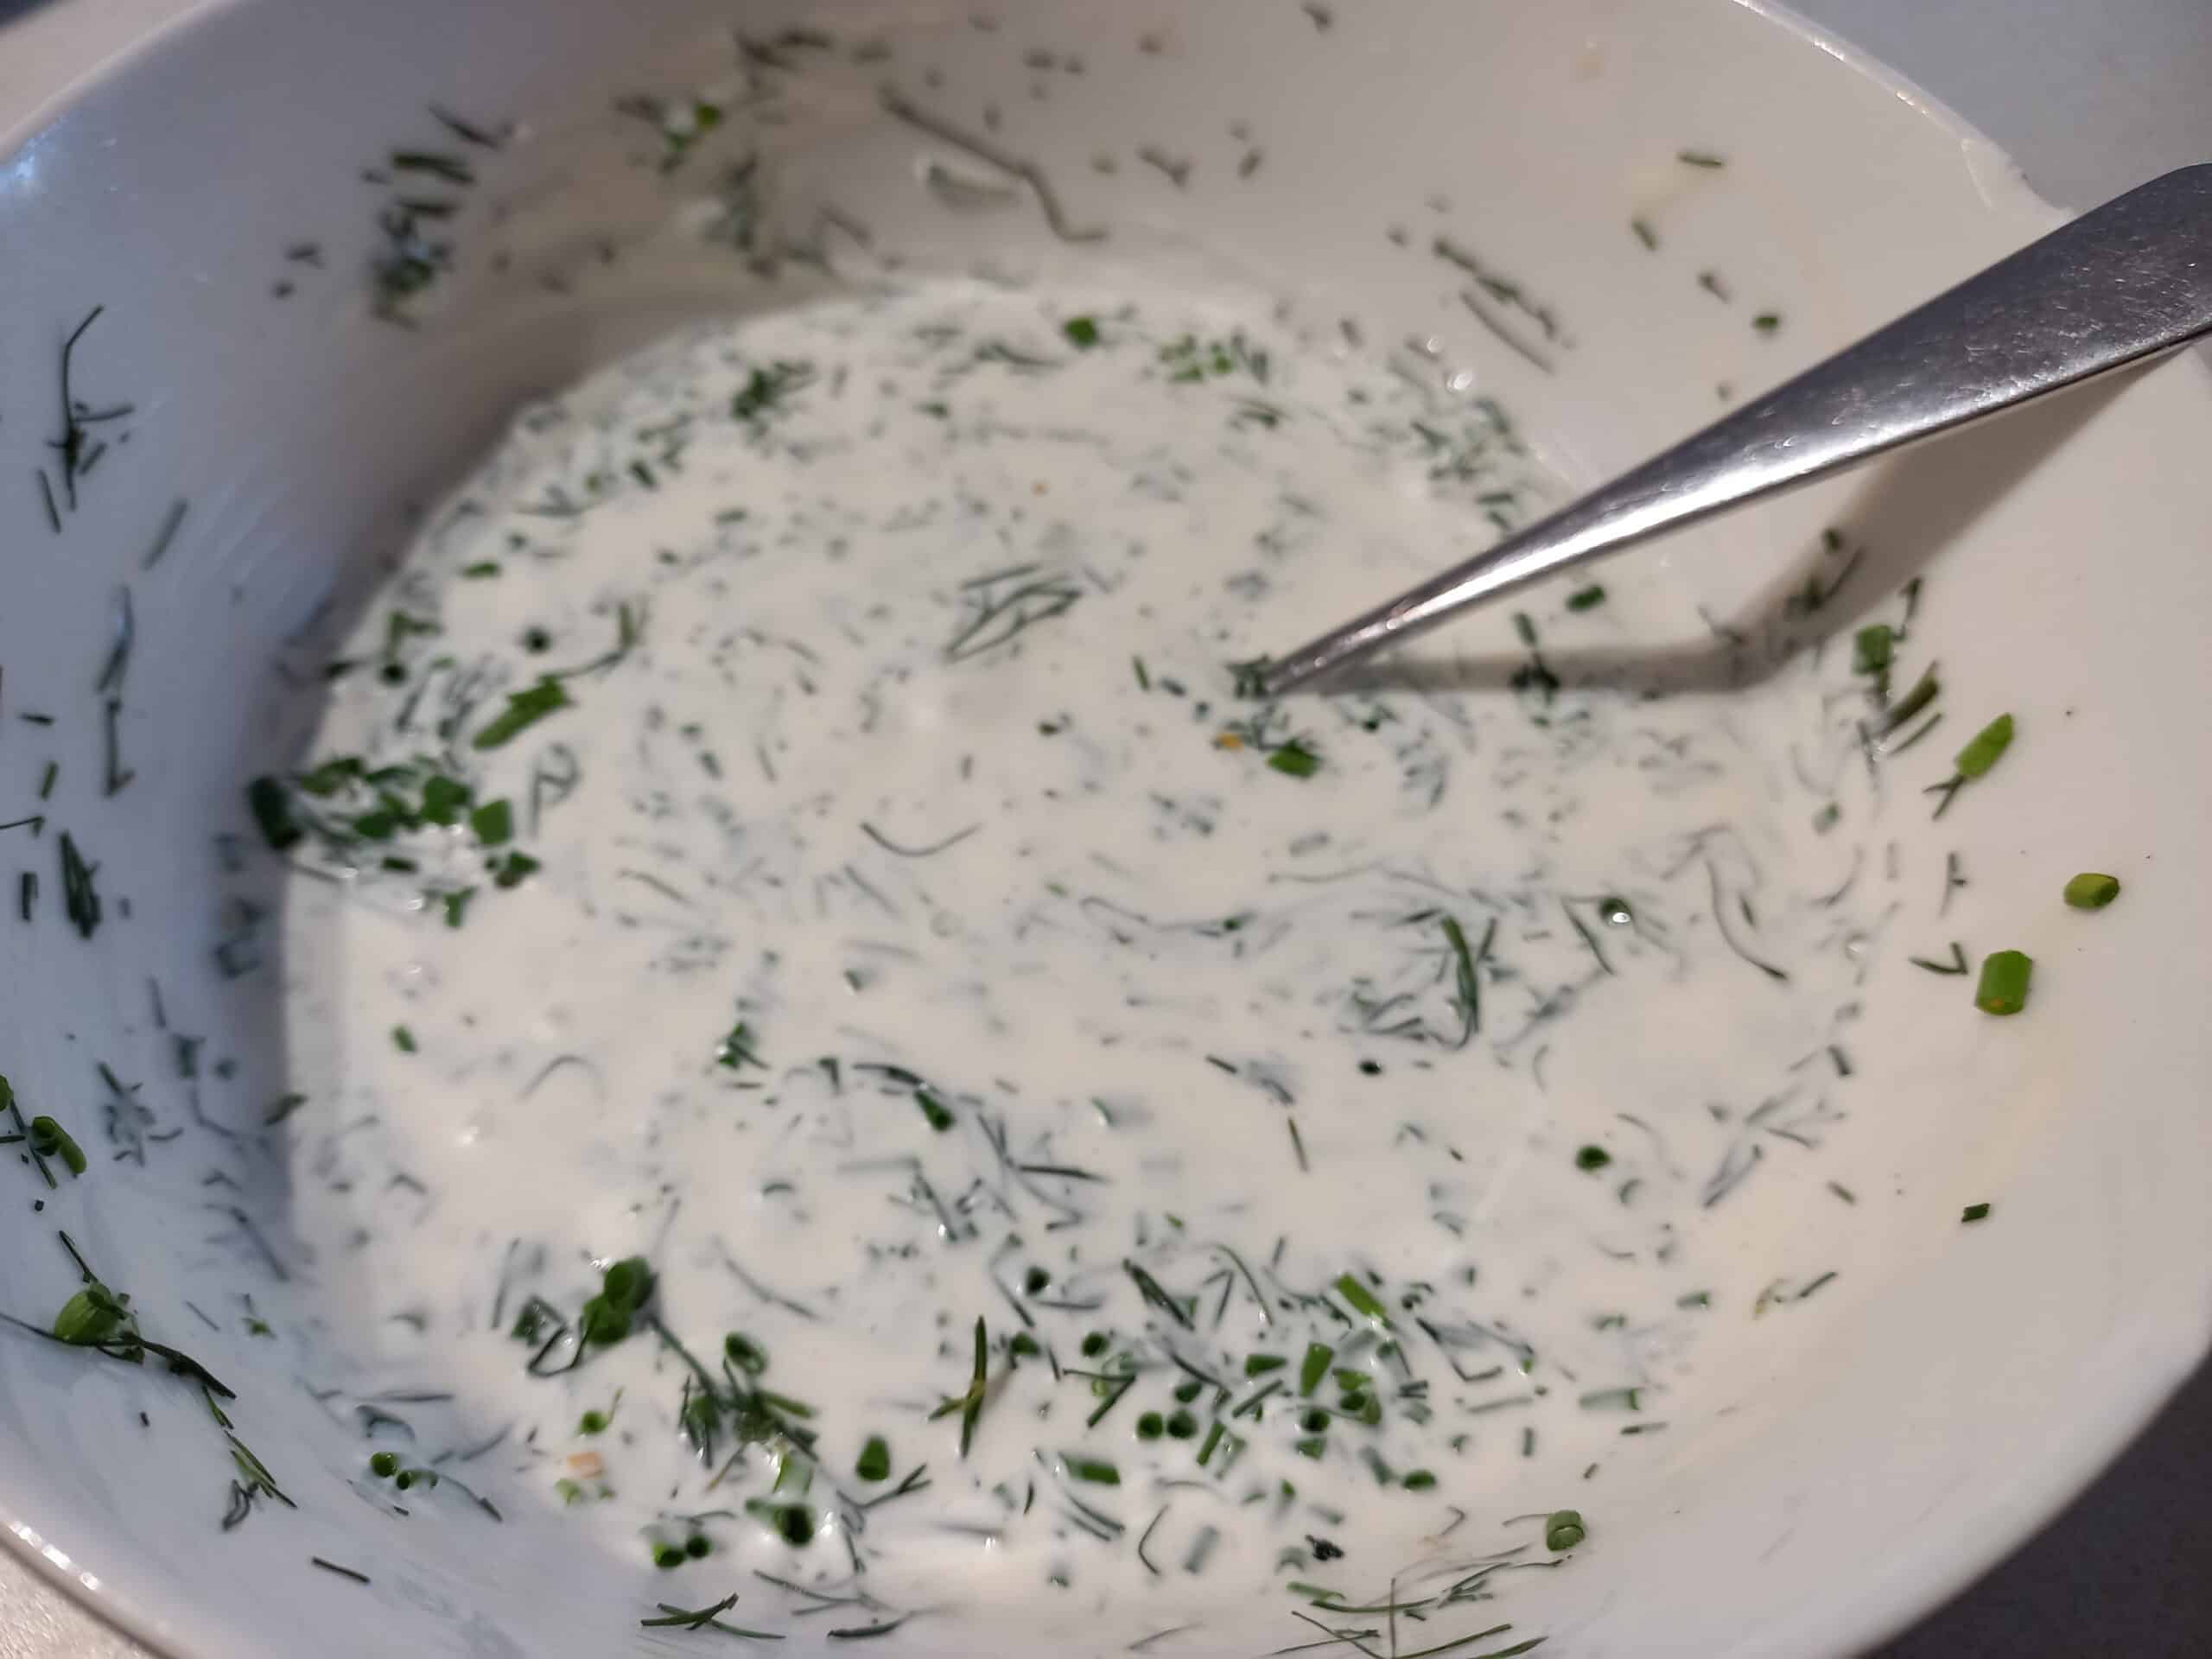
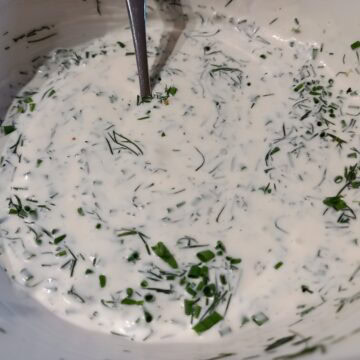
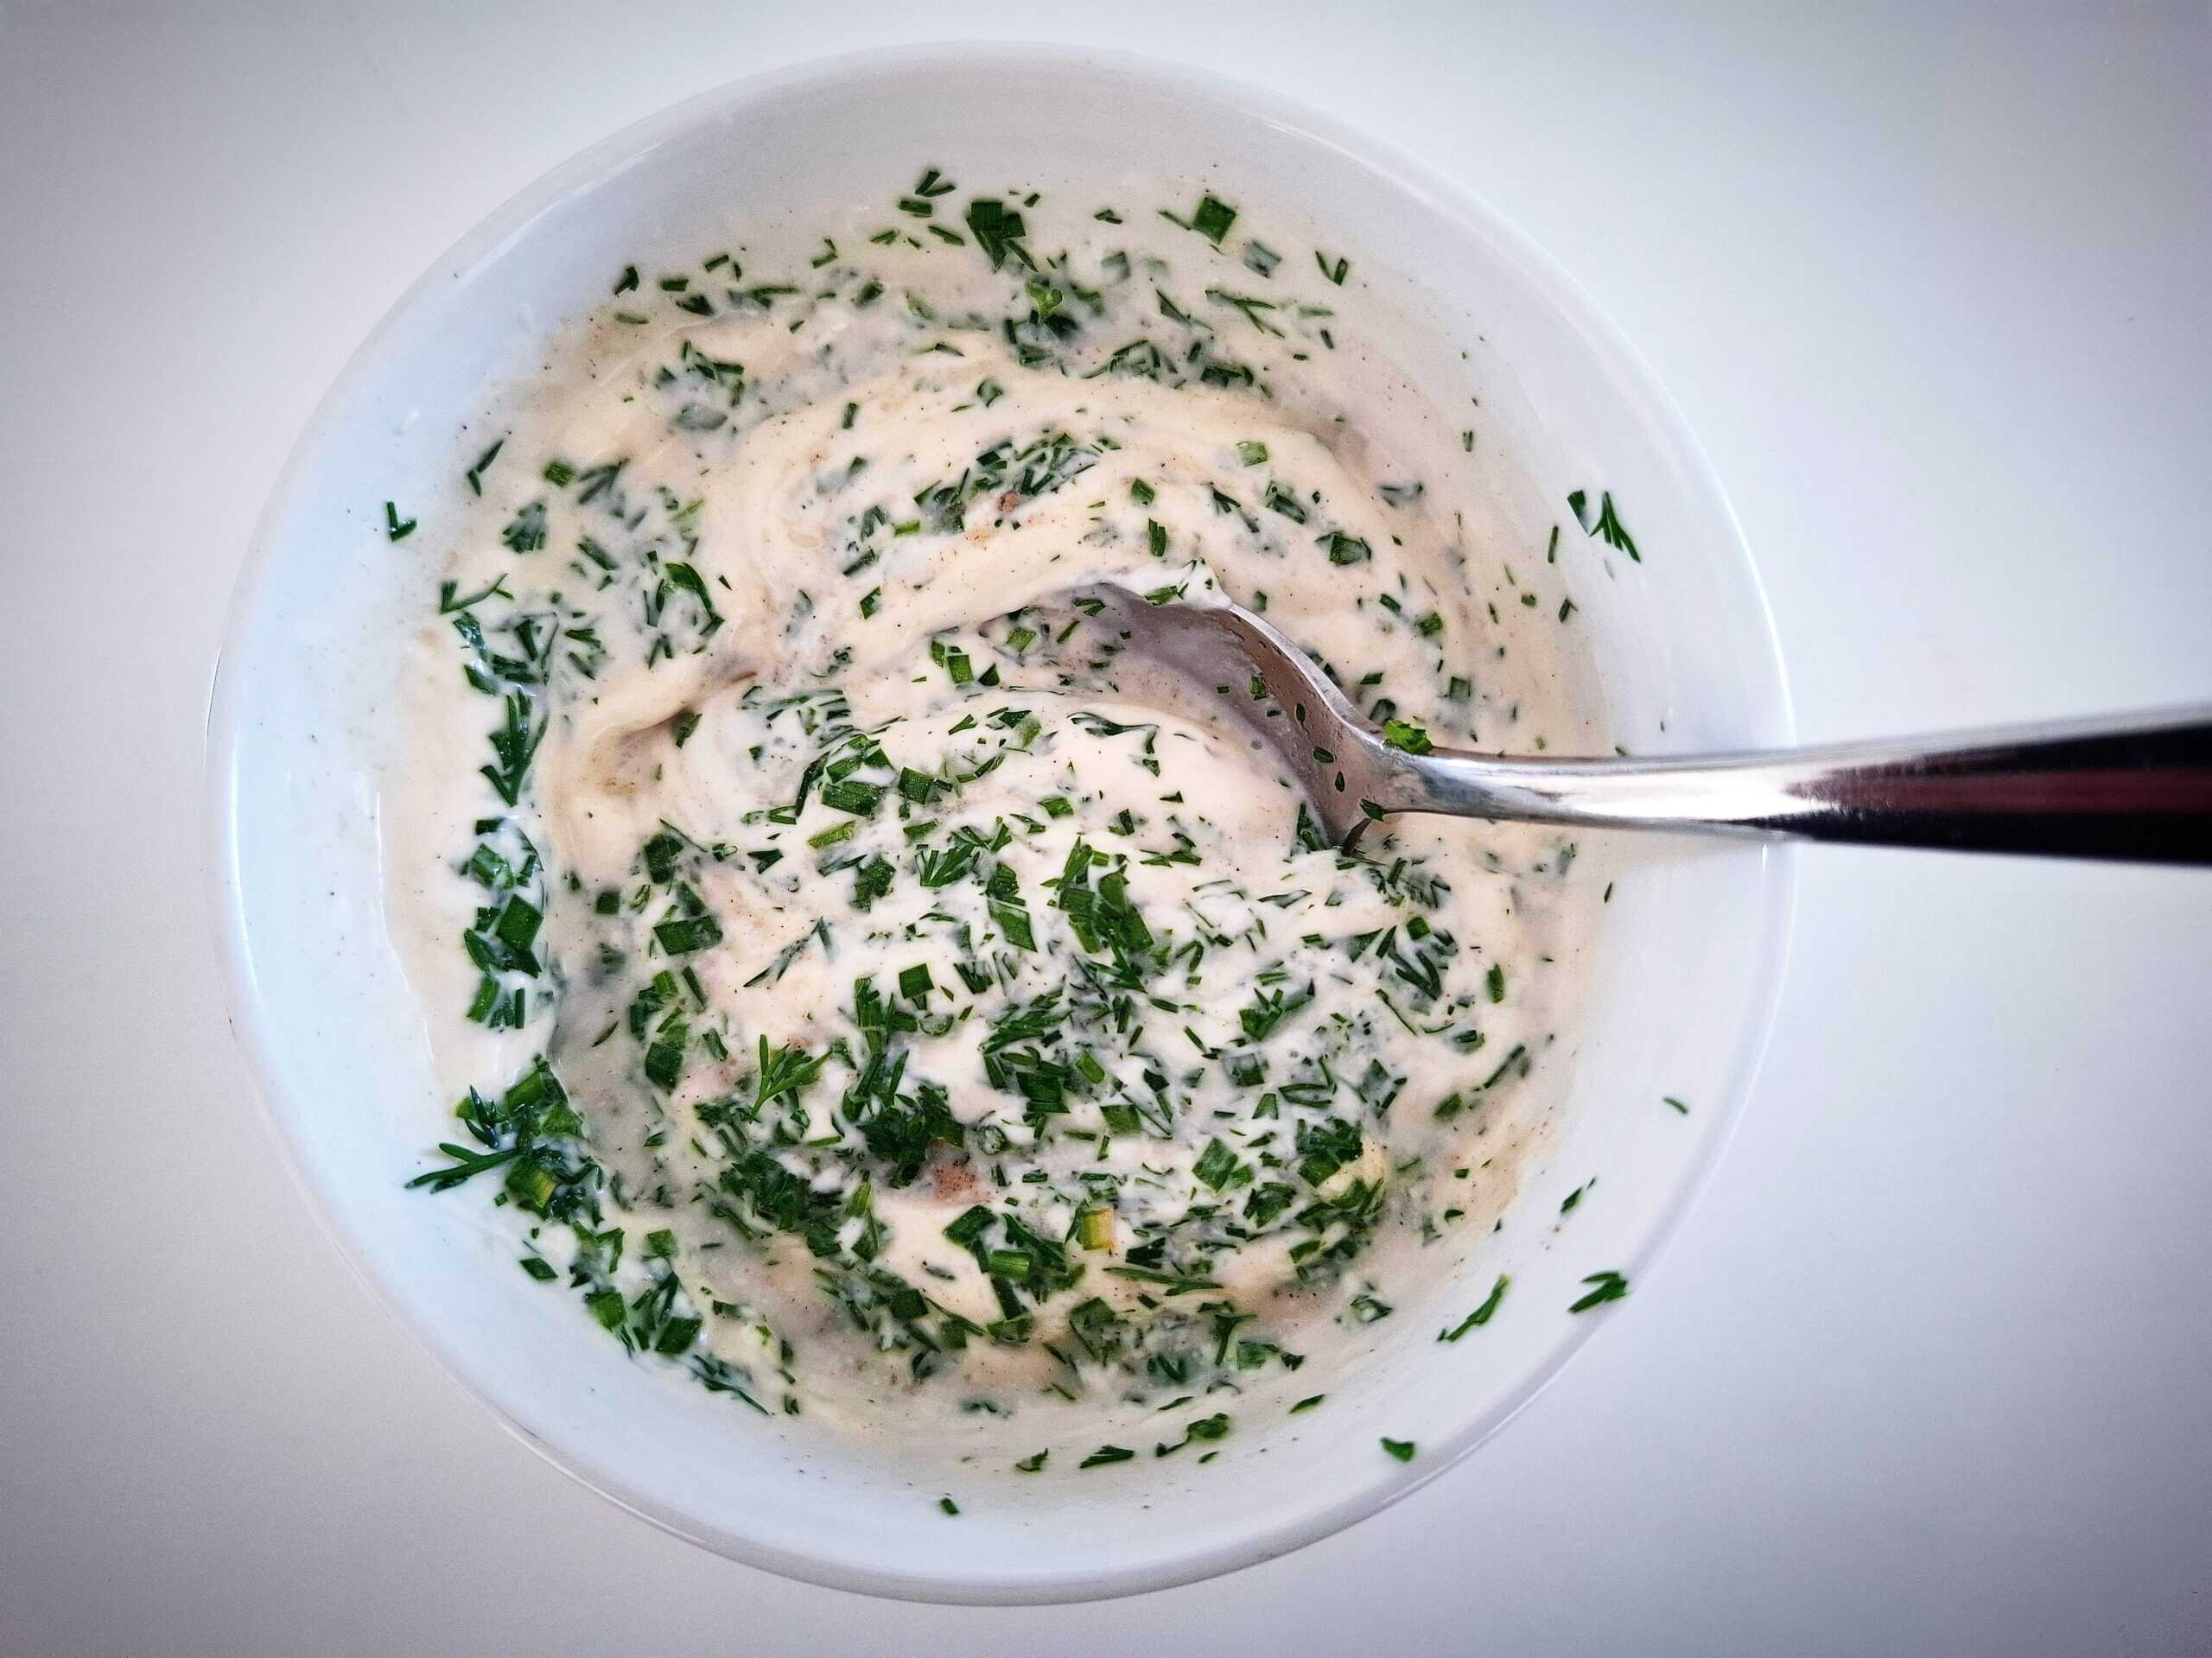
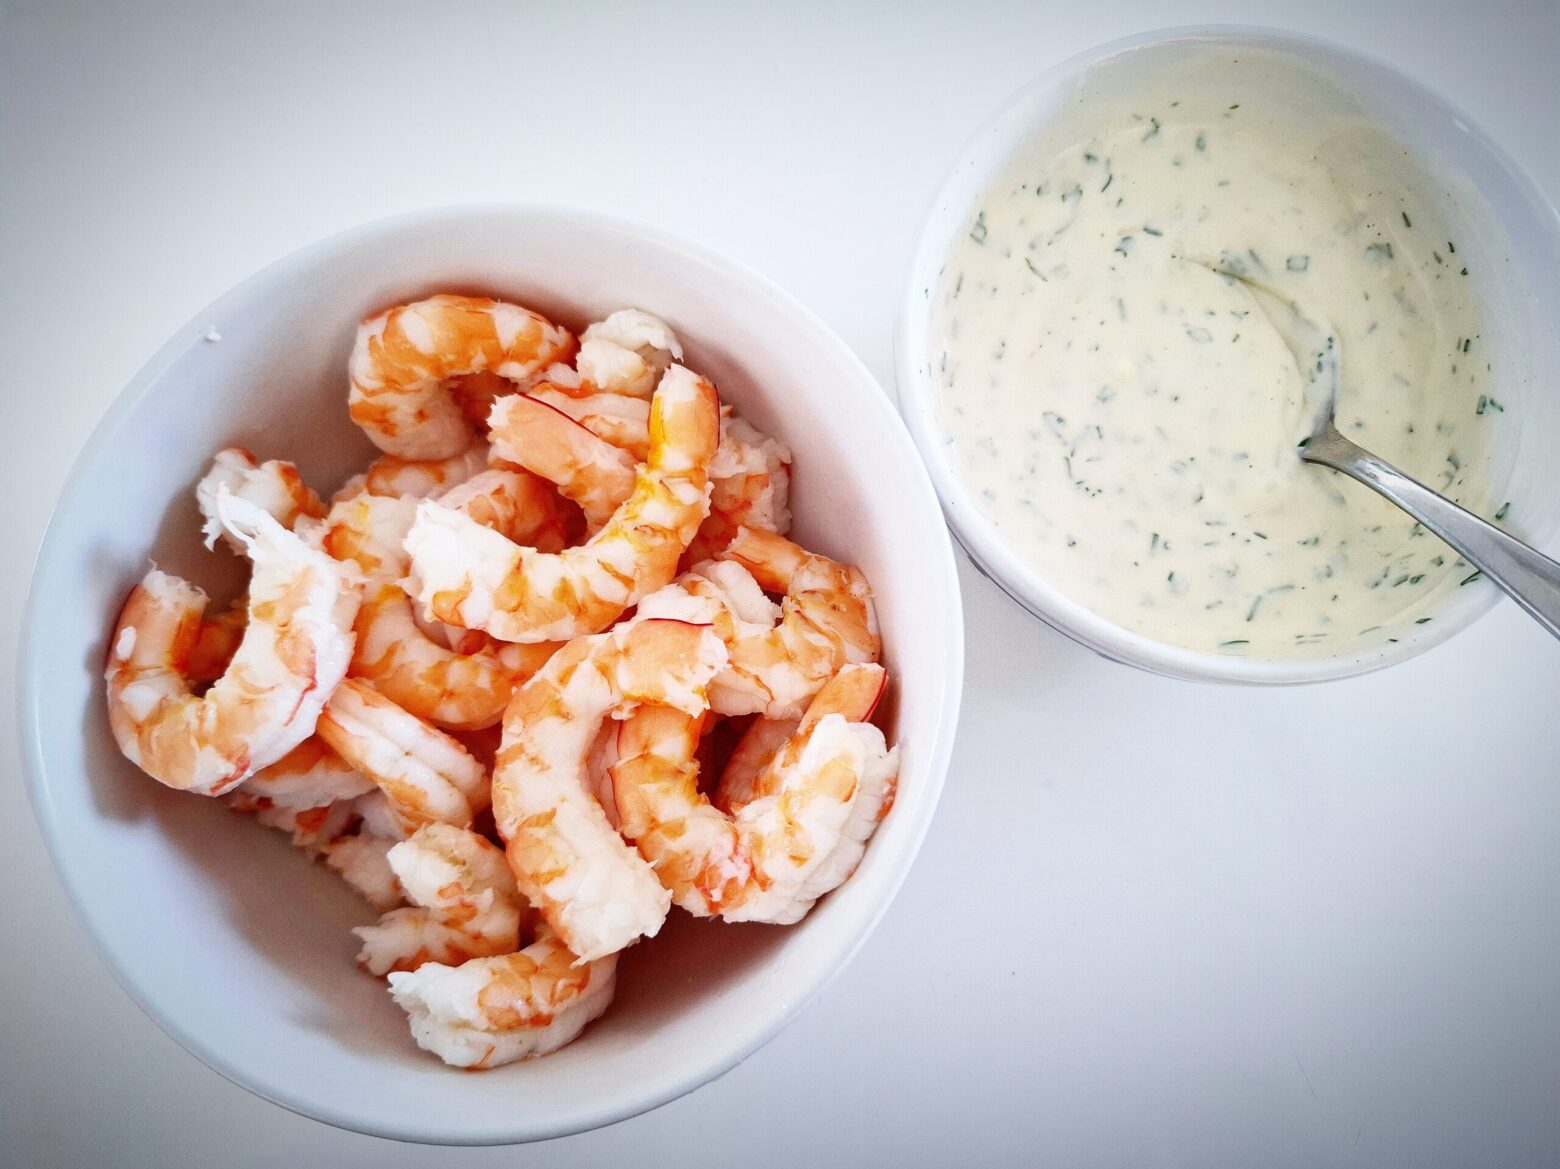
- Mix mayonnaise, sour cream and herbs together well with a whisk.
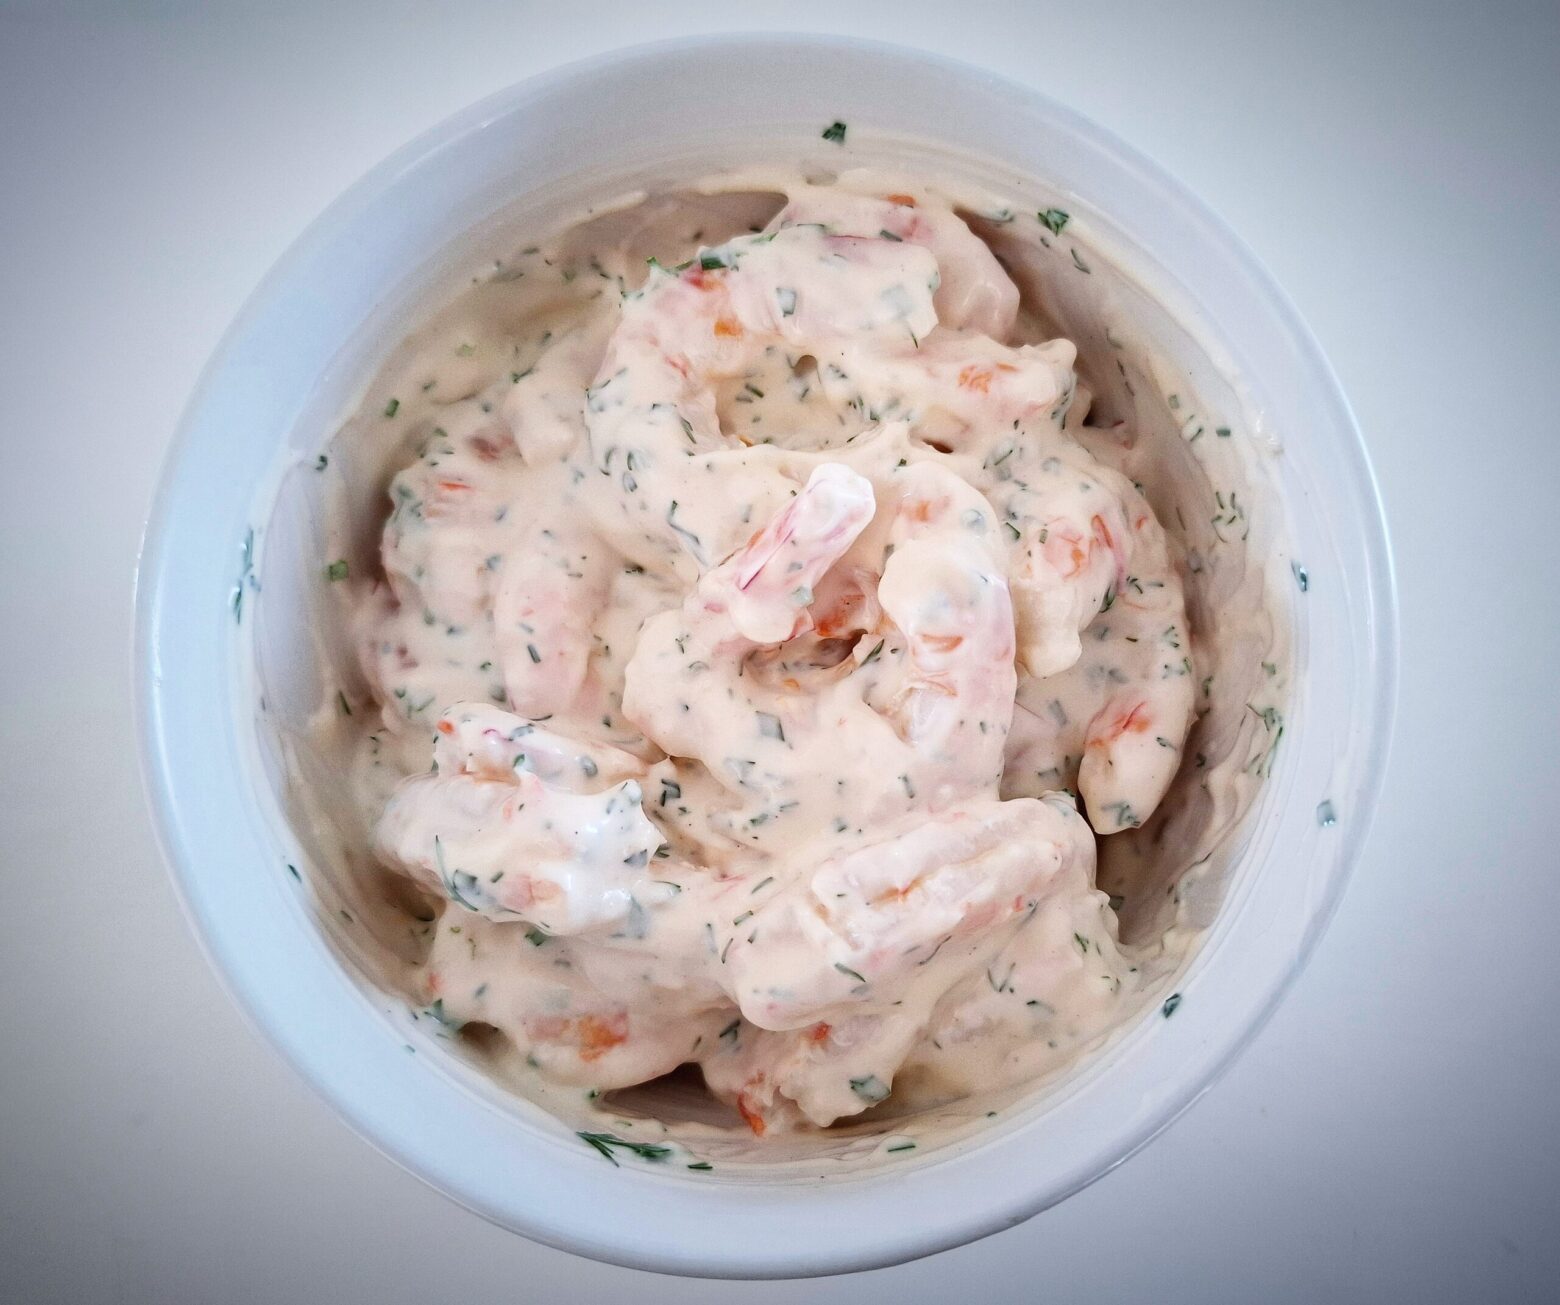
- Add the peeled prawns
- Add seasoning and lemon juice.
Substitutes
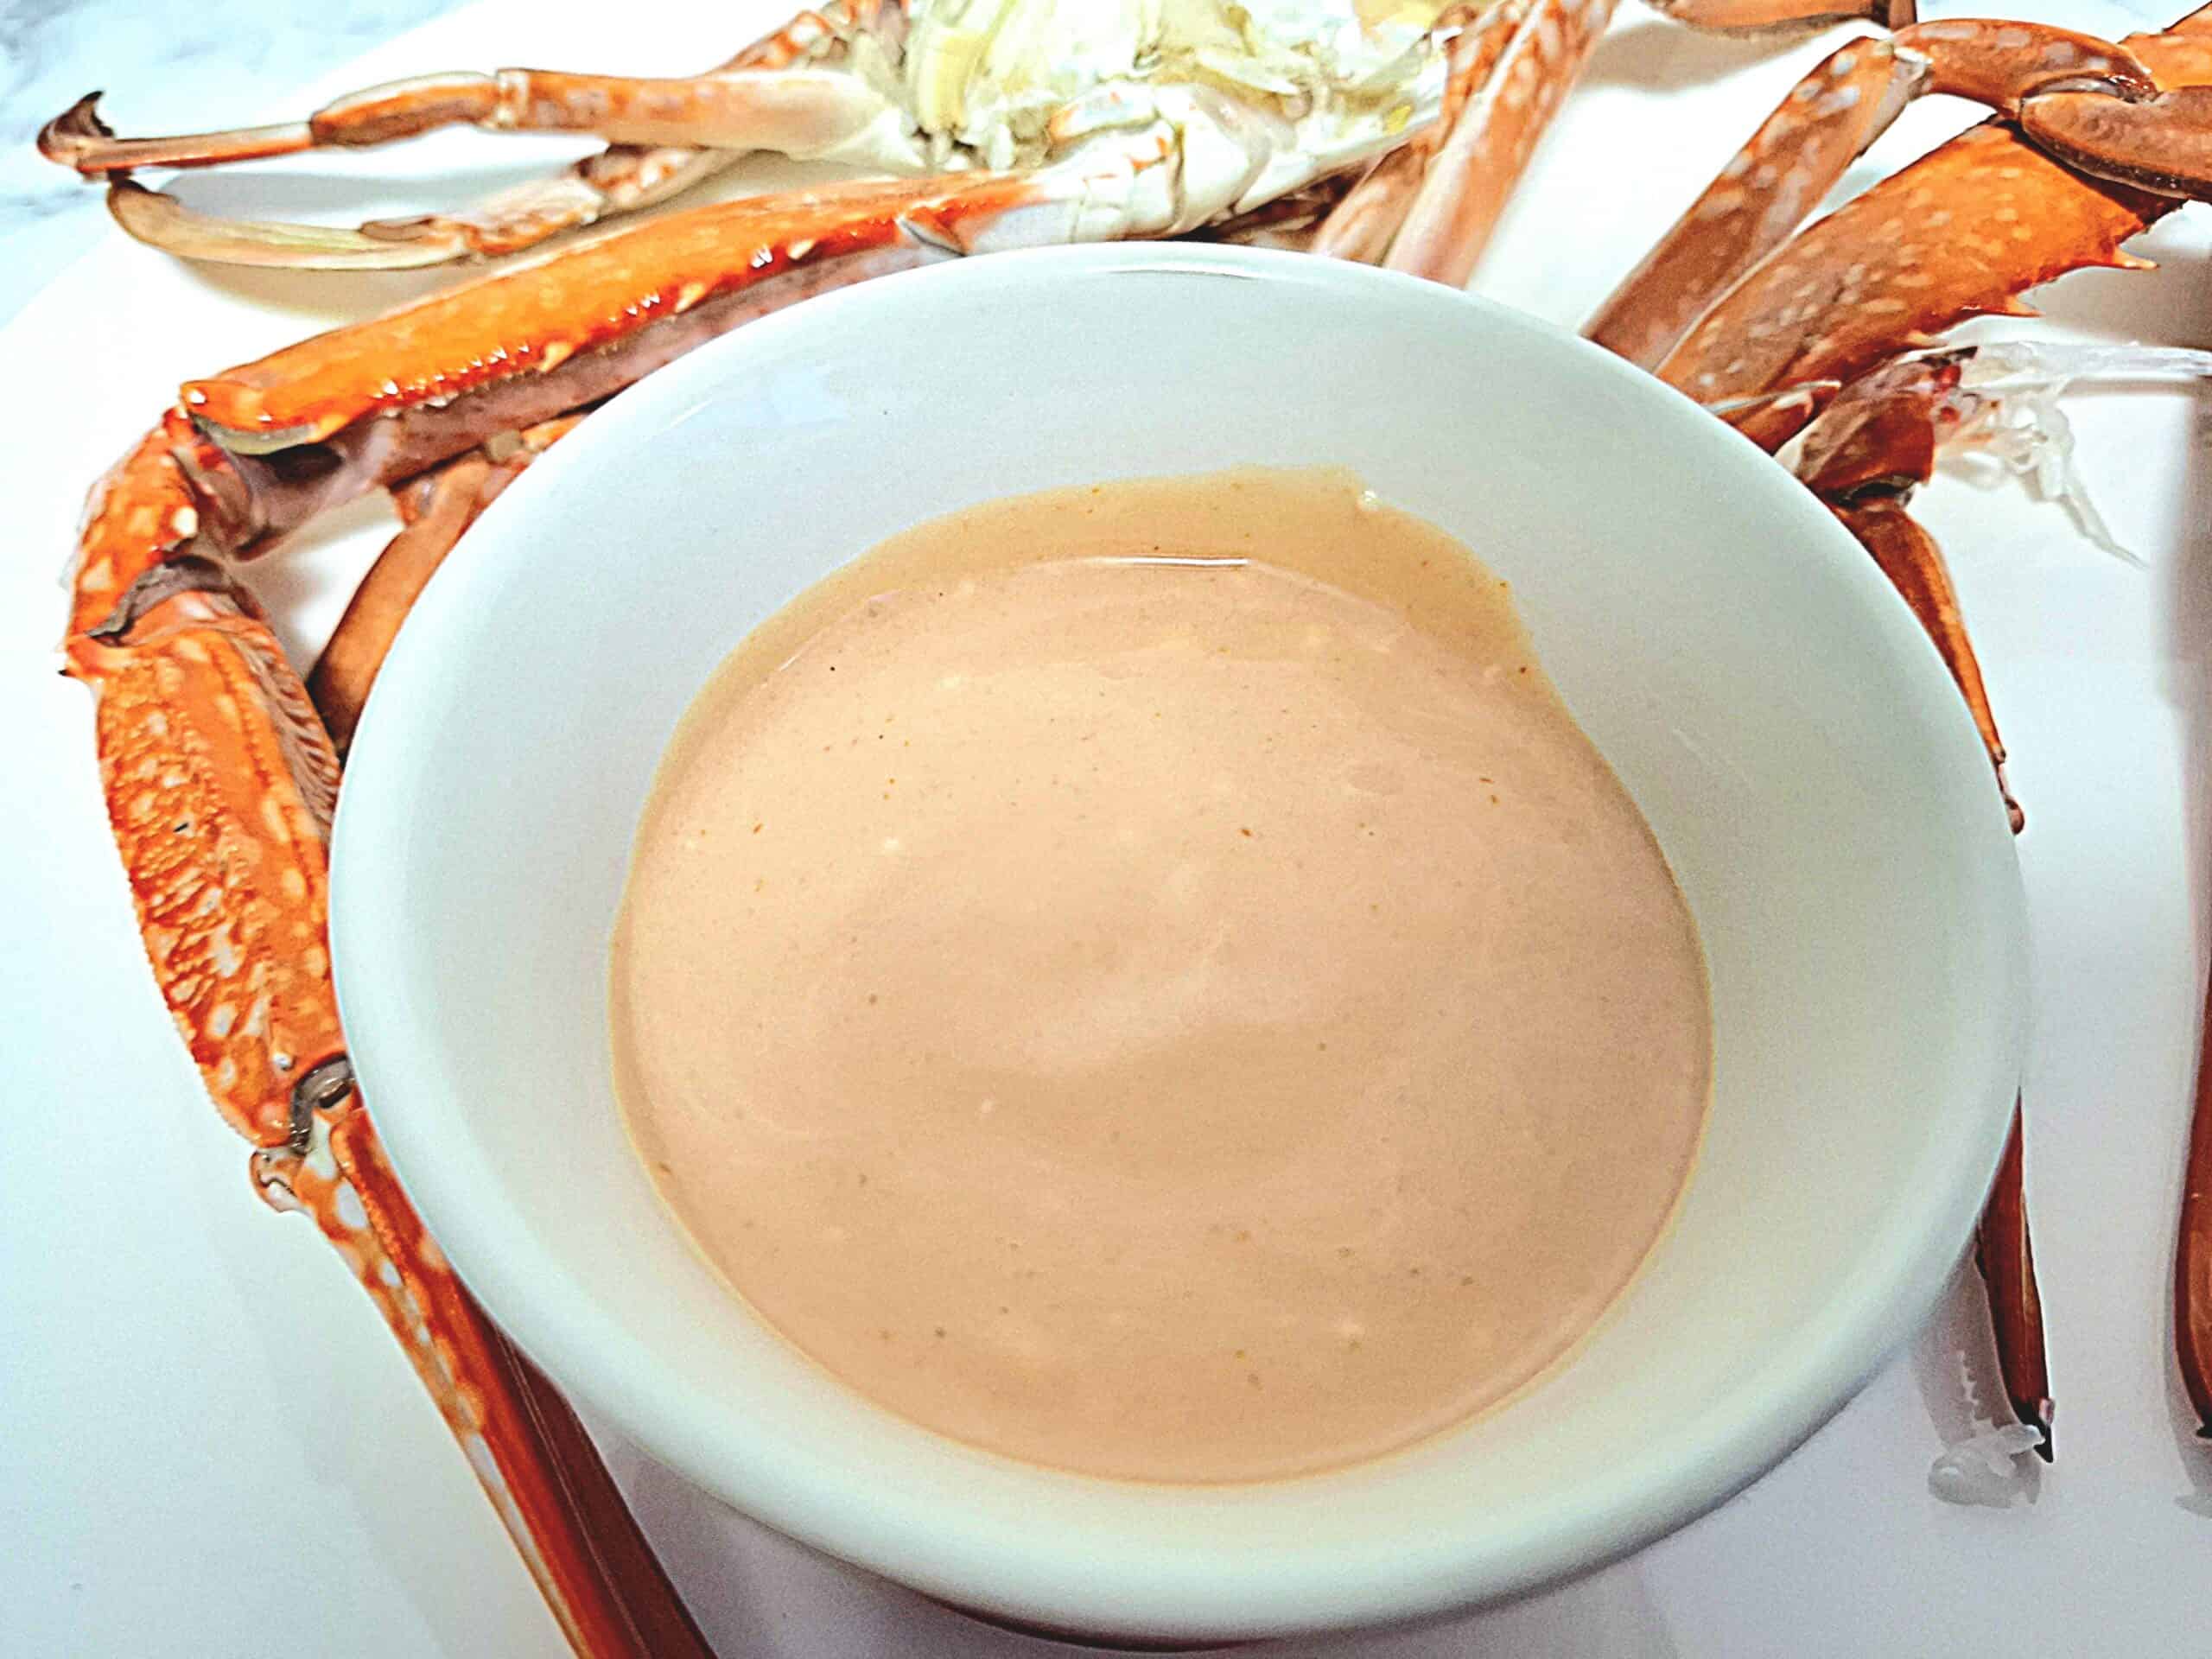
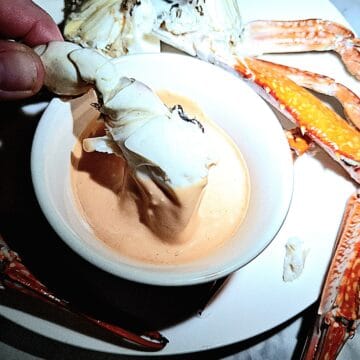
You can substitute the prawns for cooked crab meat or crayfish
Variations
You can add finely chopped red onions, chopped hard boiled eggs or small pieces of smoked fish to this skagen recipe if you wish
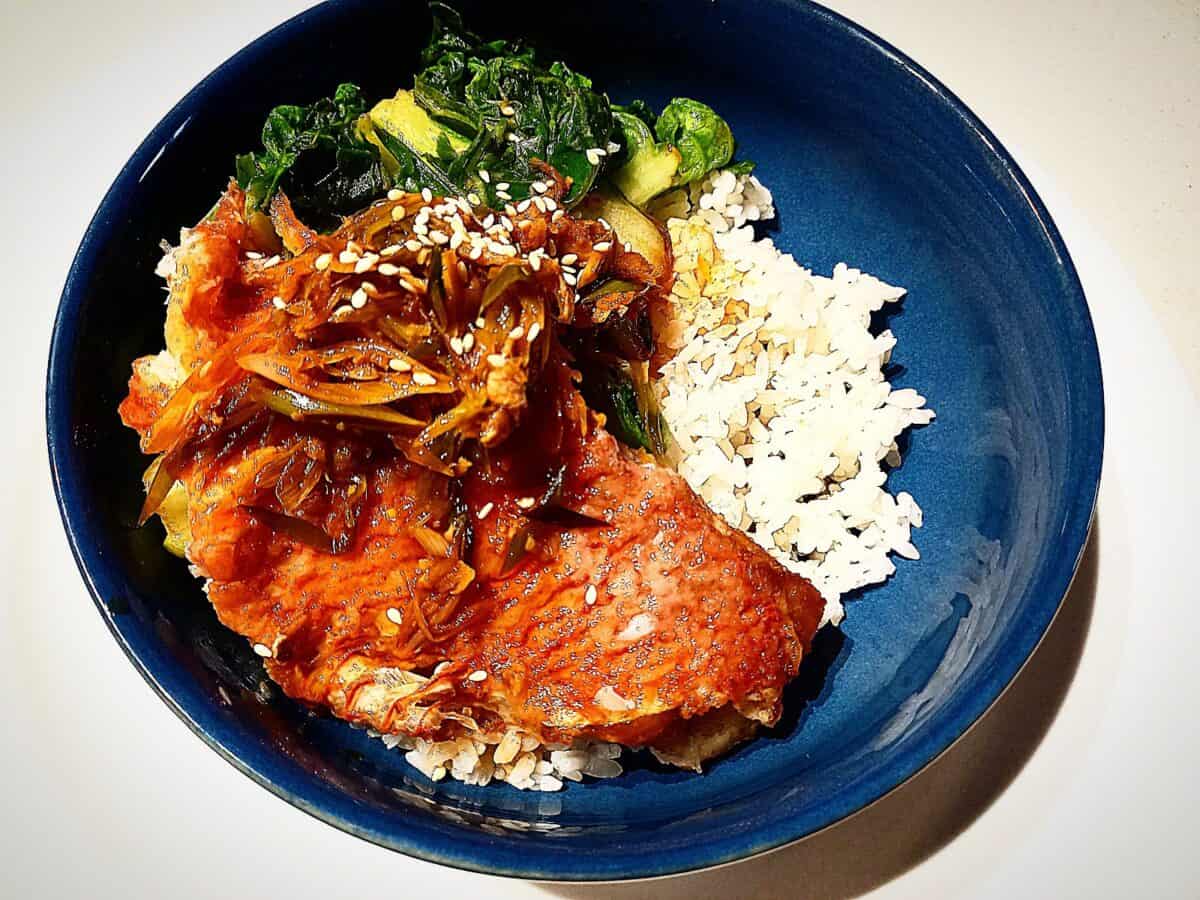
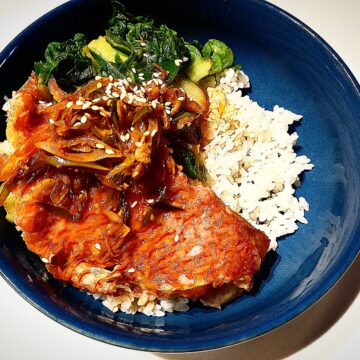
Serving suggestions
works well as an appetizer or part of a shared meal, on top of bruchetta.
Sandwich filling or baked potato filling. Also excellent served on the side of fish dishes.
Equipment
Mixing bowl
whisk
chopping board
knife
Storage
This shrimp skagen salad can be made a head of time. It keeps well covered in the fridge for 3-4 days.
Top tips
- Use smaller prawns (shrimp) for this recipe. If you only have larger prawns then cut them into smaller pieces is fine.
- Fresh prawns are better then frozen. If you are defrosting prawns for this recipe then make sure excess water is squeezed out of them to prevent the salad to be over watery
- The dressing is a big part of this dish. It's important to use a good quality mayonnaise. You can really tell the difference in the end result.
Related
Looking for other seafood recipes? Try these:
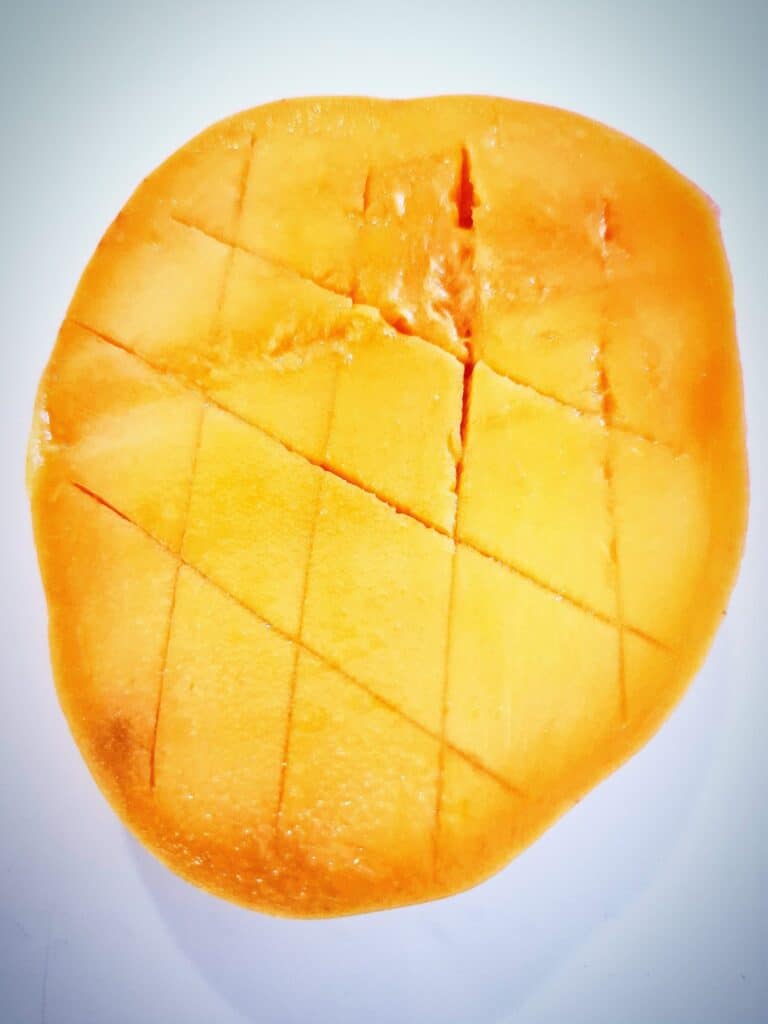
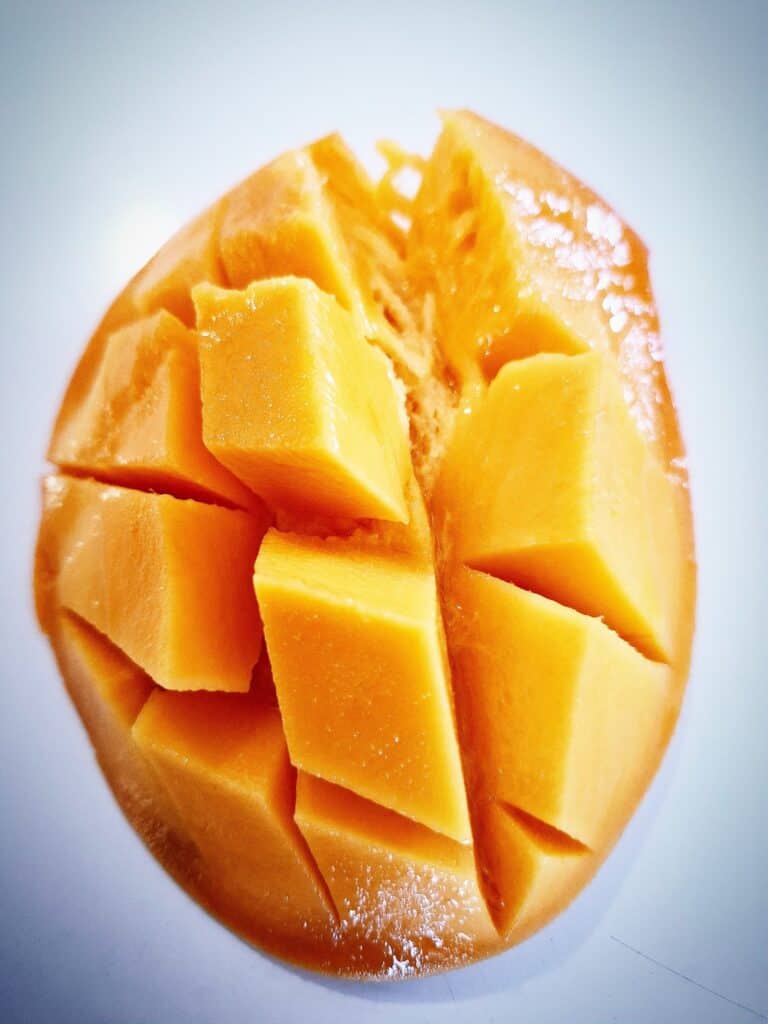
Salad Prawn, mango and avocado
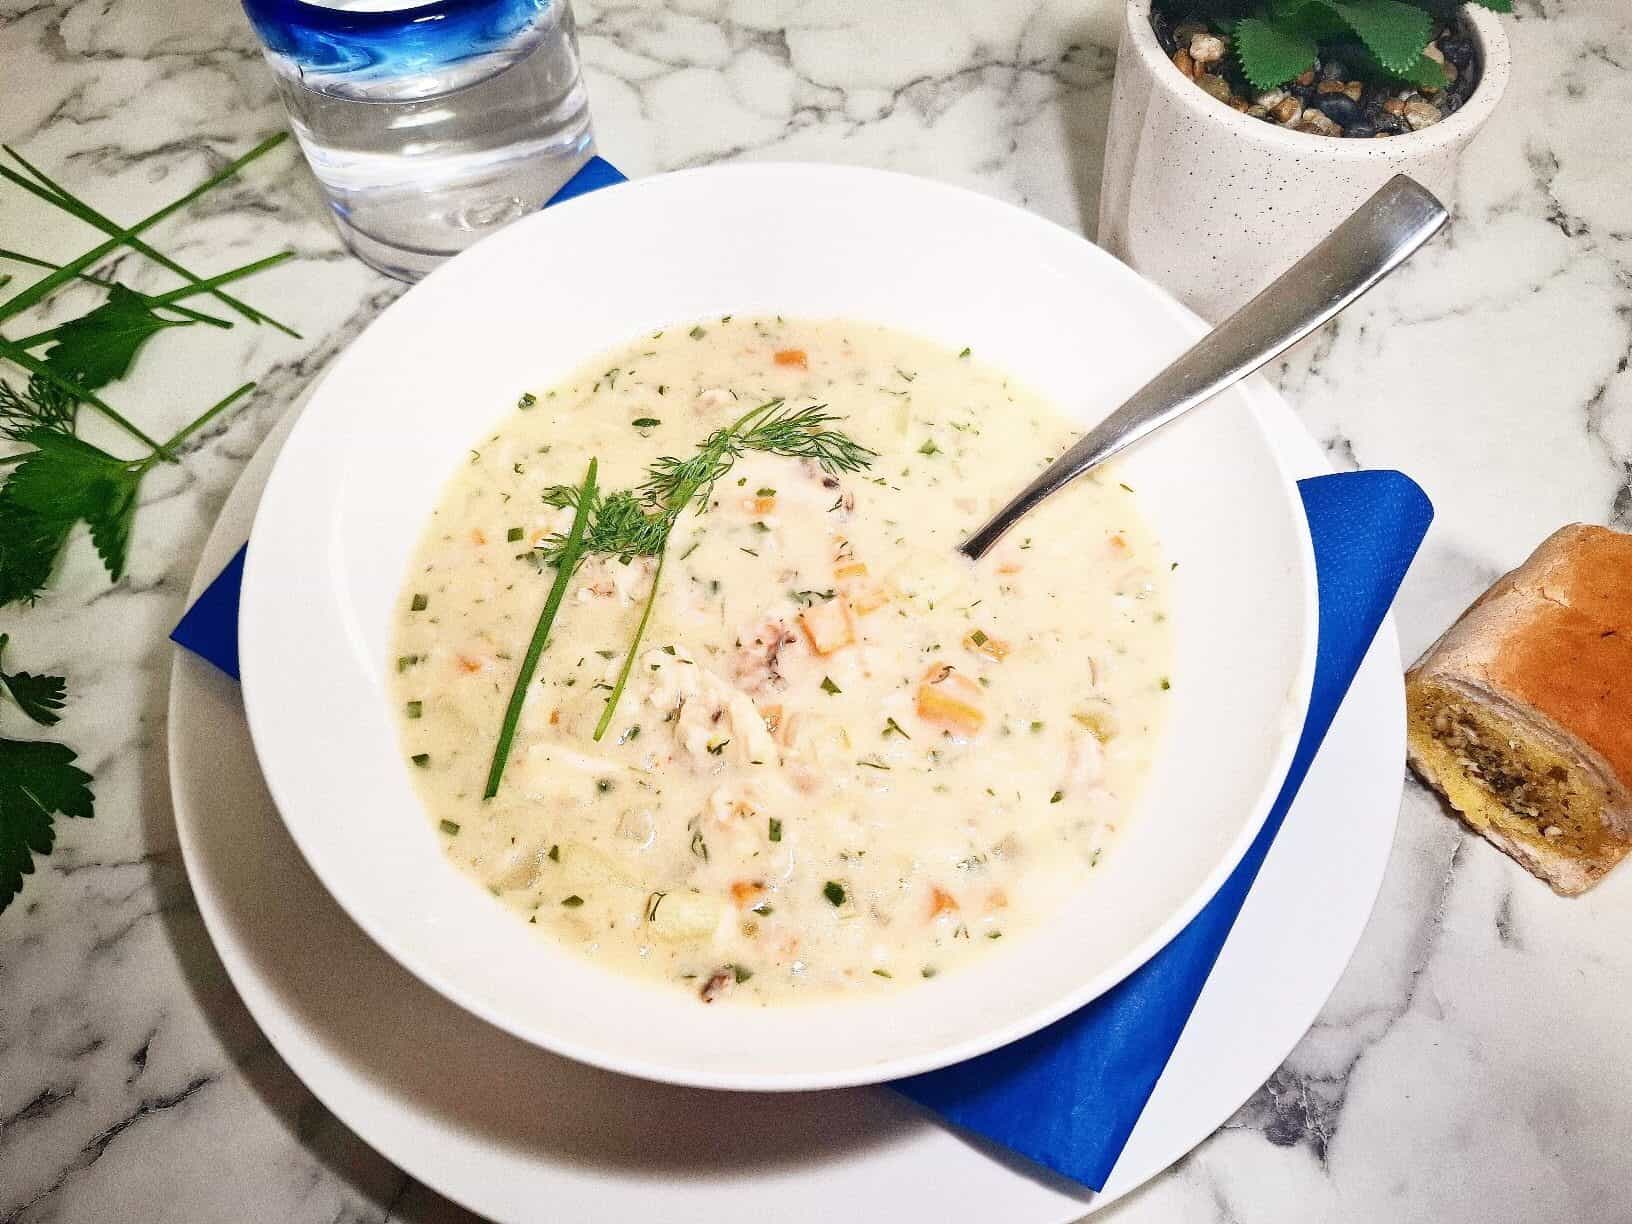
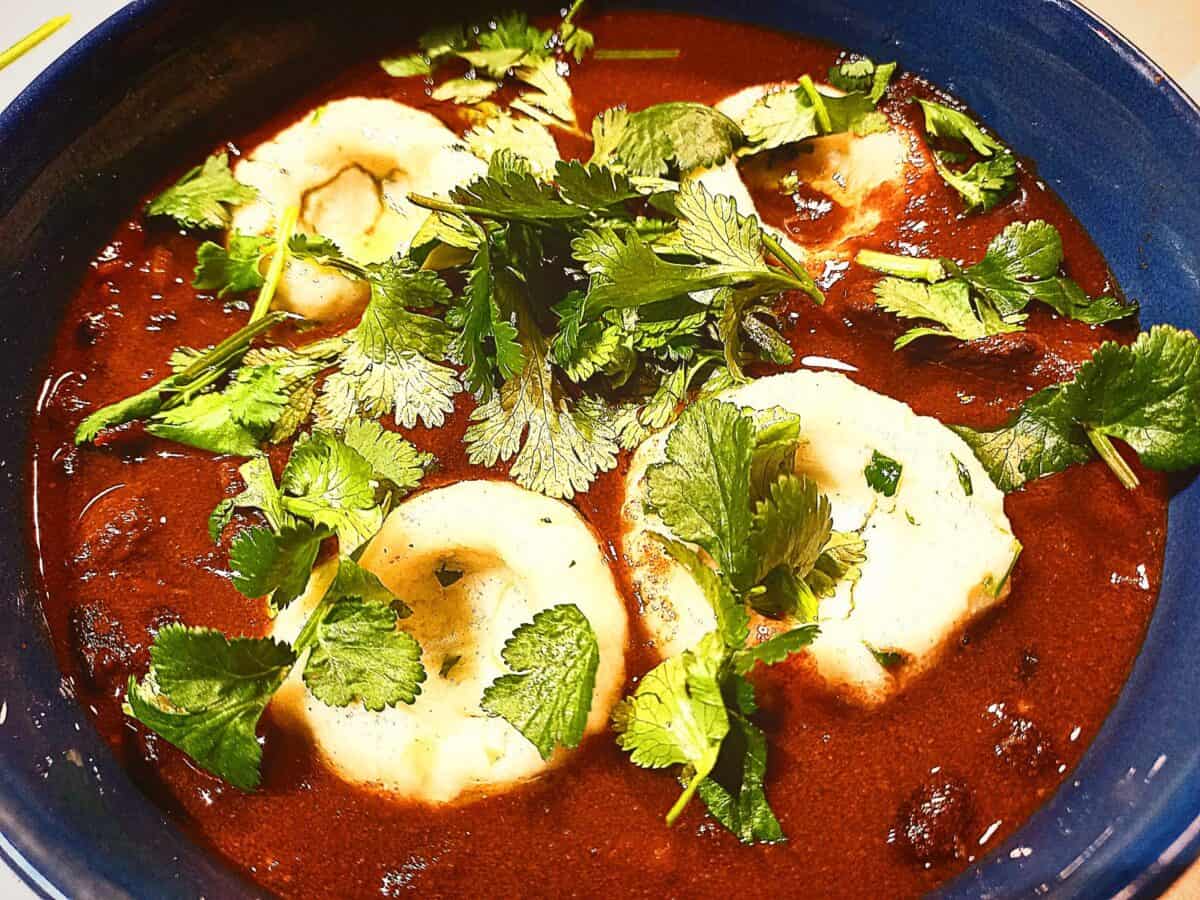
Crab meat and vegetable chowder
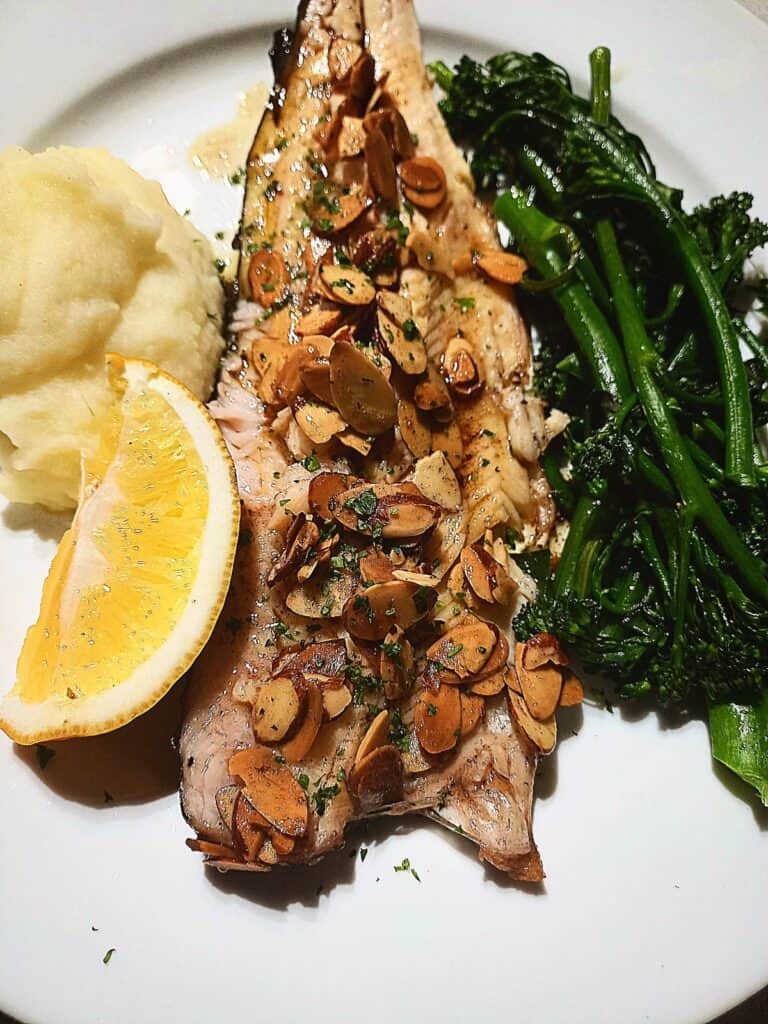
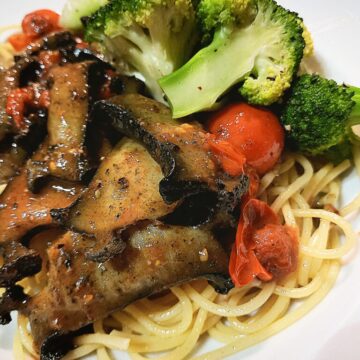
One-pan roasted fish with cherry tomatoes
Pairing
These are my favorite bread and crackers to serve with this shrimp skagen prawn salad:
Sunflower seed crackers (Swedish crisp bread)
Prawn, shrimp skagen
Ingredients
- 750 gram Cooked peeled prawns shrimp
- 1 cup mayonnaise good quality
- ⅓ cup sour cream
- ¼ cup mixture of fresh dill and chives finely chopped
- fresh lemon juice to taste
- salt and pepper
Garnish
- Lumpfish caviar optional
- Fresh dill
Instructions
- Mix mayonnaise, sour cream and herbs together well with a whisk.
- Add the peeled prawns
- Add seasoning and lemon juice.
- Garnish with lump fish caviar and fresh dill
Notes
- Use smaller prawns (shrimp) for this recipe. If you only have larger prawns then cut them into smaller pieces is fine.
- Fresh prawns are better then frozen. If you are defrosting prawns for this recipe then make sure excess water is squeezed out of them to prevent the salad to be over watery
- The dressing is a big part of this dish. It's important to use a good quality mayonnaise. You can really tell the difference in the end result.