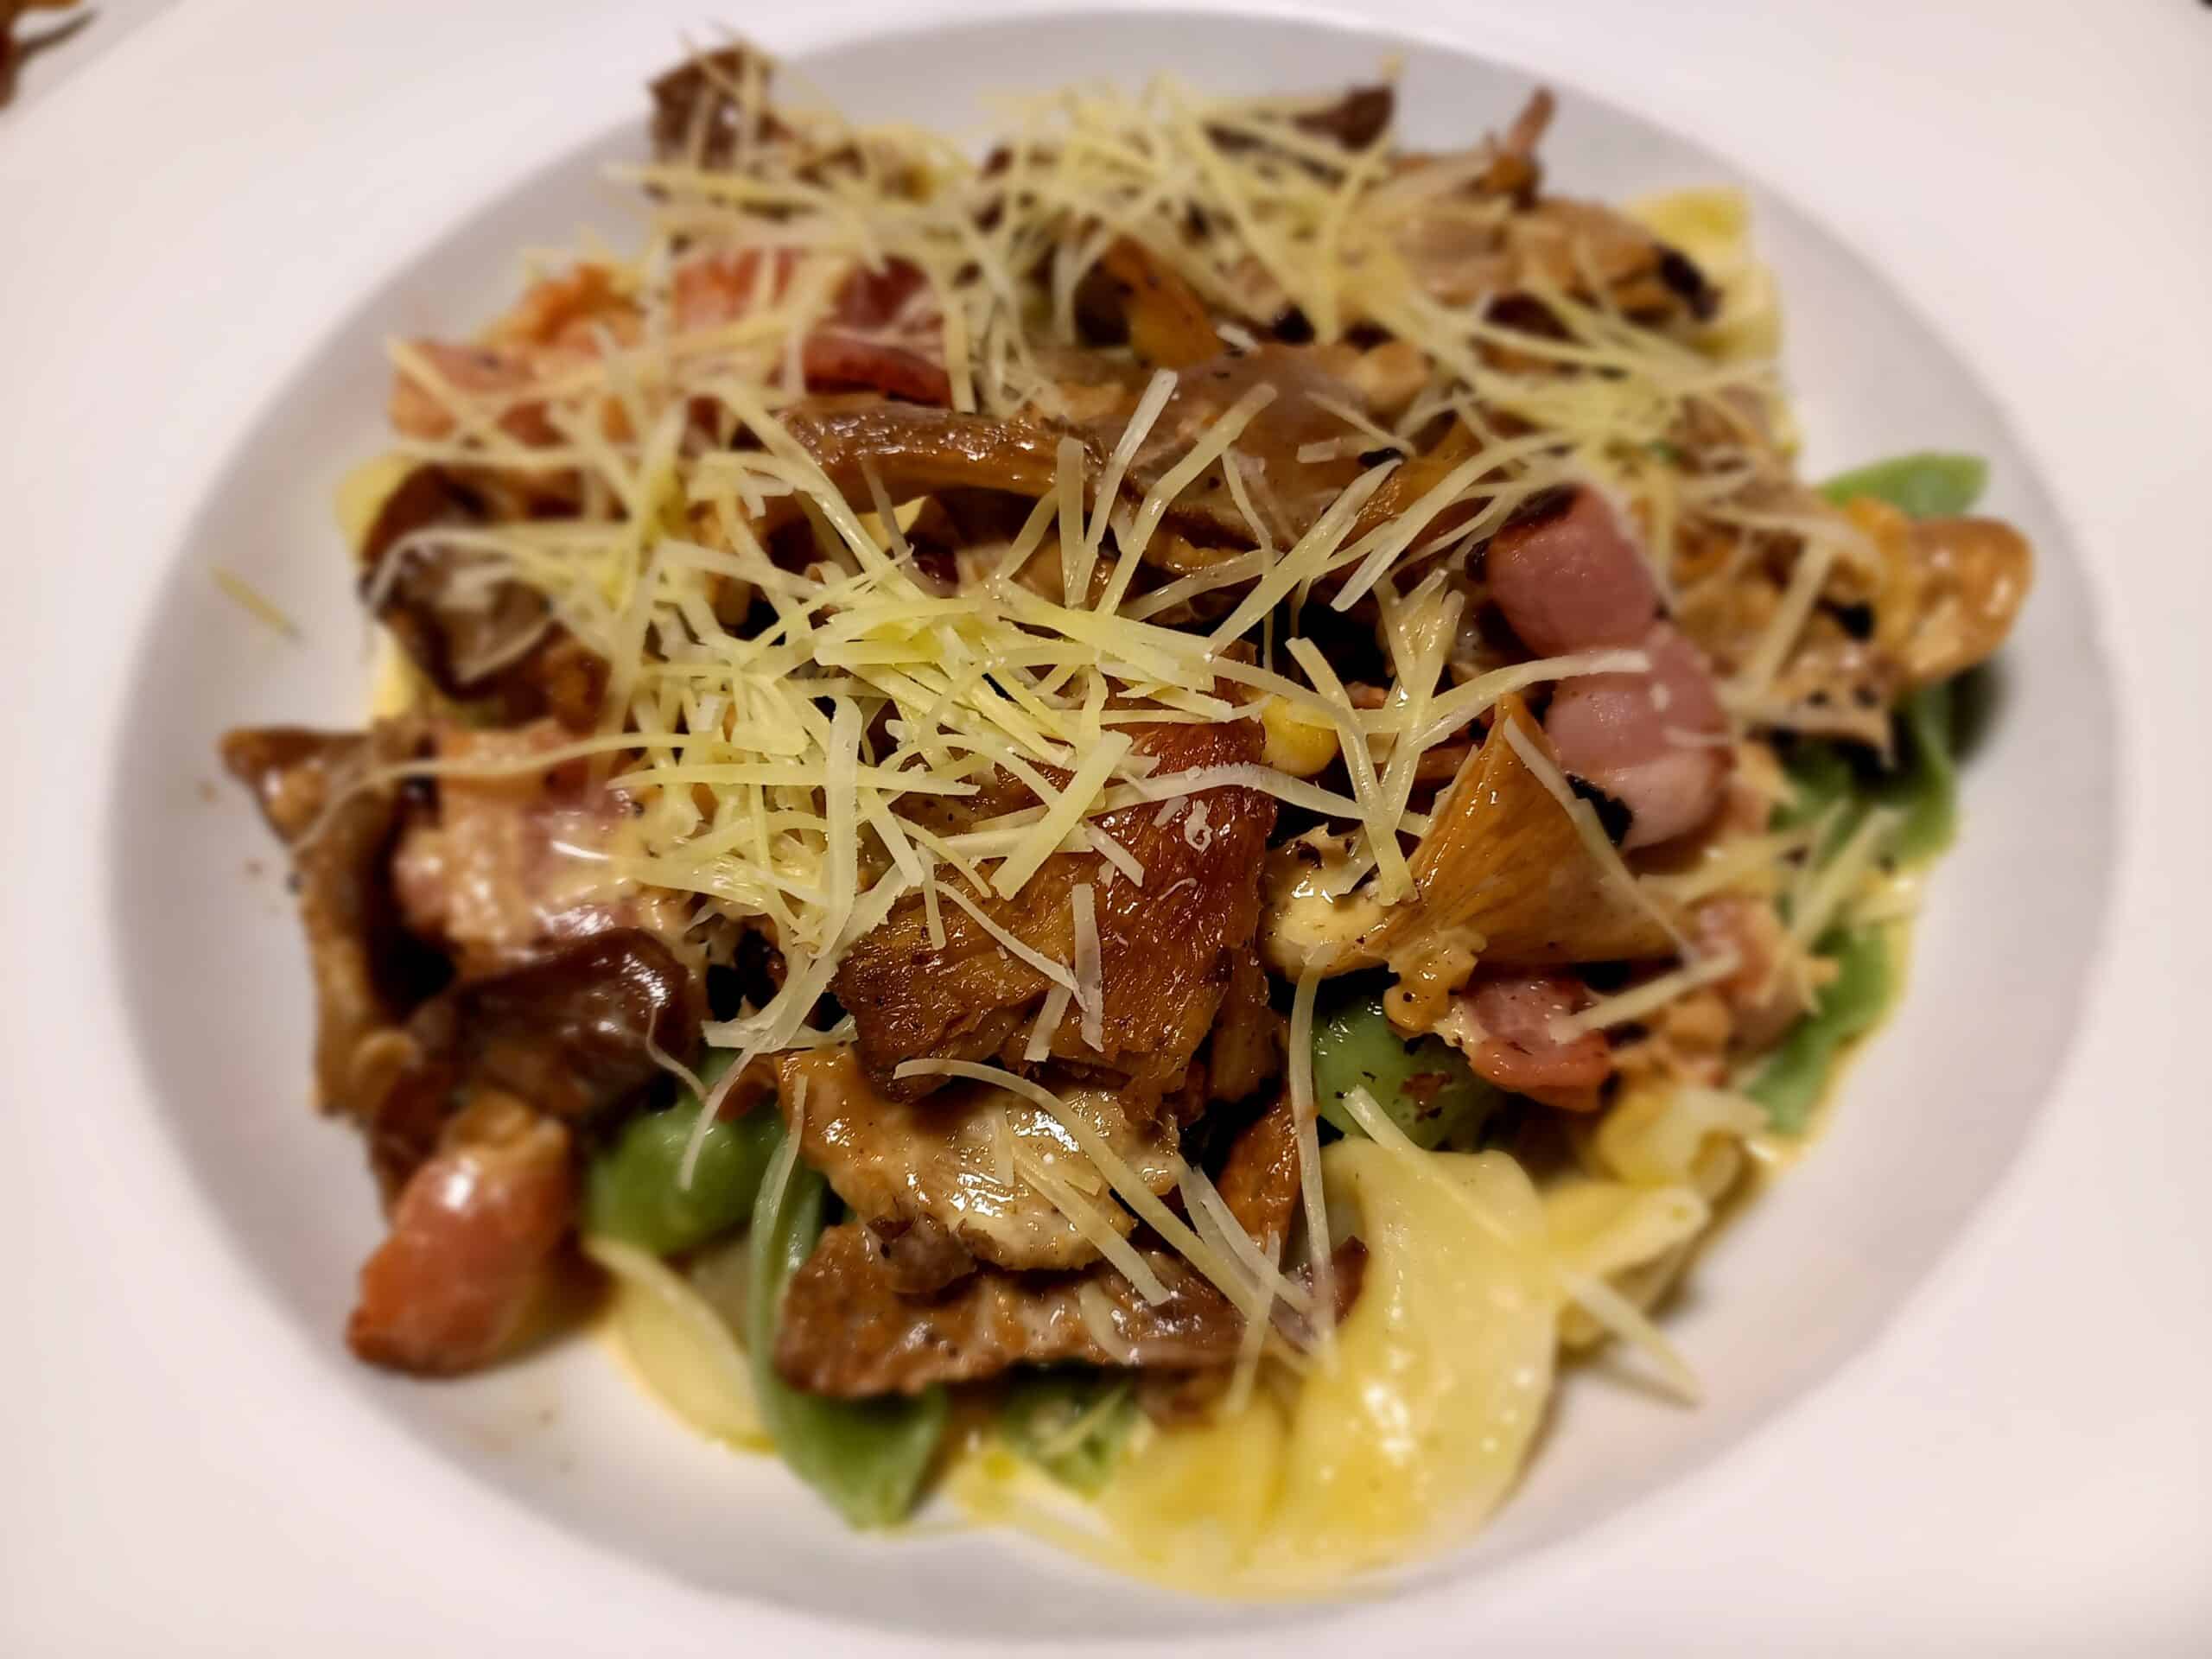
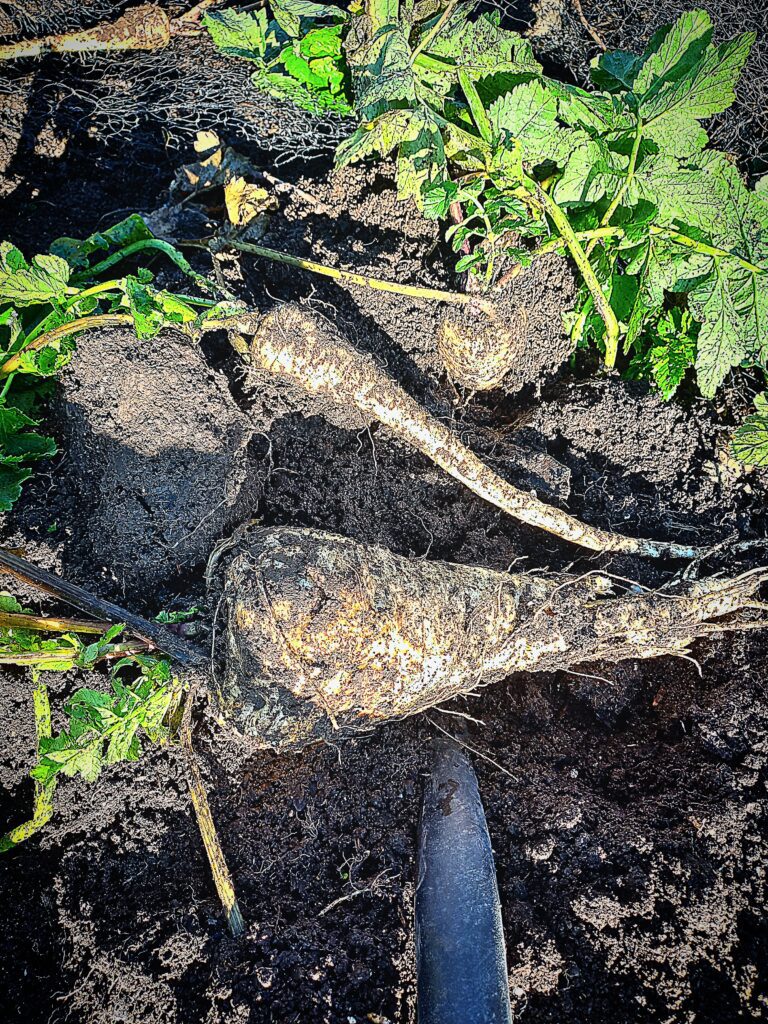
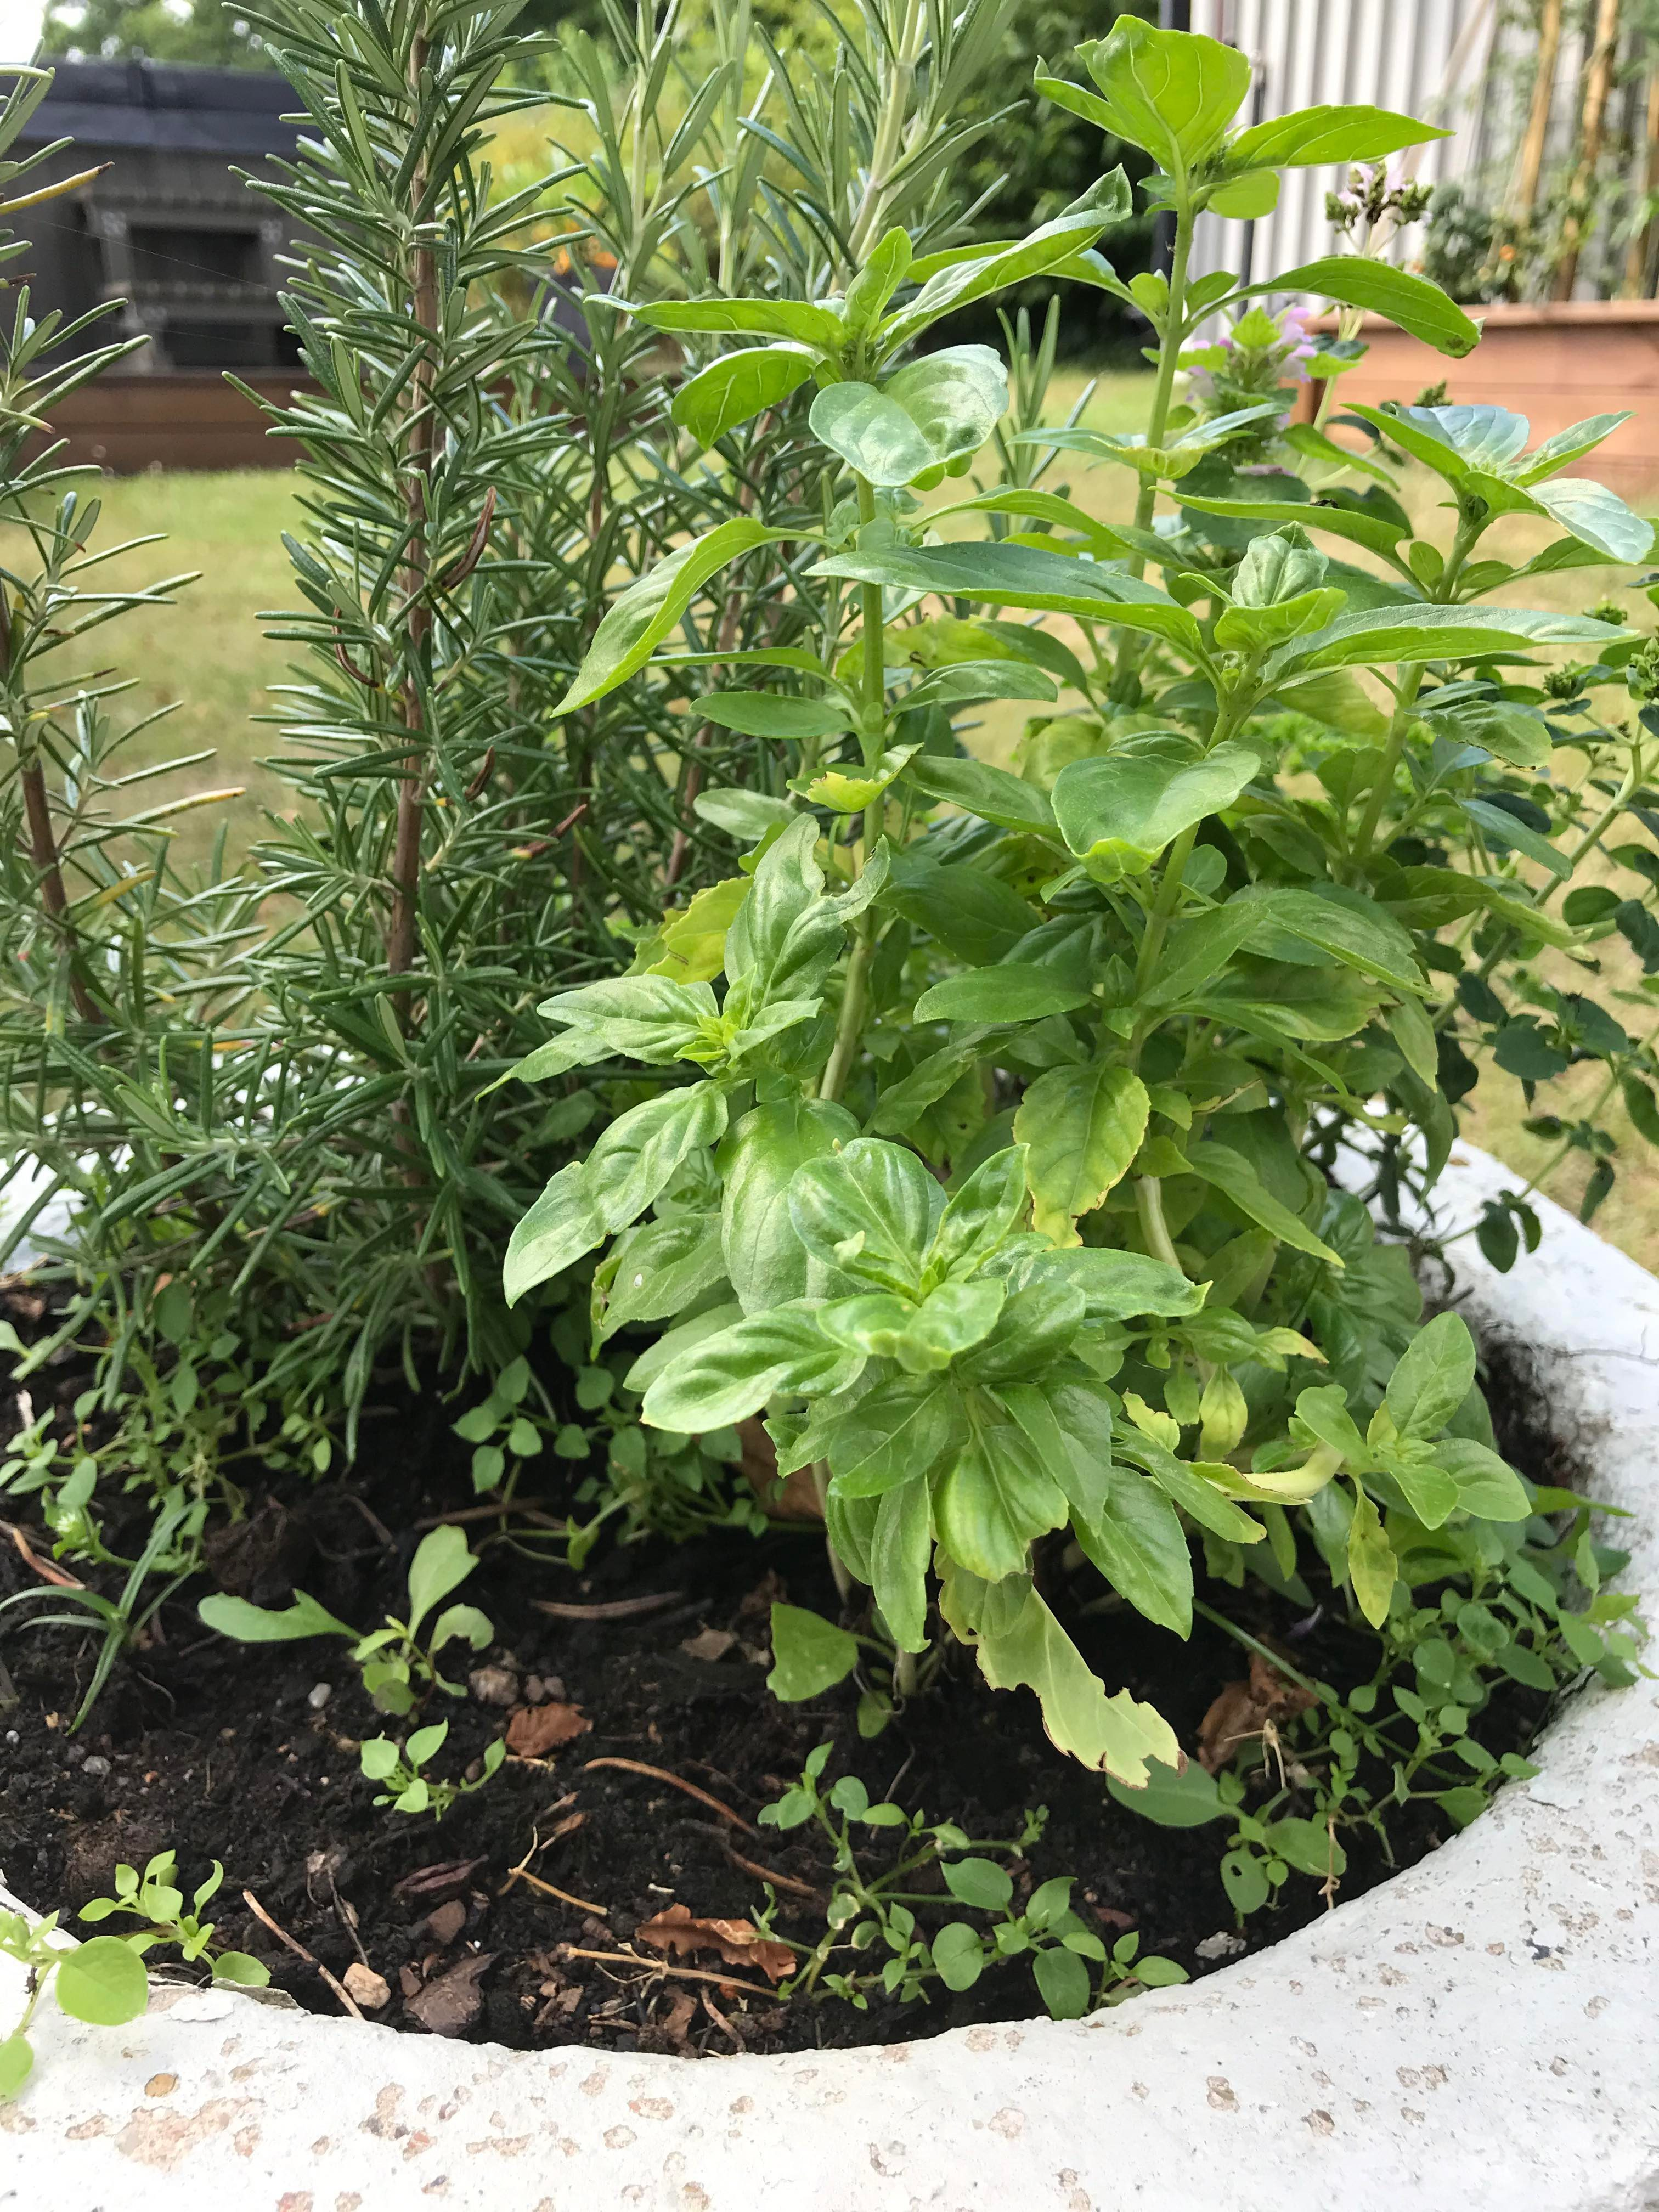
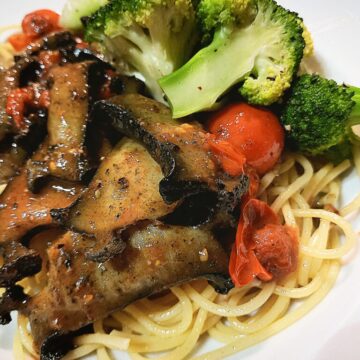
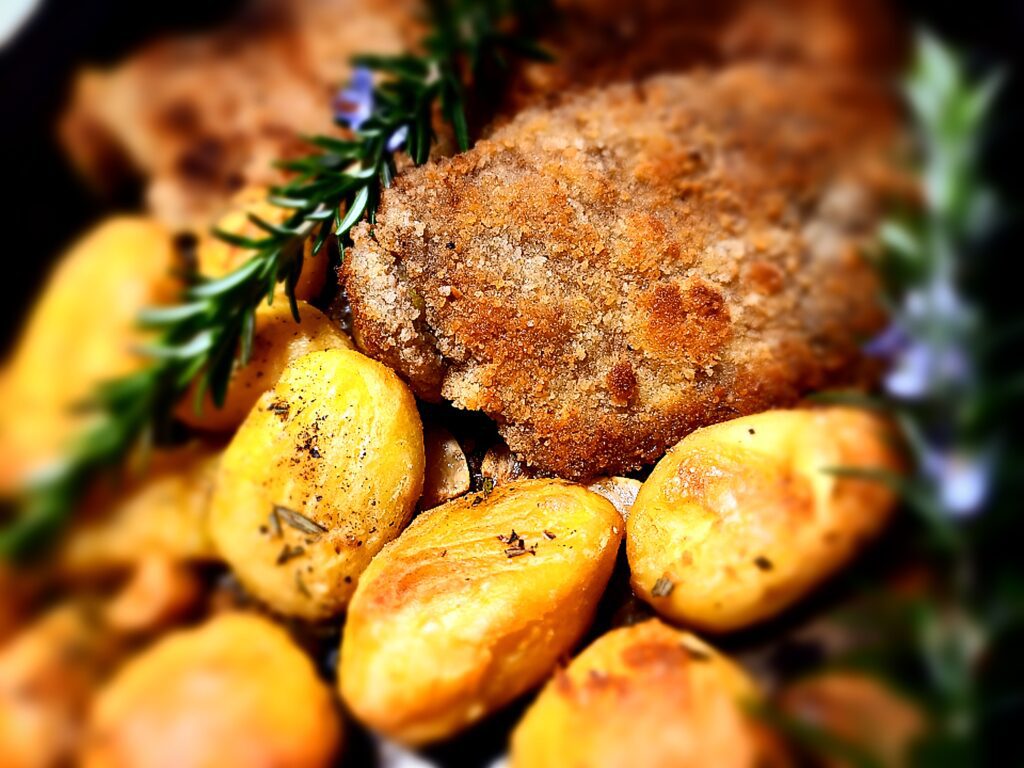
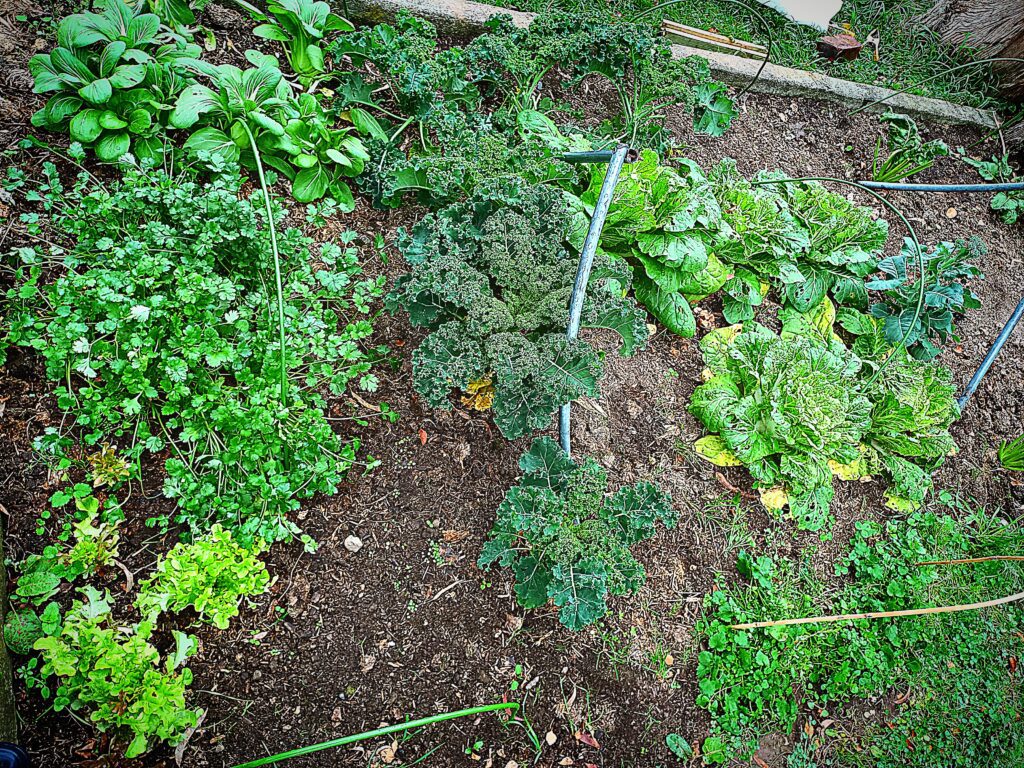
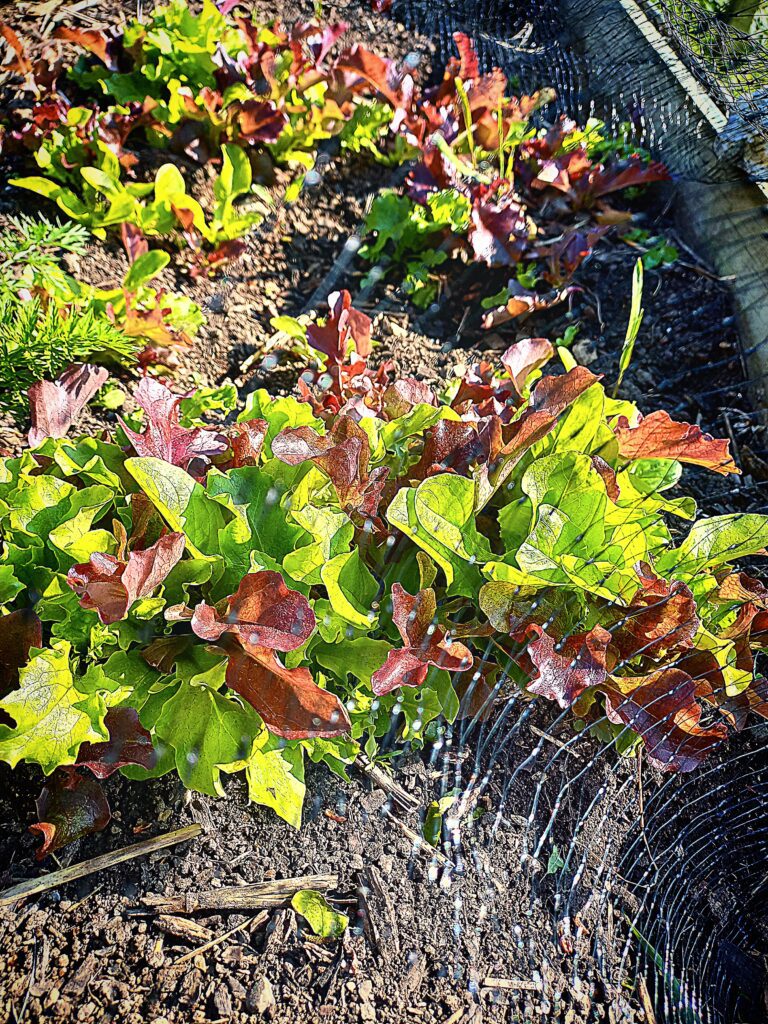
This is a great winter dish. Highlighting all the lovely flavors of my winter garden.
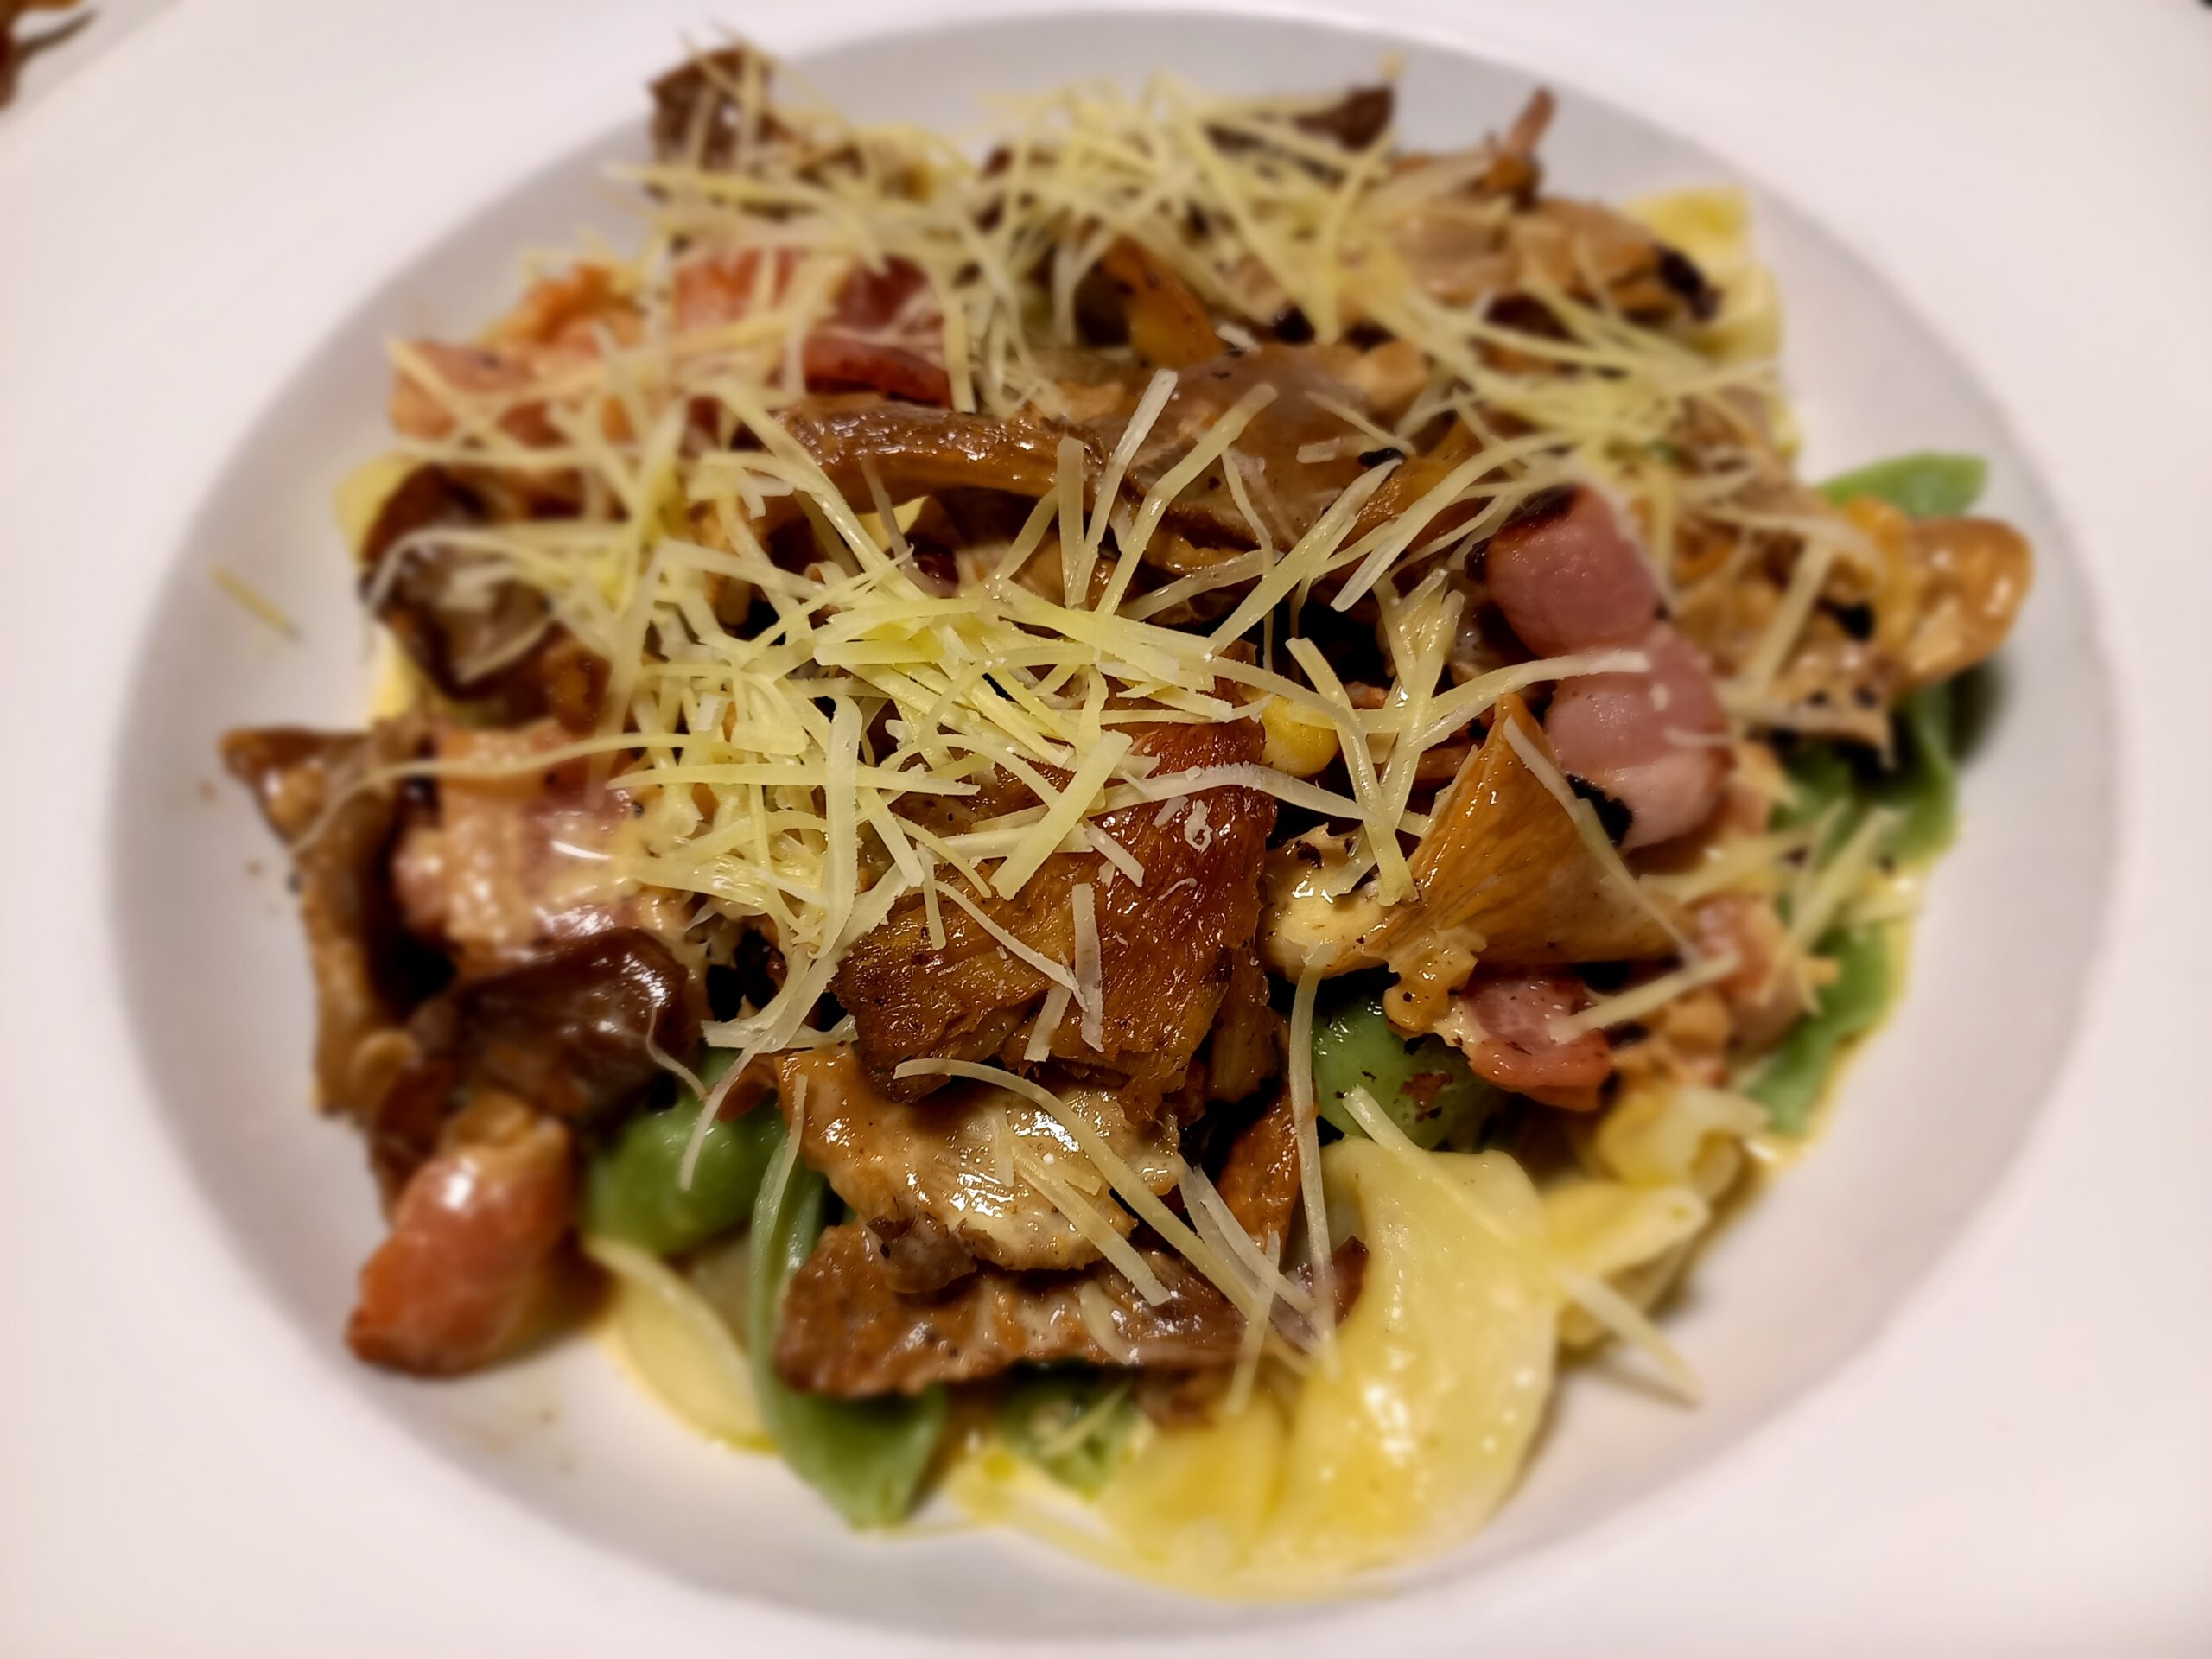
Roasted vegetable gnocchi with bacon is a comforting dish. It ticks all the boxes for a great meal.
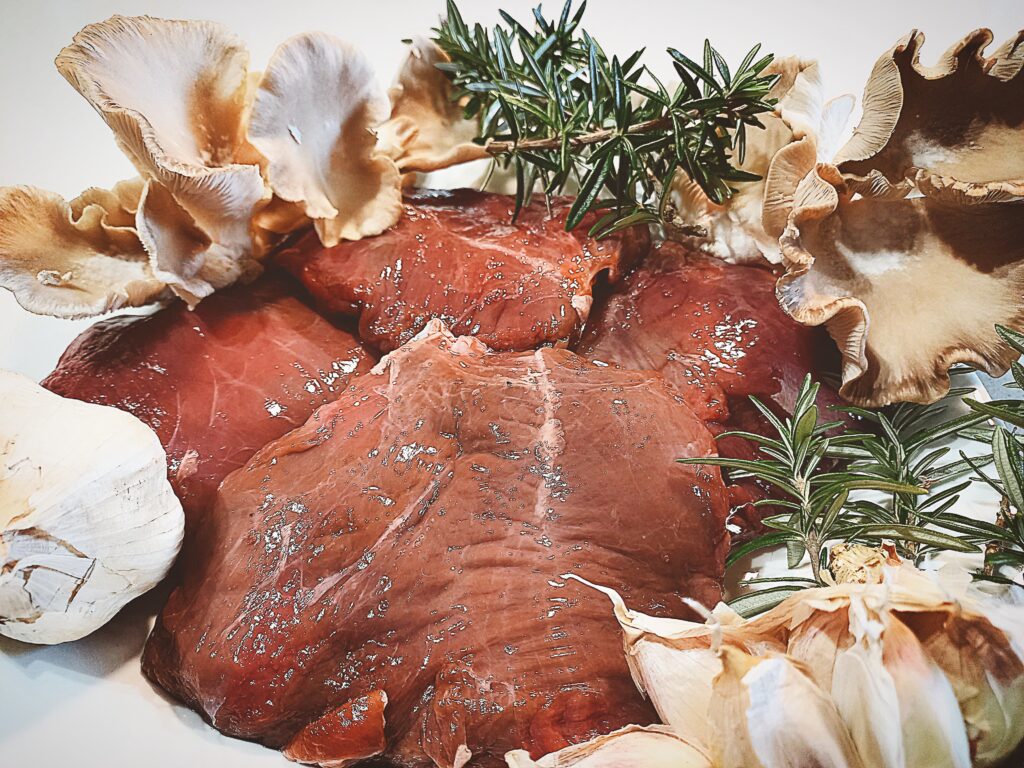
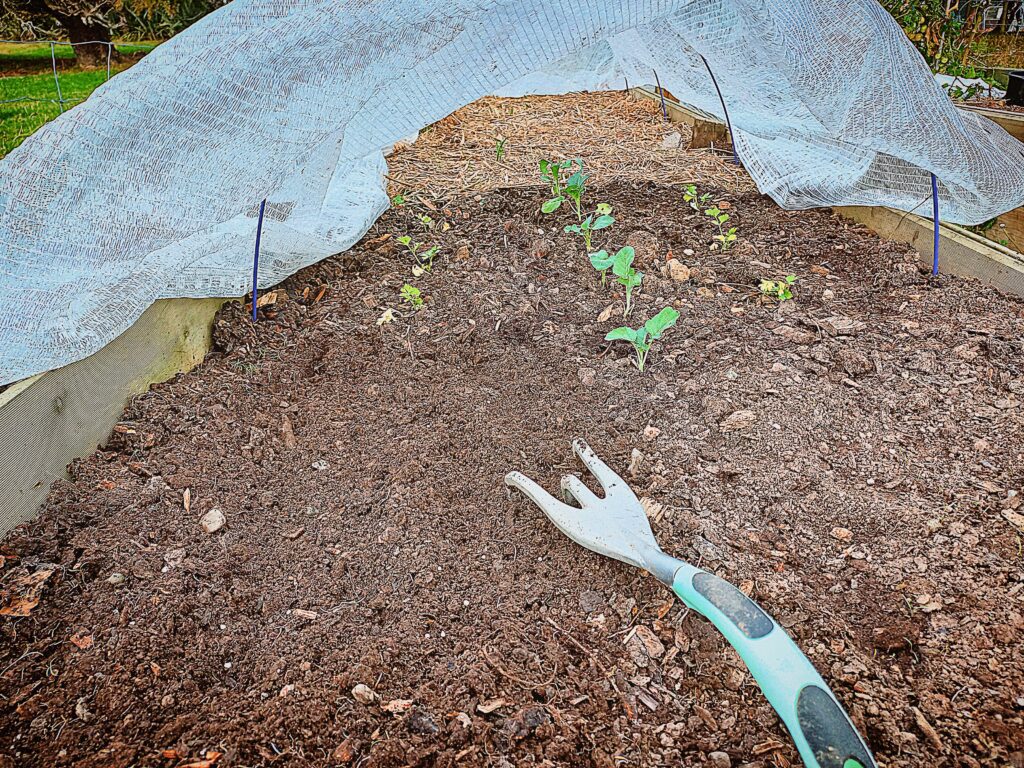
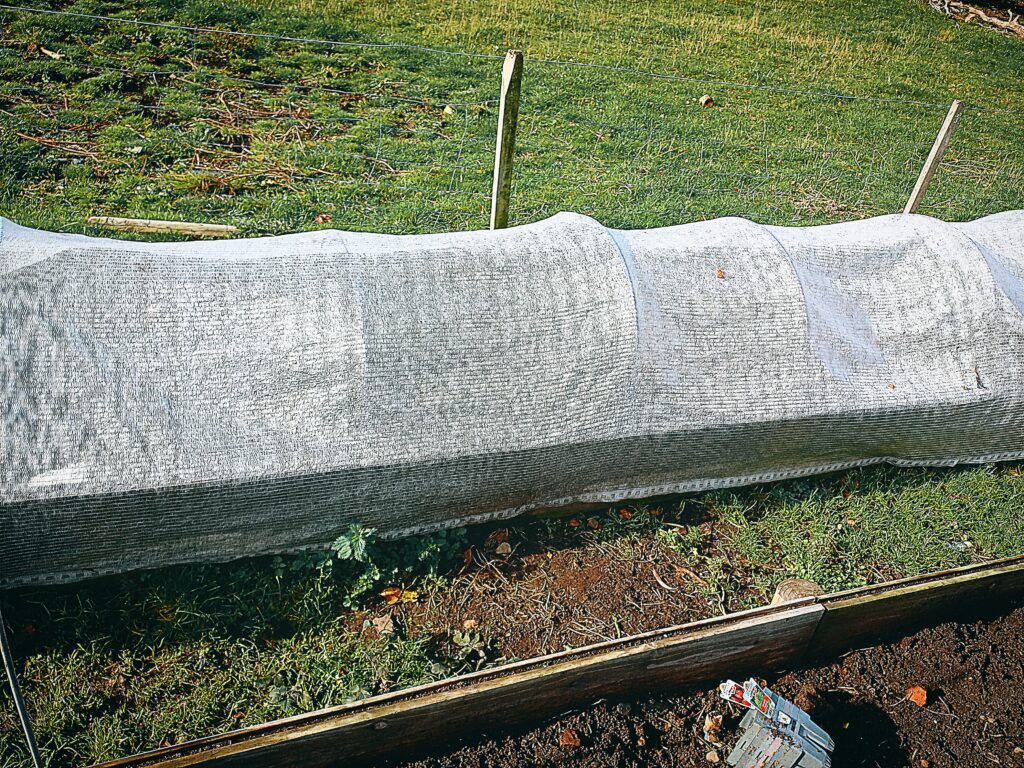
I made this dish in winter so pumpkin, oyster mushrooms, garlic and kale is what I had available. It was delicious served with the home made gnocchi and bacon but you can substitute the vegetables to what is seasonal and on hand when making this dish.
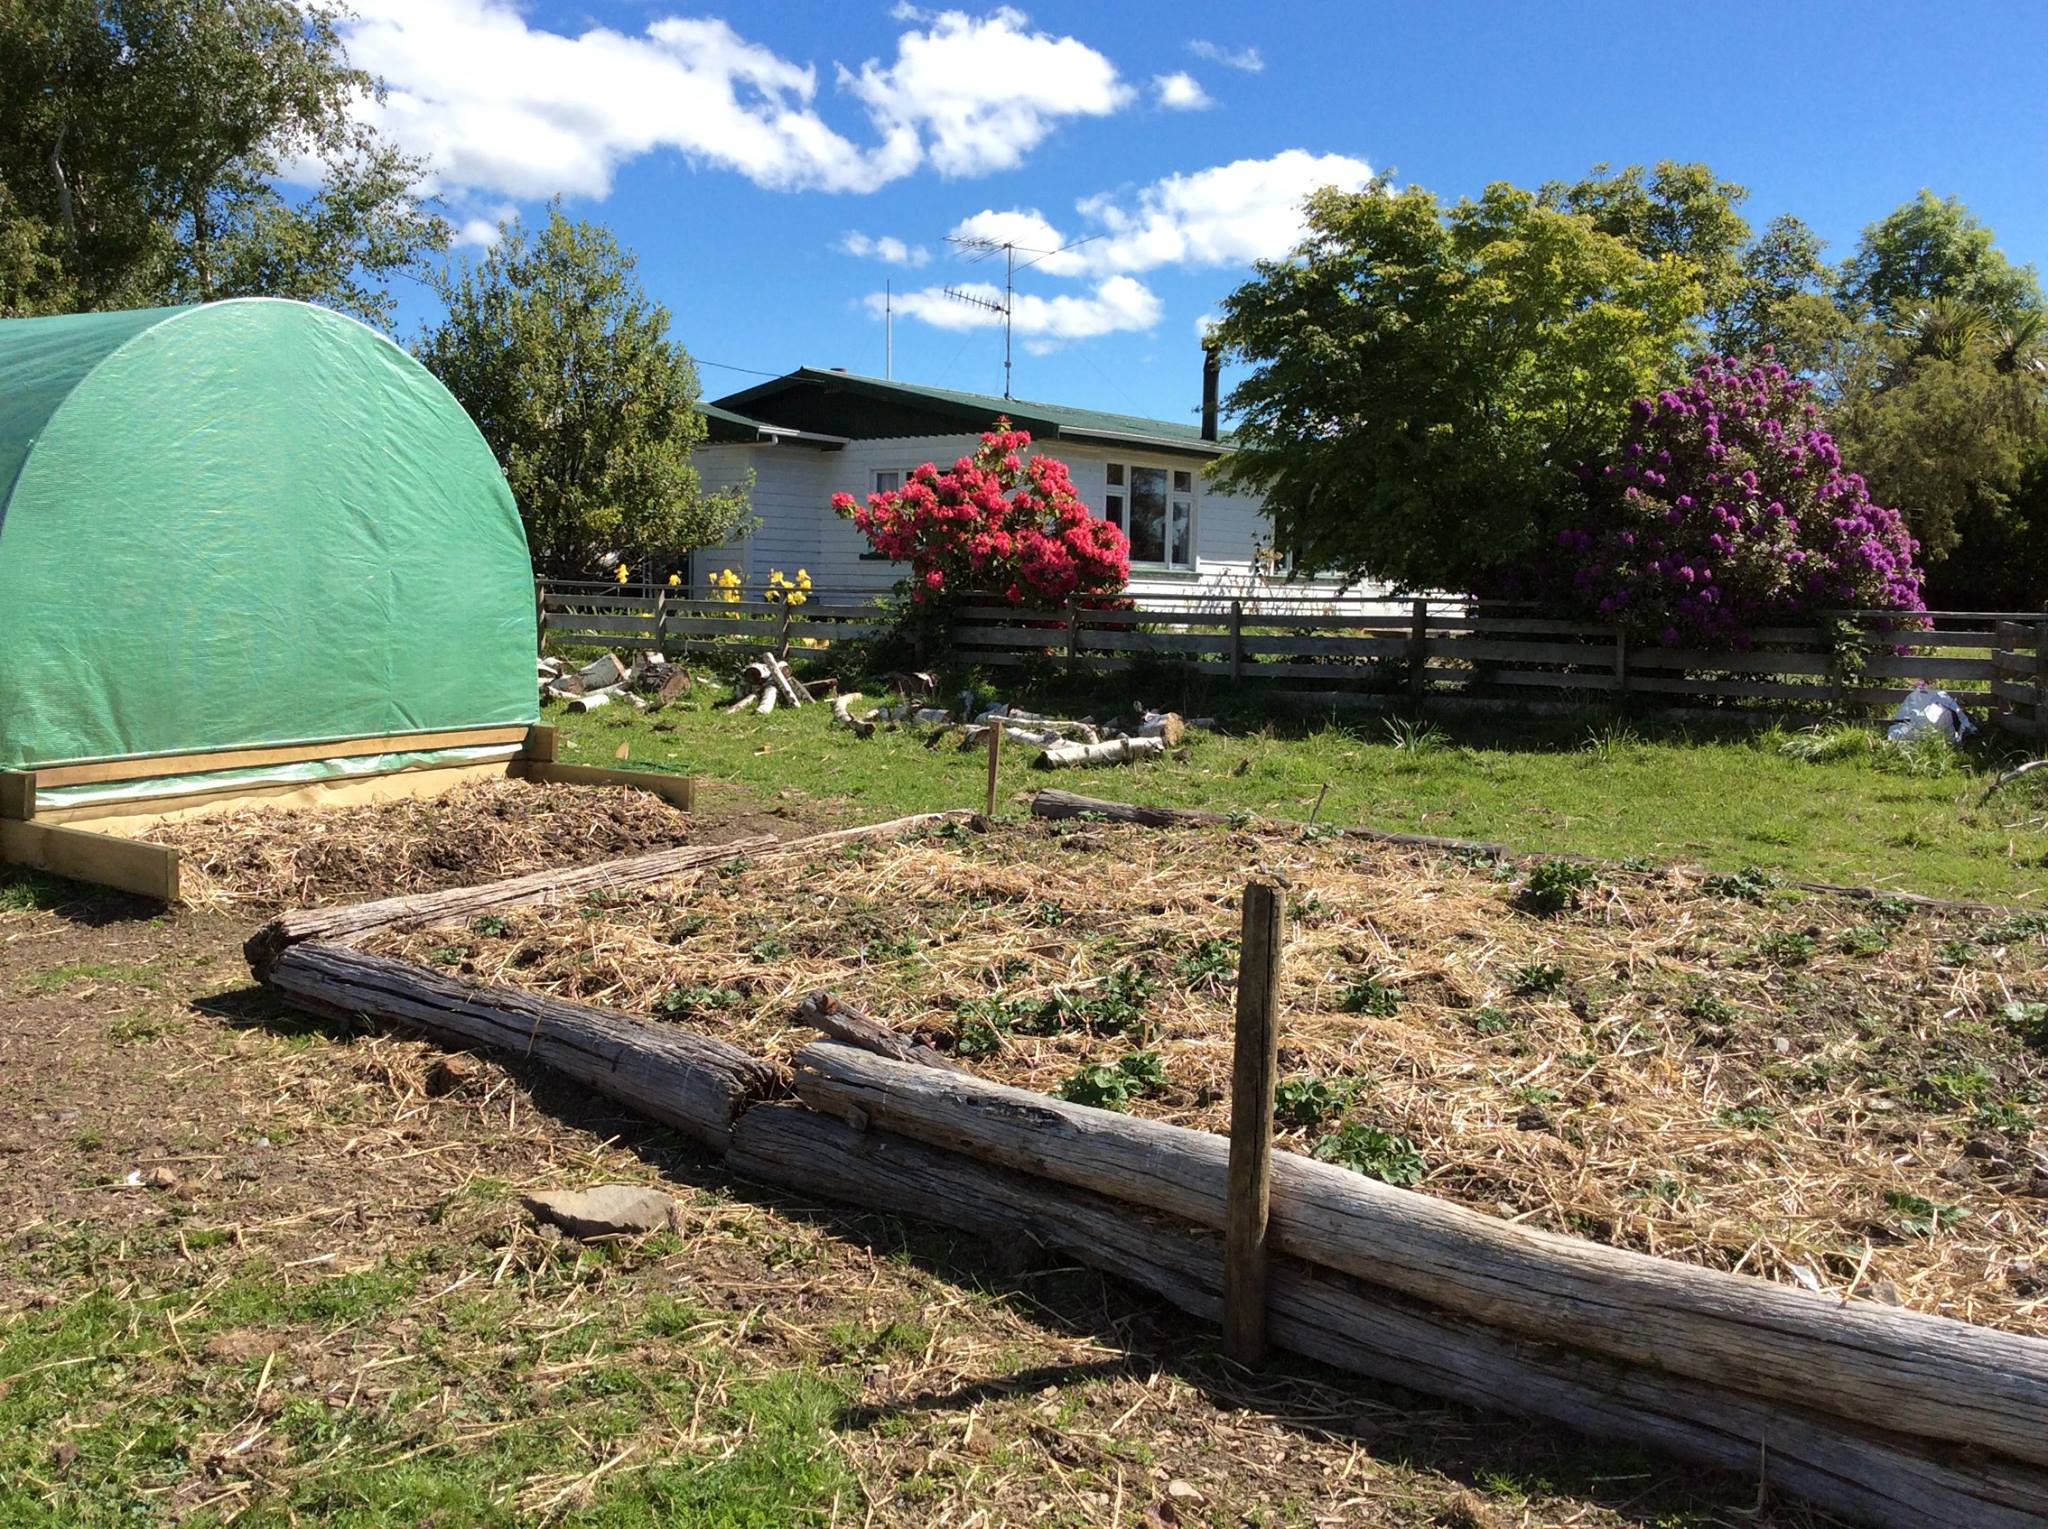
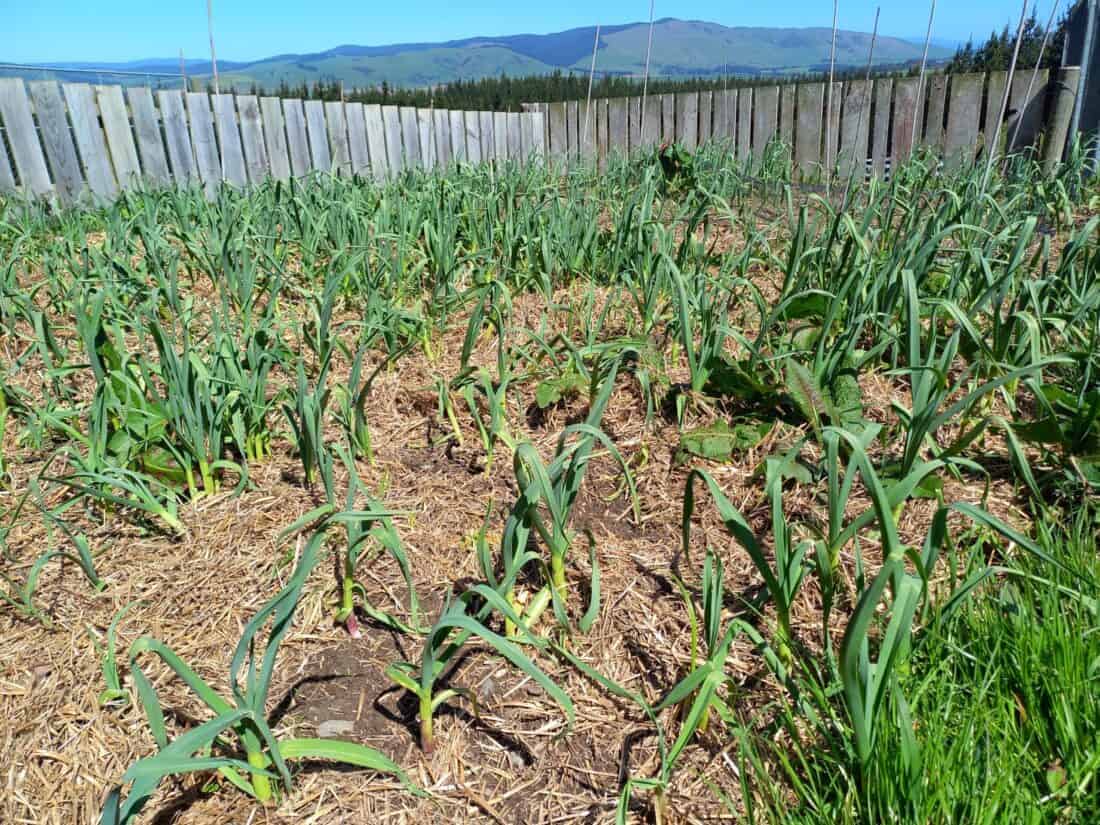
Read more about growing food here
[feast_advanced_jump_to]Ingredients
Gnocchi
Potatoes
Flour
egg
salt and pepper
Roasted vegetables and bacon
pumpkin
bacon
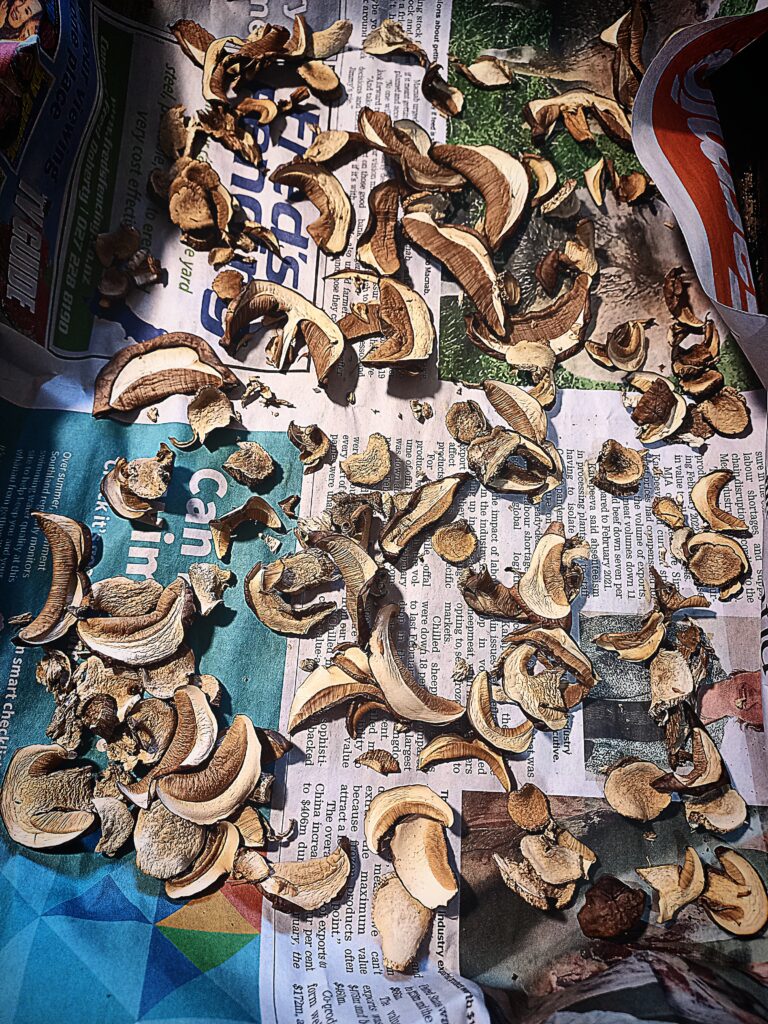
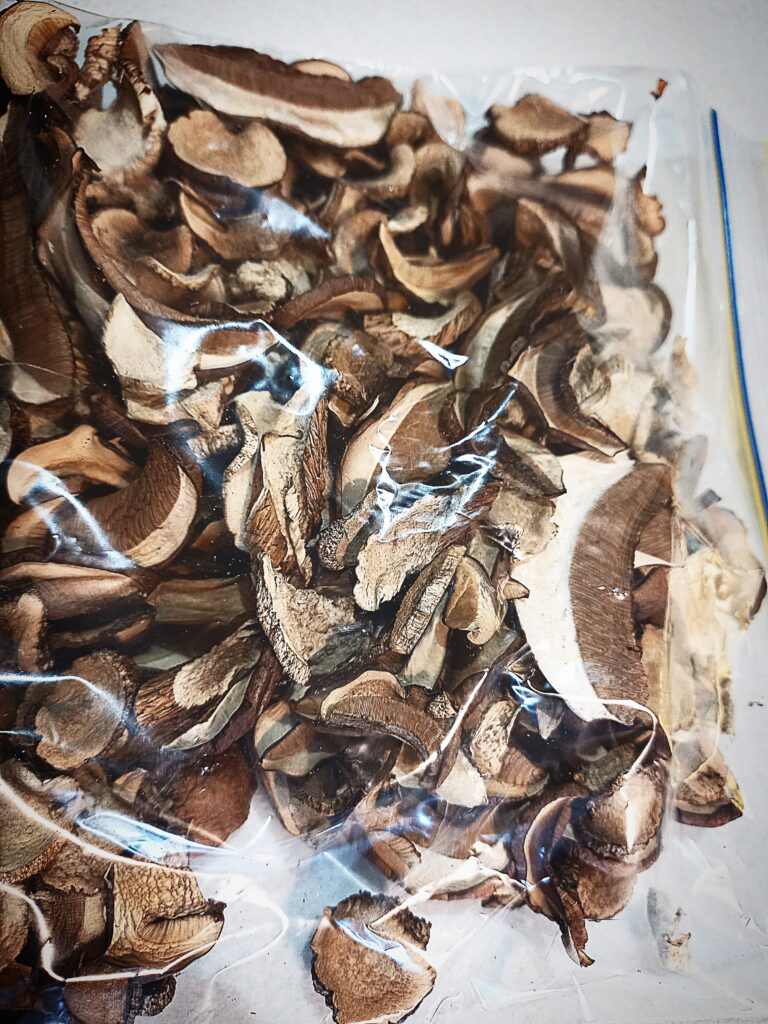
oyster mushrooms
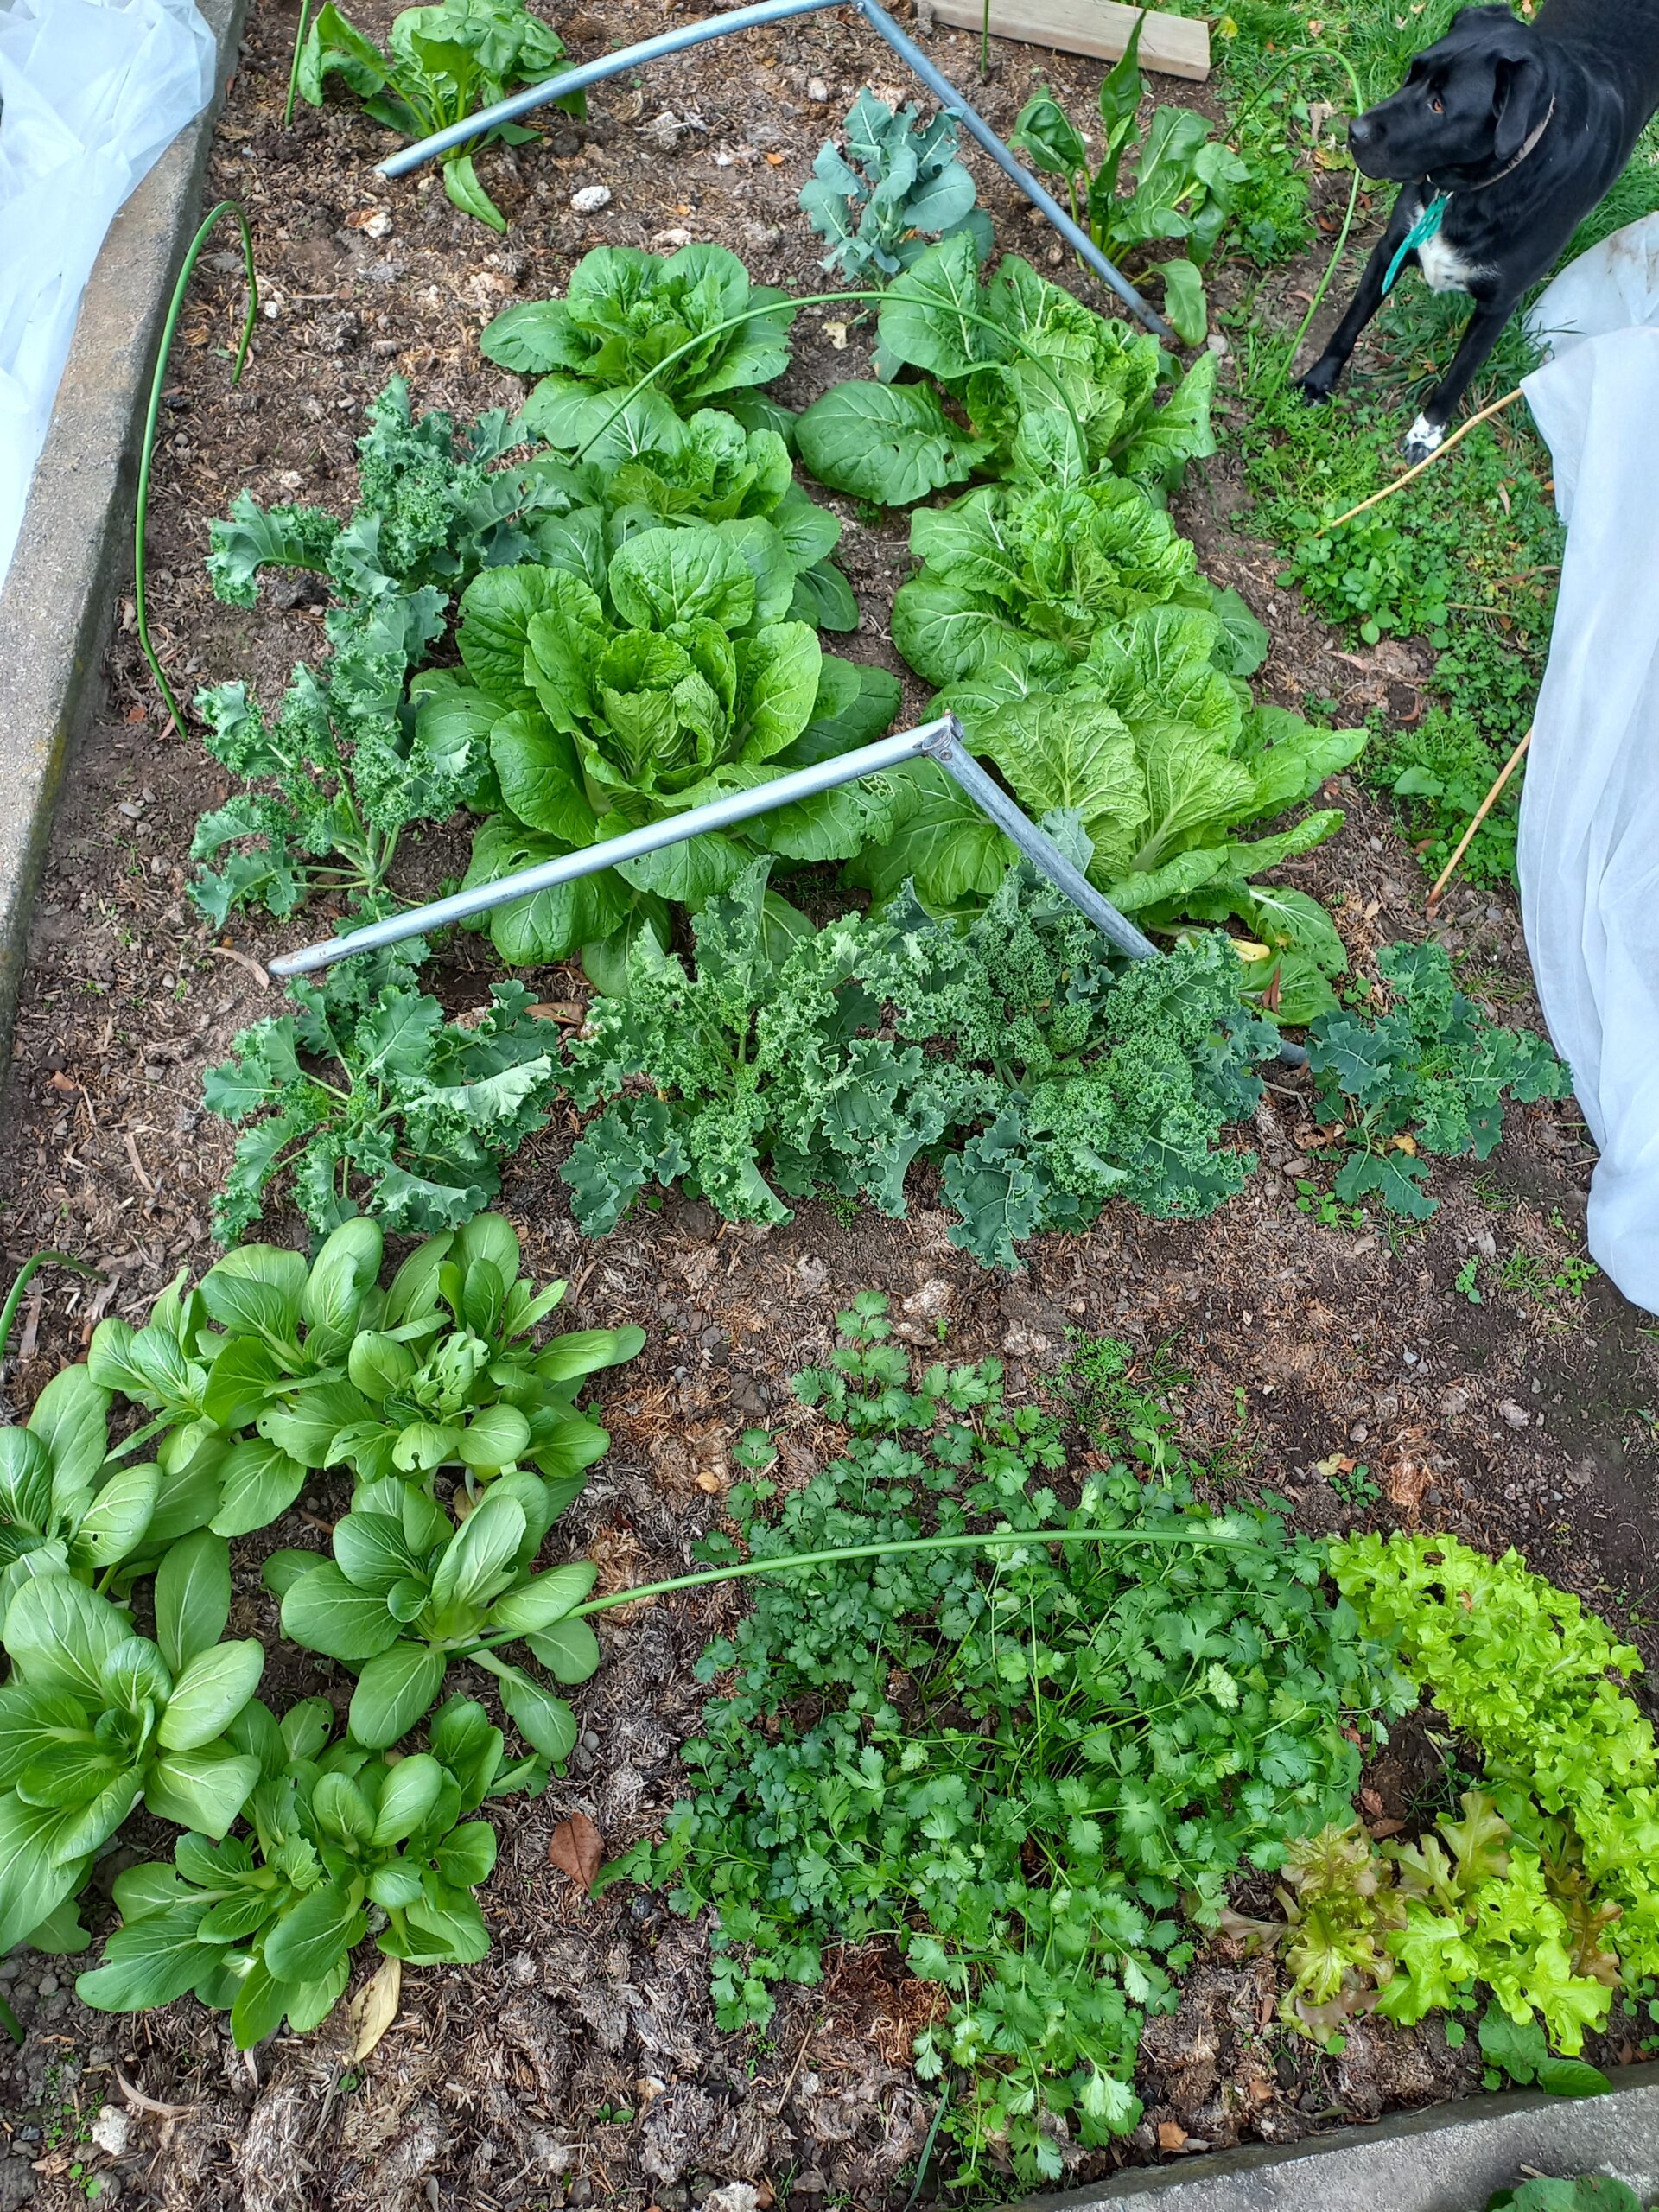
kale
garlic
rosemary
thyme
Garnish
Parmesan cheese
See recipe card for quantities.
How to make this
home made gnocchi
- Cook the potatoes and mash them up.
- Add 2 cups of flour, egg and seasoning. Mix well with your hands.
- When all ingredient are combined put it on a floured surface and kneed like you would a bread dough add more flour if needed.
- The dough should be firm and smooth not sticking to the bench surface but not be dry either. Similar consistence to a bread or pizza dough.
- The amount of flour will vary depending on the size and the variety of potato you are using so the 2.5 cup is a guideline only.
- When the gnocchi dough is ready divide it in to four pieces and roll each piece out to long rope like piece. Cut the 'ropes' in to roughly 2 cm long pieces.
- If you like them to look 'fancy' roll the pieces on a gnocchi board to give them groove marks or you can just press down lightly with the back of a fork on top of each piece for a similar effect. You can just leave them plain if you like to keep it simple.
- Boil the gnocchi in salted water a few at the time. Don't overcrowd the pot. When the gnocchi starting to float to the surface they are done. with a slotted spoon or sieve scoop the gnocchi out in to a colander to drain off.
- mix the gnocchi with olive oil and add to the roasted vegetables.
- Serve warm with shaved or grated Parmesan cheese and a drizzle of olive oil.
Hint: The amount of flour needed will vary for this recipe depending on the size and the variety of potato you are using. The 2.5 cup is a guideline only. Add the flour bit by bit while mixing the dough and check for the right consistency.
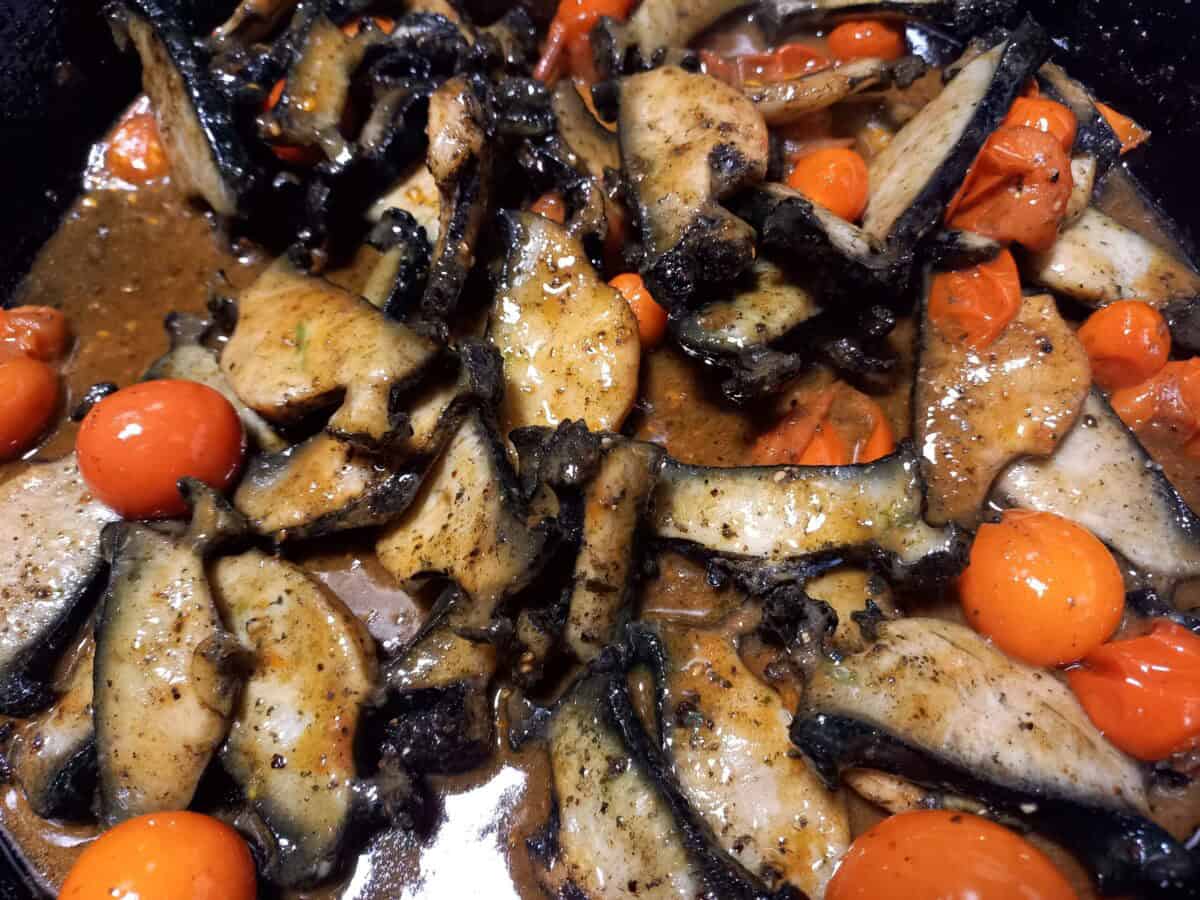
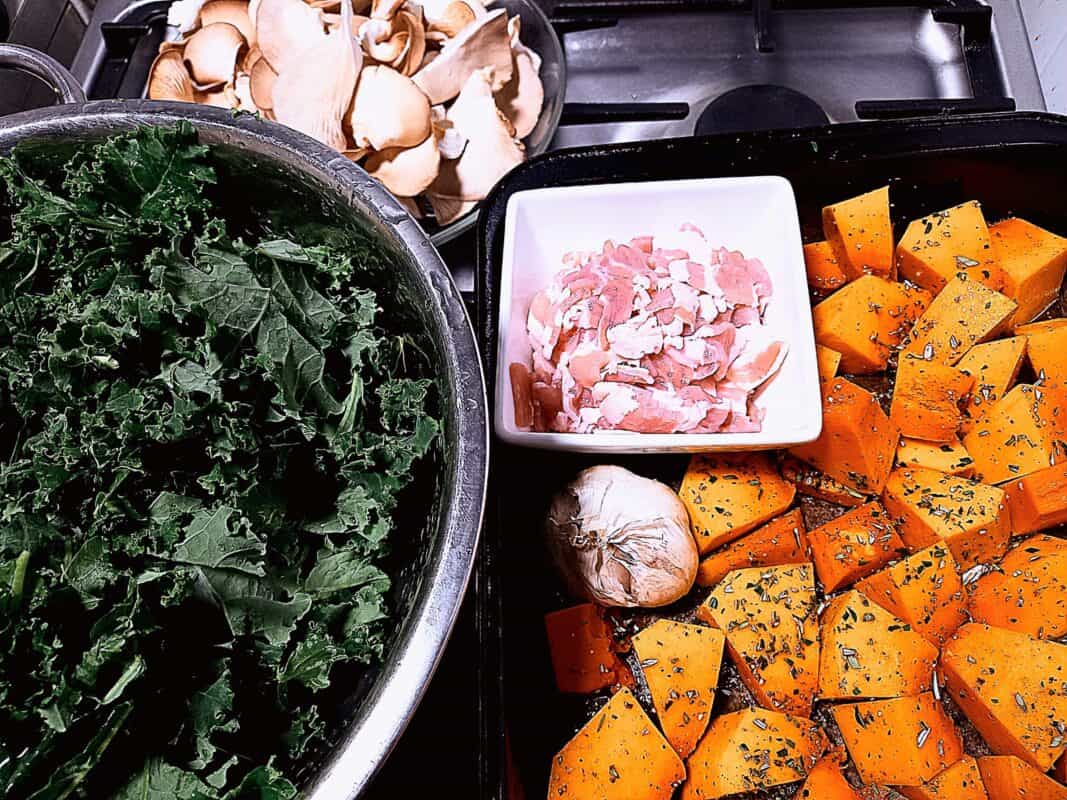
Roasted Vegetable and bacon Topping
- Spread the bacon and mushrooms out on a baking tray generously coated with olive oil. Season with thyme, salt and pepper.
- On a separate oiled oven tray spread the pumpkin out. Season with rosemary, salt and pepper.
- Put the oven trays in the oven and bake until golden.
- Half way through cooking the bacon and mushrooms add the garlic and mix well.
- Put the kale in a mixing bowl. Season with olive oil salt and pepper. Mix well.
- just before the pumpkin is ready add the kale to the oven tray and put back in the oven for another minute. Take out and mix together.
- Add the bacon and mushrooms to the pumpkin and kale and mix.
- You should now have an oven tray full of colorful delights

Gnocchi is a potato dumpling originally from Italy made with a combination of flour, egg, salt, and potato.
Serving suggestions
- Serve warm as a main meal with some fresh crusty bread
- As a side dish for a shared meal or BBQ
- Great to bring to a picnic or as a packed lunch box
Substitutes and Alterations
- You can easily make this a vegetarian meal simply by leaving the bacon out.
- Substitute the bacon for smokey sausage or fried haloumi if you wish
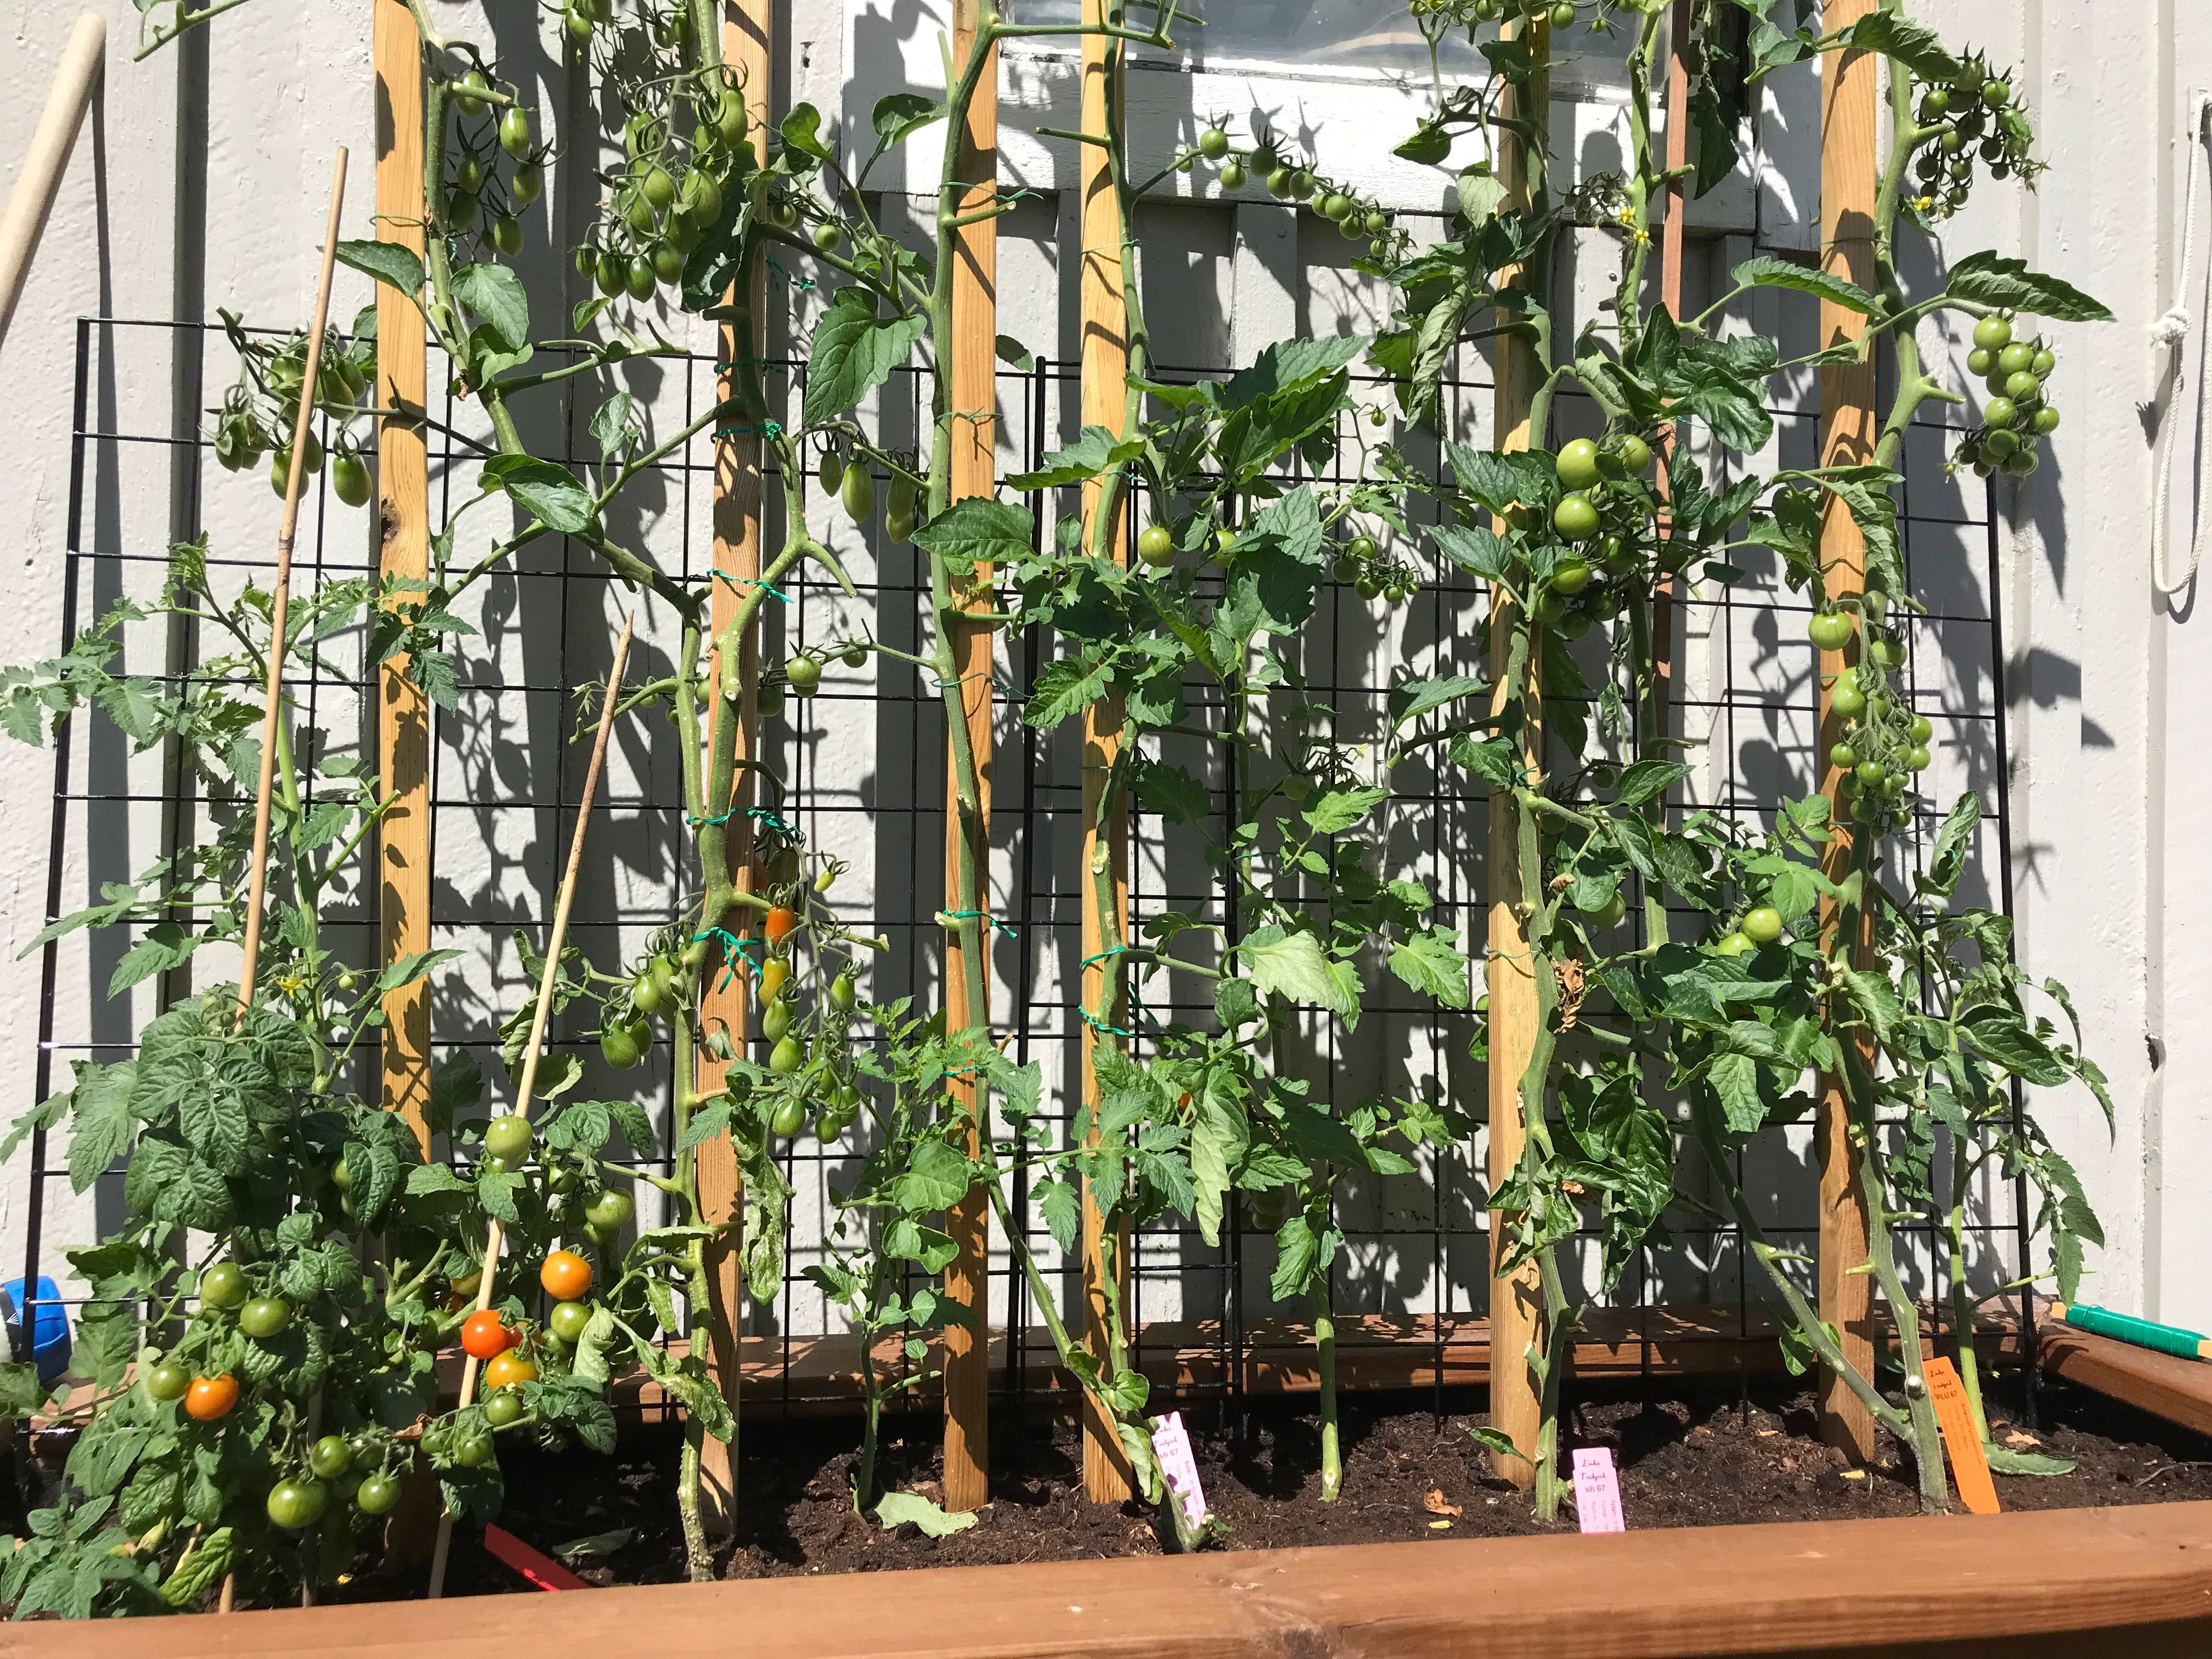
- Substitute the vegetables to what is in season and on hand when making this dish. Most Mediterranean vegetables works well such as Eggplant, capsicums, zucchini and spinach. A great dish to use up whatever your garden is producing at the time.
Read more about growing food here
Storage
The homemade gnocchi can be prepared and blanched in advance. Drizzle some olive oil on top and they can be kept in the fridge for 2-3 days.
Just heat them by saute' in a pan or dunk quickly in boiling water before serving.
The roasted vegetables will also last for 2-3 days covered in the fridge.
This home made gnocchi recipe is not as hard as you may think. Making gnocchi from scratch is enjoyable and totally worth the effort.
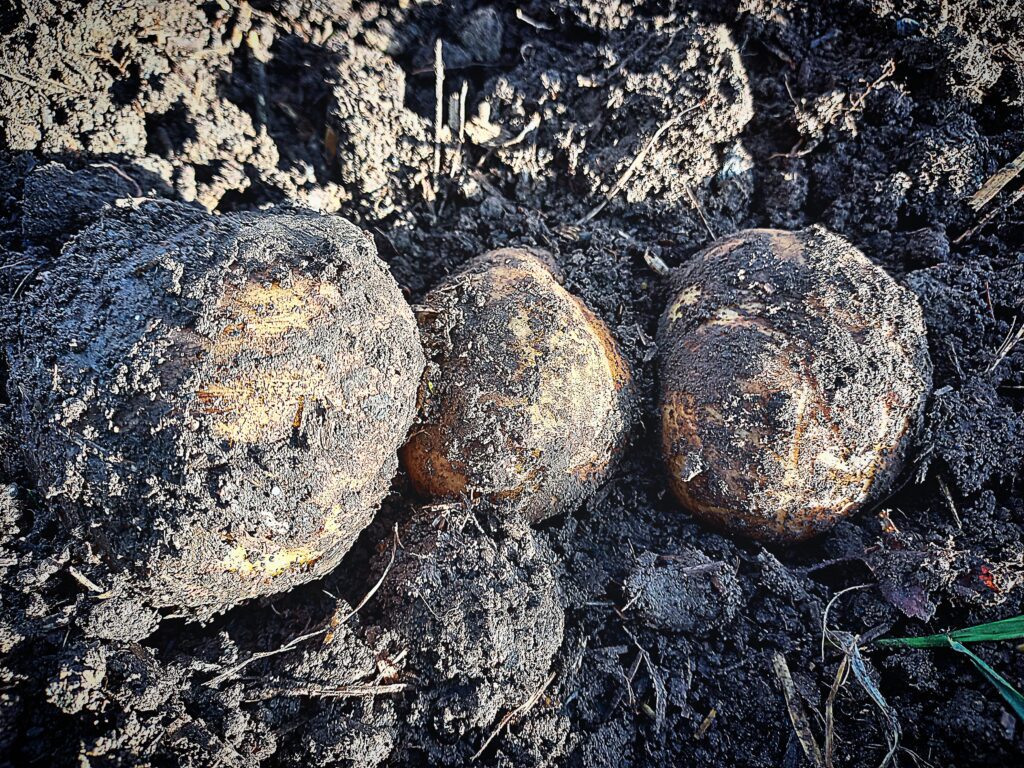
I love to make my own gnocchi from homegrown potatoes for best result.
Read about how to grow stunning potatoes effortlessly at home here

Gnocchi with roasted vegetables is a delicious, and healthy weeknight meal. It's also a great way to use up whatever your garden is producing at the time.
Try this Gnocchi with vegetables recipe. I’m sure you love it!
Related
Looking for other great recipes using potatoes? Try these:
Raggmunkar, swedish potato pancakes
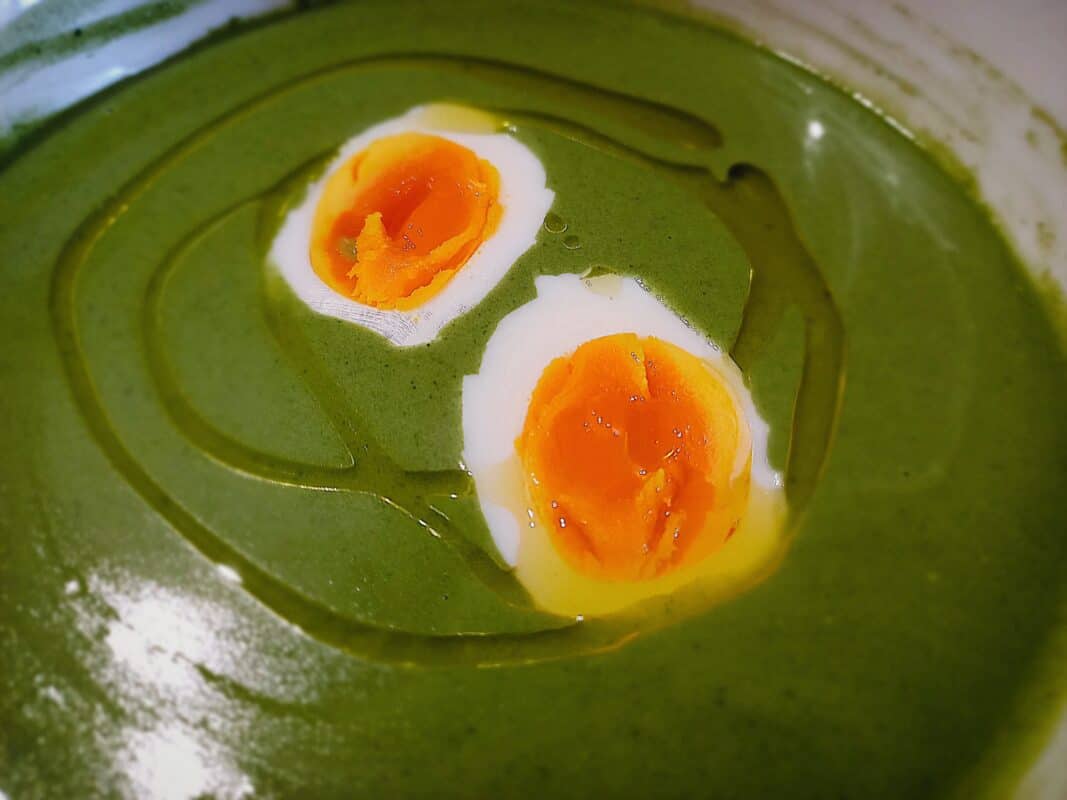
Roasted garlic cream soup with potatoes
You might also like my great pasta recipes on this site:
Pasta boscaiola and
Spirali with spinach and olives
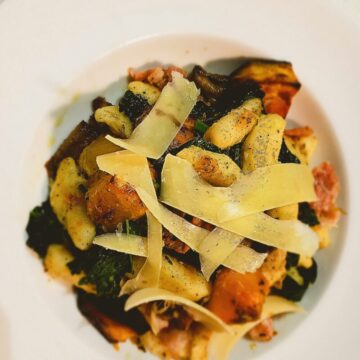
Roasted vegetable gnocchi with bacon
Ingredients
- 4 Potatoes Medium size
- 2.5 cups Flour Plain
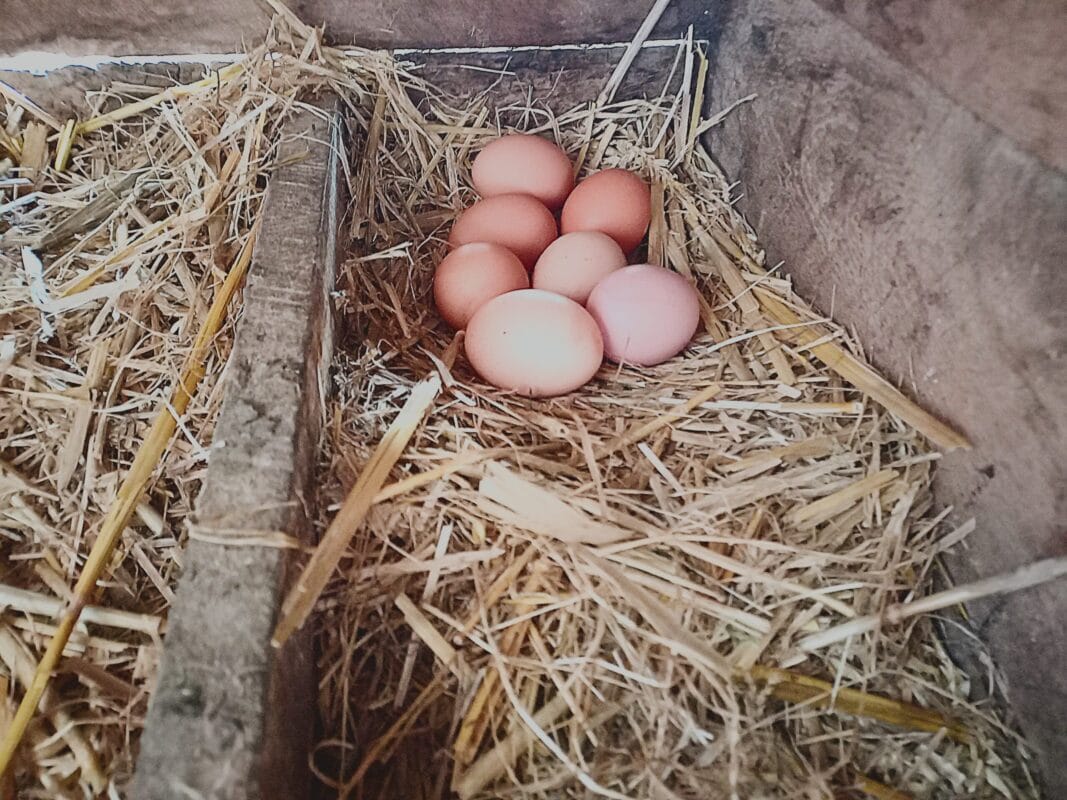
- 1 egg Free ranged
- salt and pepper
- 2 cups pumpkin cubed
- 100 gram bacon sliced
- 150 gram oyster mushrooms tared
- 1 bunch kale sliced
- 2 cloves garlic finely chopped
- rosemary leaves fresh or dried
- thyme leaves fresh or dried
- Parmesan cheese sliced or grated
Instructions
Roasted Vegetable and bacon Topping
- Spread the bacon and mushrooms out on a baking tray generously coated with olive oil. Season with thyme leaves, salt and pepper.
- On a separate oiled oven tray spread the pumpkin out. Season with rosemary leaves, salt and pepper.
- Put the oven trays in the oven and bake until golden.
- Half way through cooking the bacon and mushrooms add the garlic and mix well.
- Put the kale in a mixing bowl. Season with olive oil salt and pepper. Mix well.
- Just before the pumpkin is ready add the kale to the oven tray and put back in the oven for another minute. Take out and mix together well.
- Add the bacon and mushrooms to the pumpkin and kale mixture. Mix together carefully
- You should now have an oven tray full of colorful delights
Home made gnocchi
- Cook the potatoes and mash them.
- Add 2 cups of flour, egg and seasoning. Mix well with your hands.
- When all ingredient are combined put it on a floured surface and kneed like you would a bread dough add more flour if needed.
- The dough should be firm and smooth not sticking to the bench surface but not be dry either. Similar consistence to a bread or pizza dough.
- The amount of flour will vary depending on the size and the variety of potato you are using so the 2.5 cup is a guideline only.
- When the gnocchi dough is ready divide it in to four pieces and roll each piece out to long rope like piece. Cut the 'ropes' in to roughly 2 cm long pieces.
- If you like them to look 'fancy' roll the pieces on a gnocchi board to give them groove marks or you can just press down lightly with the back of a fork on top of each piece for a similar effect. You can just leave them plain if you like to keep it simple.
- Boil the gnocchi in salted water a few at the time. Don't overcrowd the pot. When the gnocchi starting to float to the surface they are done.
- With a slotted spoon or sieve scoop the gnocchi out in to a colander to drain off.
- Mix the gnocchi with olive oil and add to the roasted vegetables.
- Serve warm with shaved or grated Parmesan cheese and a drizzle of olive oil.
Notes
- The amount of flour needed will vary for this recipe depending on the size and the variety of potato you are using. The 2.5 cup is a guideline only. Add the flour bit by bit while mixing the dough and check for the right consistency.